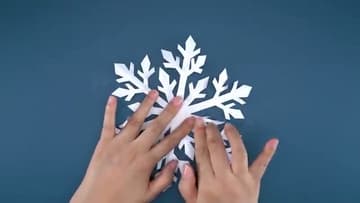
How to Make a Paper Snowflake
Source: Wonder Crafts • Full tutorial: www.craftingstepbystep.com/paper-crafts/how-to-make-a-paper-snowflake
- Difficulty
- Easy
- Hands-on time
- About 15 minutes
- Makes
- 1 paper snowflake

Tools
- Sharp scissors
- Pencil (for sketching the design)
Materials
- 1 square sheet of paper (8.5x8.5 inch trimmed from printer paper, or origami paper)
Steps
1. Start With a Square Sheet of Paper
Start with a square sheet of paper. Standard 8.5x11 printer paper works fine - just trim one end so you have an 8.5x8.5 square.
Tip: For really crisp folds, run a fingernail or bone folder along each crease. Sloppy folds at the start lead to crooked snowflake arms at the end.

2. Fold the Square in Half Diagonally
Fold the square in half along the diagonal so you end up with a triangle. The folded edge runs along one of the sides; the long open edge runs along the bottom.
Tip: Match the corners exactly before pressing the crease. A few millimeters off here means the finished snowflake won't be quite symmetrical.
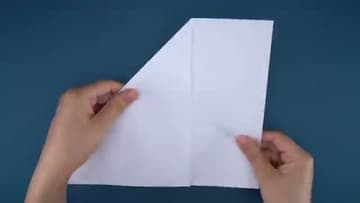
3. Fold the Triangle in Half Again
Fold the triangle in half again, bringing one of the bottom corners up to meet the other. You now have a smaller triangle with the folded edge at the bottom and the open corners at the top.
Tip: If you stop here and cut, you get a four-pointed snowflake instead of six. That's a thing you can do too - but the six-pointed version looks more like a real snowflake.
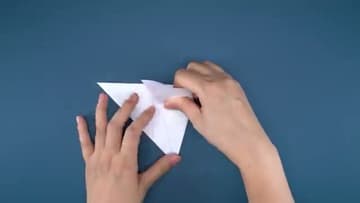
4. Fold Into Thirds
Now fold the triangle into thirds. Take the right corner and fold it across the front so its edge sits at about one-third of the way across the triangle.
Tip: The thirds don't have to be exact. As long as both side folds match each other, the snowflake stays symmetrical. Eyeball it and adjust before pressing the creases.
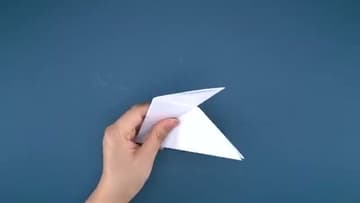
5. Trim the Top Straight
Look at the top of the wedge - it has uneven points sticking up from the third folds. Cut straight across with scissors to even them off.
Tip: Cut a slight V into the top edge for the most snowflake-looking outer shape. The two outer points become the tips of the snowflake arms when you unfold.
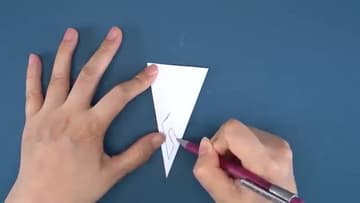
6. Sketch the Snowflake Design
Take a pencil and sketch shapes along the two folded edges of the wedge. Anywhere you cut INTO a folded edge becomes the negative space of the snowflake when you unfold.
Tip: Don't cut all the way across the wedge - that would chop the snowflake in half. Leave at least a thin spine of paper running down the center.
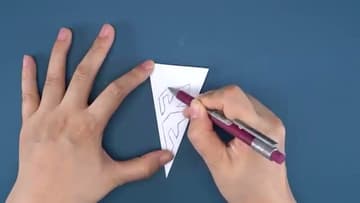
7. Cut Along the Lines
Cut along the pencil lines with sharp scissors. Press the layers firmly together with one hand while the other hand cuts.
Tip: If your scissors are dull or the paper is thick, cut each shape in stages - rough cut first, then come back and refine.
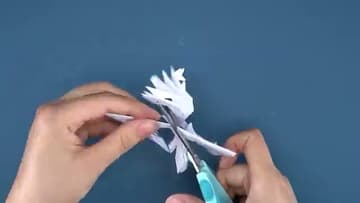
8. Unfold and Press Flat
Carefully unfold the wedge. Each cut you made repeats six times around the center to form the symmetrical snowflake.
Tip: Cut multiple snowflakes from different paper sizes for a window cluster. A mix of large, medium, and small snowflakes looks more natural than identical ones.