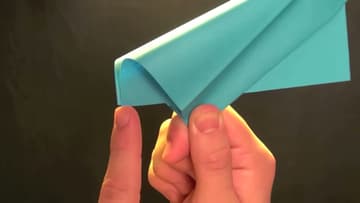
How to Make a Paper Popper - Loud Snap From One Sheet of Paper
Source: Rob's World • Full tutorial: www.craftingstepbystep.com/paper-crafts/how-to-make-a-paper-popper
- Difficulty
- Easy
- Hands-on time
- About 15 minutes
- Makes
- 1 paper popper

Tools
- Bone folder or ruler (optional, for soft creases)
Materials
- One sheet of letter (8.5 x 11 in) or A4 printer paper
Steps
1. Fold the Printer Paper in Half and Unfold
Lay a sheet of letter or A4 printer paper on the table in landscape, long edges running left to right. Take the top edge, bring it down to the bottom edge and line the corners up as best you can.
Tip: Rob uses bright blue paper so the folds show on camera. Any color of standard copy paper works the same.
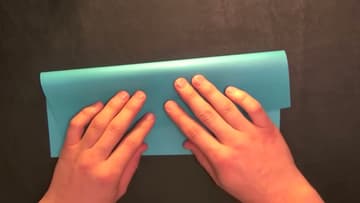
2. Fold the Top Edge Down to the Center Crease
Take the top edge of the open sheet and fold it straight down so it lands right on the center line. Keep the fold parallel to the crease, with the two top corners sitting on it.
Tip: If the flap overshoots the line, unfold and try again. Resist the urge to crease it hard to fix it.
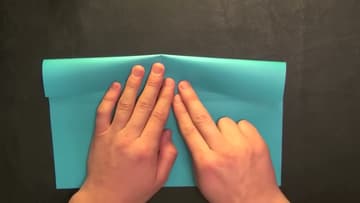
3. Fold the Edge Down Again to Make the Bar
Take that same folded edge and fold it down again on top of itself, so the top of the paper meets the center crease a second time. The flap gets half as tall and twice as thick.
Tip: Point a finger at the crease before each fold so you know where the edge is meant to land. Rob does this on camera every time.
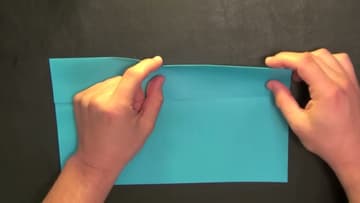
4. Fold the Bar Over on Itself
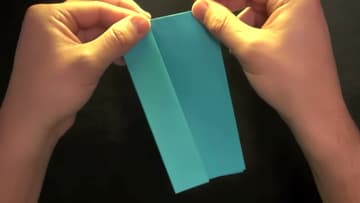
Now the whole bar moves. Take it across its full width and fold it over onto the flat part of the sheet, using the line where the bar meets the sheet as the hinge.
Tip: Keep the long edges square as you roll. A bar that drifts sideways makes a popper that will not fold in half evenly later.
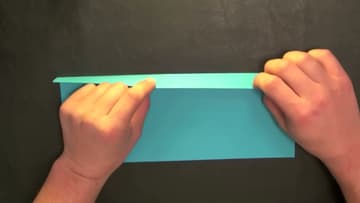
5. Fold the Bar Over Once More and Flatten It
Fold the bar over one more time in the same direction. It resists now, so roll it over with your fingers instead of trying to crack a sharp crease into it.
Tip: Do not press this fold sharp either. The stack is thick, and a hard crease here is the one that splits.
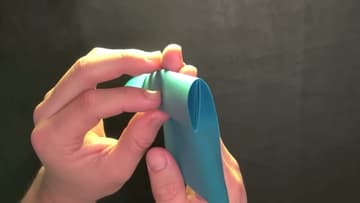
6. Flip the Strip and Fold It in Half
Turn the strip over so the bar is underneath, then fold it in half left to right, short edge to short edge. The bar makes it too rigid to fold flat, so push a thumb into the back of the strip at the middle and let it bow into a curve first.
Tip: The middle pinch only needs to be a soft fold. The popper opens and closes at that fold every time you reload it.
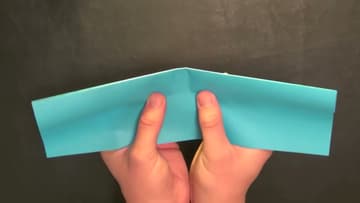
7. Pull the Bar Up and the Corner Down Until the Inner Layer Slides
Hold the popper so the open ends point toward you and the bar sits on the left. Grip the bar with one hand.
Tip: If nothing slides, you are probably gripping both layers at the corner. Hold only the outer one.
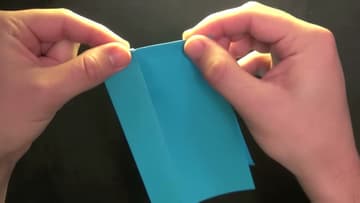
8. Pinch the Two Corners Together
With the inner layer slid down, look at the two corners at the top of the popper: one on the bar side, one on the loose side. Pull the slid layer down a touch further, then bring those two corners together and pinch them between your thumb and first finger.
Tip: Only the two corners get held. The moment a finger rests on the sliding edge, the popper cannot go off.
9. Set the Sliding Edge and Throw the Popper Down
Look at the sliding edge, the free flap that will pop out. Set it level with the two pinched corners, or a little above them.
Tip: Dull thud instead of a crack? The edge was too high. Pull it down a little and throw again.