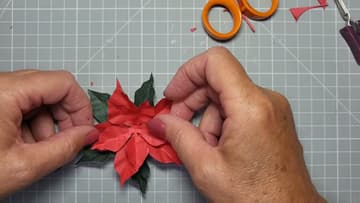
How to Make a Paper Poinsettia (Easy Folded Christmas Flower)
Source: Sarah Trebilcock Cardmaking Ideas Tutorials Design • Full tutorial: www.craftingstepbystep.com/paper-crafts/how-to-make-a-paper-poinsettia
- Difficulty
- Easy
- Hands-on time
- About 30 minutes
- Cost
- About $1 to $2
- Makes
- 1 paper poinsettia

Tools
- small sharp scissors
- tweezers
- paper trimmer (optional)
Materials
- red and green double sided paper
- precision craft glue
- gold beads, pearls or gems
Steps
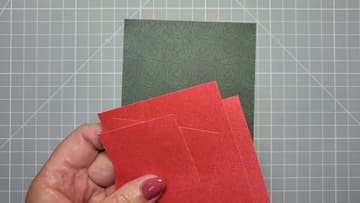
1. Cut Graduated Paper Squares for the Paper Poinsettia
Cut five squares of paper: 4, 3 1/2, 3, 2 1/2 and 2 inches. Make the biggest one green for the leaves and the rest red for the petals.
Tip: A paper trimmer gives you straighter squares than scissors.
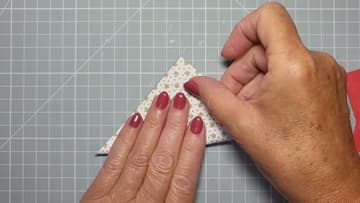
2. Fold the Paper Poinsettia Square Into a Triangle
Start with the biggest square. If your paper has a right side, place it facing up.
Tip: Only pinch the centre mark. A full fold here leaves an extra line in the petals.
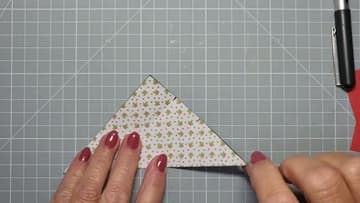
3. Find the Centre Fold Lines on the Paper Poinsettia Triangle
Take the top point of the triangle down to the centre mark and pinch a small crease where it falls. Then fold the straight edge up at a right angle to meet the top point and pinch again.
Tip: Sarah draws on the paper so the camera can see the marks. You do not need to.
4. Fold the Paper Poinsettia Triangle Into a Narrow Wedge
Keep the centre point in place and swing the straight edge across until it meets your marked point. Crease it.
Tip: Keep the side with three folds on your right when you cut.
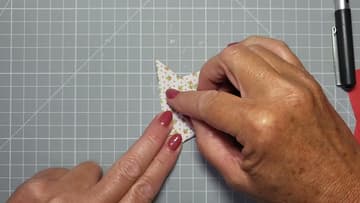
5. Snip a Guide Nick at the Base of the Paper Poinsettia Wedge
Near the bottom of the wedge, cut a small nick into the side with three folds. This nick is your stop line.
Tip: Small, sharp scissors make the nick easier to control.
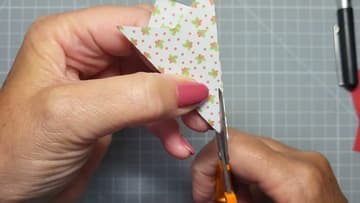
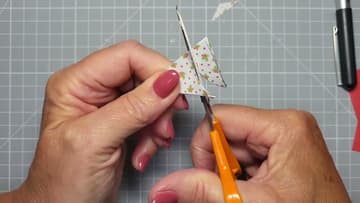
6. Cut the Curved Paper Poinsettia Petal Shape
Start as close to the top as you can. Angle the scissors and cut steeply down in a curve, cutting through all the folded layers.
Tip: Cut freehand. Flowers look more natural when the petals are not identical.
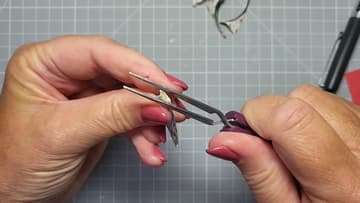
7. Pleat Veins Into the Paper Poinsettia Petals With Tweezers
Before you unfold anything, grip the wedge with tweezers at an angle, running from the base up toward the tip. Bend the paper around the tweezers and squash it flat.
Tip: No tweezers? Pinch the pleats with your fingers or a fingernail.
8. Open the Green Paper Poinsettia Leaf Layer
Gently open the layers. Unfold the three sections, then open the remaining piece in half to show the last two petals.
Tip: A poking tool or the tip of a pencil helps open the tight inner layers.
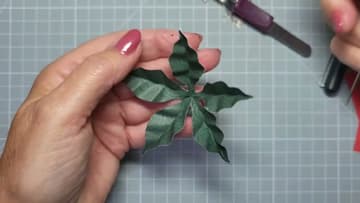
9. Shape the Red Paper Poinsettia Petal Layers
Repeat the same folds, cuts and pleats with each red square, from largest to smallest. Open each one, flip any petals folded the wrong way and pinch the tips into points.
Tip: Once you have done one, the others go quickly. Sarah talks through the second one faster.
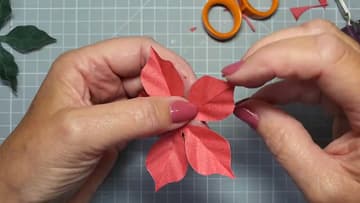
10. Glue the Paper Poinsettia Layers Together
Put a dot of glue in the centre of the green leaf layer and press the largest red layer on top. Turn it so its petals sit between the leaves.
Tip: Let the glue grab for a minute before adding the next layer.