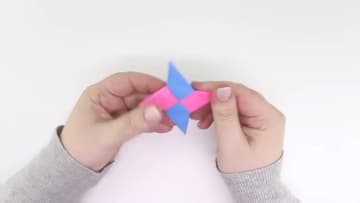
How to Make a Paper Ninja Star
Source: Paper Kawaii - Origami Tutorials • Full tutorial: www.craftingstepbystep.com/paper-crafts/how-to-make-a-paper-ninja-star
- Difficulty
- Easy
- Hands-on time
- About 15 minutes
- Makes
- 1 paper ninja star

Tools
- bone folder or the back of a spoon
Materials
- 2 squares of paper, 15 x 15 cm, ideally in two colors
Steps
1. Step 1
A shuriken needs two sheets, not one. Use squares of the same size - 15x15 cm works well and gives you a finished star around 8.5 cm across.
Tip: Precut origami paper saves the trouble of squaring up printer paper, and the colored-one-side stock makes the mirrored halves easy to tell apart while folding.
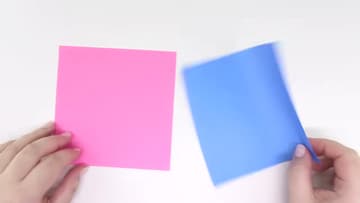
2. Step 2
Start white side up. Fold the paper in half and open it back out so you have a center crease.
Tip: Sharp creases matter more here than in most folds. A soft crease lets the strip spring open while you are trying to stack the two halves.
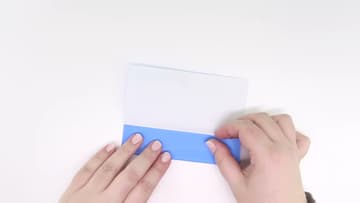
3. Step 3
Fold the top edge all the way down to meet the bottom edge. The band gets narrower and thicker.
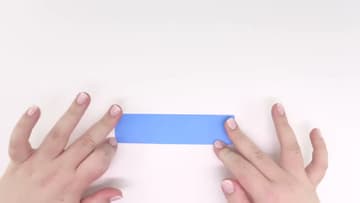
4. Step 4
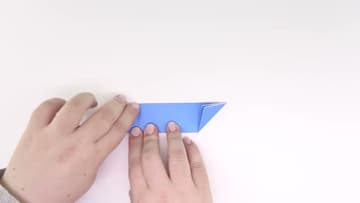
Fold the bottom right point diagonally up to the left. Then fold the top left point diagonally down to the right.
5. Step 5
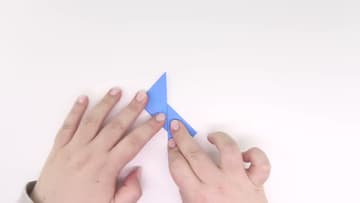
Fold the right section diagonally down to the left, then the left section diagonally up to the right. The piece bends into a Z or S shape.
6. Step 6
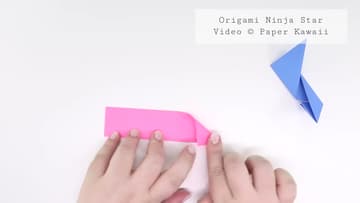
The second sheet gets folded exactly the same way except every diagonal runs the opposite direction. Where the first one folded bottom-right up, this one folds top-right down.
Tip: Fold the second unit next to the finished first one and check after every diagonal. If both units look identical rather than mirrored, the second one is wrong.
7. Step 7
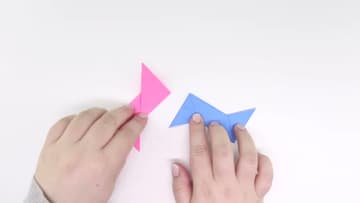
Flip one unit over onto its other side, then lay the second on top of it so the two Z shapes cross. Line up the center squares.
Tip: Line up the two center squares before you start tucking. A crooked stack produces a star with uneven points.
8. Step 8
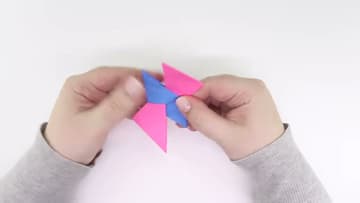
Working on the unit at the back, fold the lower right point to the left and slide it under the flap of the unit in front. Do the same with the top left point.
Tip: Push each point further under the flap than feels necessary. Points that sit halfway in will work loose the first time the star is handled.
9. Step 9
All four points should sit flat with no loose ends, and the star should hold together when you pick it up by one blade. If a point pops out, it was not pushed far enough under the flap - open it and push again.