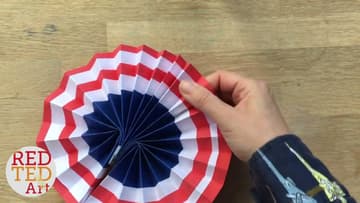
How to Make a Paper Fan
Source: Red Ted Art (Maggy Woodley) • Full tutorial: www.craftingstepbystep.com/paper-crafts/how-to-make-a-paper-fan
- Difficulty
- Easy
- Hands-on time
- About 30 minutes
- Cost
- About $5 to $10
- Makes
- 1 paper fan

Tools
- scissors
- ruler
- glue stick
Materials
- patterned paper or cardstock
- clear tape or stapler
- wooden craft sticks
- ribbon
Steps
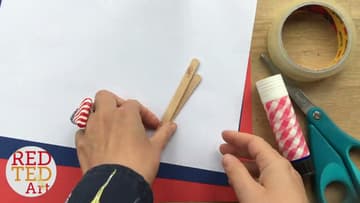
1. Gather Paper, Glue Stick, Tape, and Two Craft Sticks
Pull together everything before you start folding. You need paper in a few colors (Maggy uses white, blue, and red), a glue stick, some clear tape, scissors, and two wooden craft sticks for the handle.
Tip: No craft sticks? A folded strip of stiff card or a wooden skewer taped along each side works as a handle too.
2. Fold the Blue Paper Into Thirds and Crease the Fold Lines
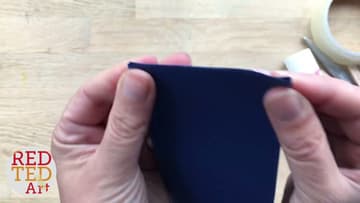
Start with the blue paper for the middle of the fan. Fold the sheet into thirds, lining up the edges as you go.
Tip: If the thirds keep drifting, curl the sheet into a loose tube first and slide the edges until all three sections look equal, then flatten it and press the creases.
3. Cut Red and White Paper Strips Along the Fold Lines
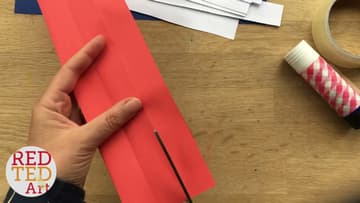
Now cut the white and red paper into long strips the same width as your blue ones. Fold each sheet in half a few times first so the strips come out even, then cut along the creases.
Tip: Stack two sheets and cut them together to speed this up and keep every strip the same width.
4. Glue the Paper Strips End to End Into One Long Length
Join the strips end to end so each color becomes one long band. Run a thin line of glue along about half a centimeter of the edge, then press the next strip on top.
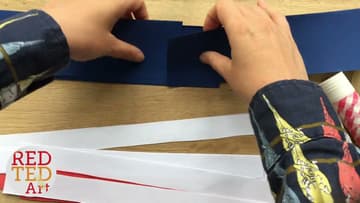
5. Glue the Red, White, and Blue Strips Into a Striped Band
Time to glue the colors together into the stripe order. Lay them out blue, white, red, white, red so the bands repeat evenly.
Tip: Lay the whole band out before the glue sets and sight down its length. A stripe that wanders by a couple of millimeters here turns into a visible wobble once the fan is open.
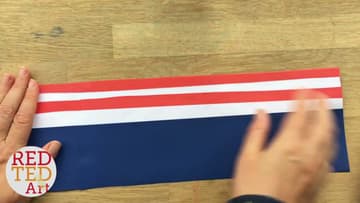
6. Accordion Pleat the Striped Paper Strip
This is the fun part. Fold the striped strip back and forth like a concertina, roughly a centimeter for each fold.
Tip: Crease each accordion pleat with your fingernail or a ruler edge for sharp folds, and flip the band over at every fold line so the pleats zigzag rather than roll.
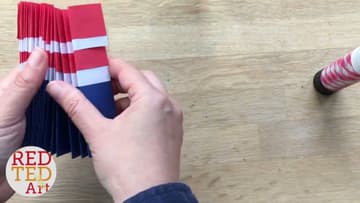
7. Tape the Pleated Base and Glue On the Craft Stick Handles
Squeeze the pleats together and wrap a bit of tape around the bottom, about a centimeter up, to hold the folds shut. This becomes the center of the fan.
Tip: Want a hanging fan instead of a handle? Staple the base, tie a loop of thin ribbon around it, and skip the craft sticks entirely.
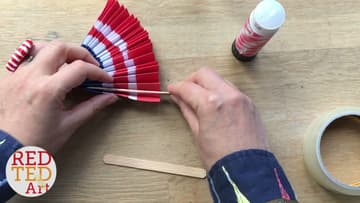
8. Open the Accordion Pleats Into a Full Paper Fan
Now the reveal. Bring the two sticks together and let the pleats spread into a full round fan.
Tip: Press the finished fan closed between two heavy books overnight. The pleats set hard and it opens the same way next summer.