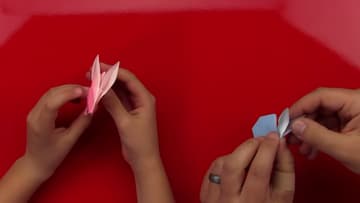
How to Make a Paper Easter Bunny
Source: Art for Kids Hub • Full tutorial: www.craftingstepbystep.com/paper-crafts/how-to-make-a-paper-easter-bunny
- Difficulty
- Easy

Tools
- pencil
- bone folder (optional)
- scissors or paper trimmer (to square printer paper)
Materials
- 6 inch origami paper
- googly eyes (optional)
Steps
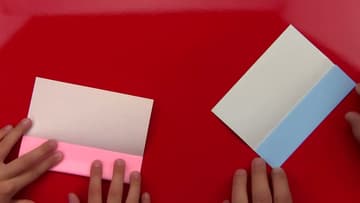
1. Fold the Origami Paper in Half and Bring Both Edges to the Centre
Lay your square of origami paper coloured side down. Fold it in half, press a crisp crease, then open it up again.
Tip: Sharp creases matter in origami. Run a fingernail along every fold before you move on.
2. Fold the Corners of the Paper Strip Into the Centre Line
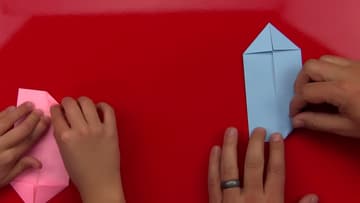
Take one corner at the end of the strip and fold it in so its edge lies along the centre line. Fold the corner beside it in the same way, so that end of the strip comes to a point.
Tip: Line the corner up with the centre line before you press. Small slips add up later.
3. Fold the Ends of the Origami Strip In to Meet in the Middle
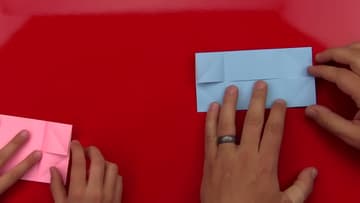
Open the four corners back out so you see their diagonal creases. Fold one short end of the strip in toward the middle, lining it up with the point where the diagonal crease meets the side.
Tip: A pinch at the edges gives you a marker without leaving a crease through the middle.
4. Squash Fold the Corners Into Triangles to Make Two Diamonds
Open the folded ends part way, back to where they were before. Lift one corner, open the pocket underneath, and press it flat into a small triangle.
Tip: If a corner opens too far, fold it back and try again. The creases from step 2 show you where.
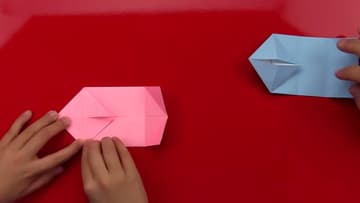
5. Fold the Points of the Diamonds to the Middle of the Bunny Base
Turn the model over. Take the point on one side and fold it in to the middle of the paper.
Tip: Do not force the back flaps. If they stick, ease them out with a fingertip before you crease.
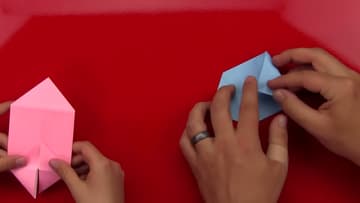
6. Fold the Bunny Ears From the Corner to the Middle Crease
Turn the model back over and fold it in half for a moment, pinching only the outer corners as a guide. Open it again.
Tip: Drawing a light pencil line first helps if a child is folding the ears.
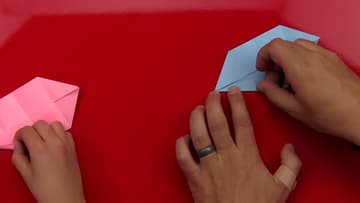
7. Fold the Bunny Head Back and Fold the Model in Half
Turn the model over so the ears are behind and the little head point faces you. Fold the head back as far as it will go, all the way to where it is joined, and crease it hard.
Tip: The fold for the head goes only as far as the paper allows. Do not tear it by pushing past the join.
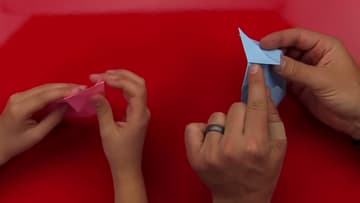
8. Pull Up the Bunny Head and Ears, Then Flatten the Nose
Pinch the two ears together and pull the head up to the angle you like. High makes ears that stand up tall.
Tip: Hold the ears with one hand and the body with the other while you squeeze the neck crease.
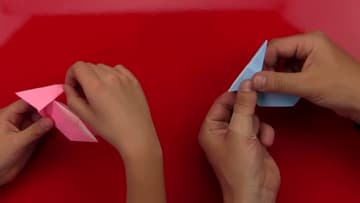
9. Tuck the Bunny Feet Inside and Round Off the Tail
Fold the back end of the bunny behind its body so the little feet poke out along the bottom. Crease it, then unfold.
Tip: Unfold and try again as often as you need. Reverse folds follow the creases you already made.
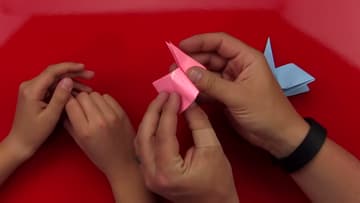
10. Open the Paper Bunny Ears and Stand Your Easter Bunny Up
The ears are flat and pointed for now. Slide a fingernail into each ear and gently open it, so the white inside shows.
Tip: Small self-adhesive googly eyes stick well to origami paper and need no glue.