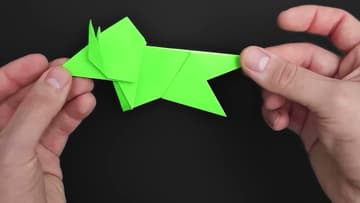
How to Make a Paper Dinosaur - Easy Origami Triceratops
Source: Easy Origami and Crafts • Full tutorial: www.craftingstepbystep.com/paper-crafts/how-to-make-a-paper-dinosaur
- Difficulty
- Medium
- Hands-on time
- About 20 minutes
- Makes
- 1 origami triceratops

Tools
- bone folder (optional)
Materials
- 1 square of origami paper, 20 x 20 cm (8 x 8 inches)
Steps
1. Fold the Origami Paper Square Along Both Diagonals
Lay the square colored side down. Bring one corner to the opposite corner to make a triangle, line the points up exactly and press the fold hard.
Tip: Match the corners before you crease. A sloppy first fold throws off the whole model.
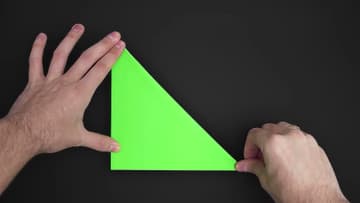
2. Fold Each Corner of the Paper Square to the Center
Take the top right corner and fold it in so its point lands where the diagonal creases cross. Crease it well.
Tip: Use the X creases as a target. The point should land right on the center.
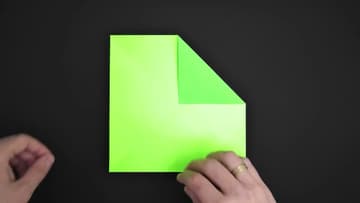
3. Fold the Top and Bottom Edges to the Center Crease
Fold the paper in half horizontally and unfold. Then fold the bottom edge up to that middle crease, and the top edge down to it, creasing both.
Tip: It looks like busywork. Every one of these creases gets used later.
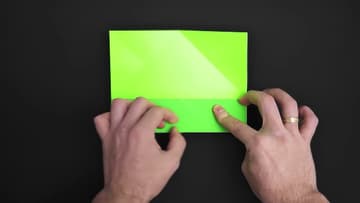
4. Reverse Fold the Corners of the Origami Dinosaur Base
With the paper folded, open the right side a little at the top. Push the corner in along the diagonal creases you made earlier so it folds inside itself.
Tip: If a reverse fold fights you, open it fully and re-crease the diagonal sharper.
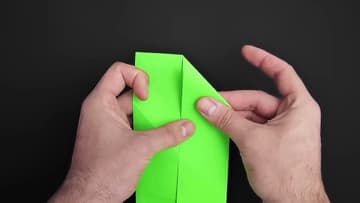
5. Fold New Diagonals on the Origami Dinosaur Base
Flip the paper over. Using the existing creases as a guide, fold a new diagonal that runs from the top point to the middle of the right side.
Tip: Align first, then crease from the point outward so the fold stays straight.
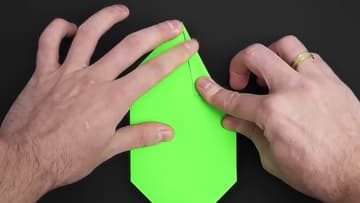
6. Fold the Origami Base in Half and Align the Edges
Fold the paper in half. Carefully bring the straight edge up to meet the diagonal edge above it and crease.
Tip: Take this one slowly. It is the trickiest alignment in the model.
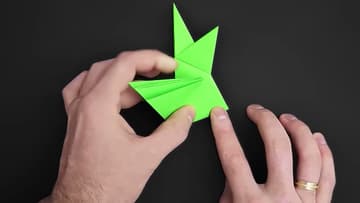
7. Fold the Left Side Over to Finish the Dinosaur Base
Open the paper again. Fold the left side over the right, using the two small diagonal creases you made as your guide.
Tip: Hold the layers together as you fold so they do not slip apart.
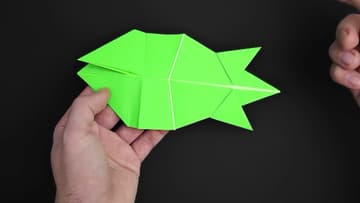
8. Reverse Fold the Head of the Origami Triceratops
Fold the head section diagonally and crease it well. Unfold it, then use those lines to reverse fold it, pushing the head inside so it angles away from the body.
Tip: Pre-creasing both directions makes the reverse fold drop into place.
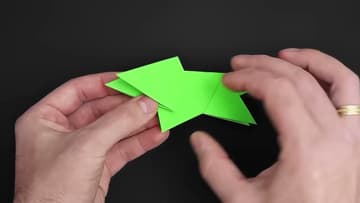
9. Fold the Horns on the Origami Triceratops Head
On the first layer of the head, bring one corner to another to make a short reference crease, then unfold. Fold the edge to the end of that line, close the corner and leave it folded up.
Tip: Feel free to change the horn angle. It is the easiest spot to personalize.
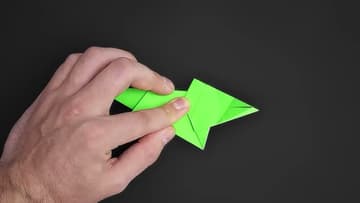
10. Shape the Legs of the Origami Triceratops
For the front legs, gently pull the head layer back a little so the legs drop down. At the back, fold the corner to form the hind legs.
Tip: A tiny dab of glue inside the head holds the horns if it will be handled a lot.