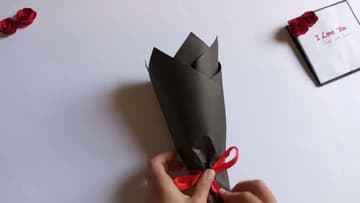
How to Make a Paper Bouquet (Rose Arrangement)
Source: The MAW Studio • Full tutorial: www.craftingstepbystep.com/paper-crafts/how-to-make-a-paper-bouquet
- Difficulty
- Medium
- Hands-on time
- About 1 hour
- Cost
- About $8 to $15
- Makes
- 1 paper bouquet, about 10 to 12 roses
Tools
- Scissors
- Hot glue gun
- Pencil (for tracing the 4-inch circles)
Materials
- Red cardstock or chart paper (enough for 10-12 4-inch circles)
- Black cardstock or chart paper (about 2-3 sheets, ~15x15 cm each)
- Hot glue sticks (or a glue stick for a kid-safe version)
- Red satin ribbon (about 12 inches)
- Transparent tape
- Scrap paper or tissue for cone padding
Steps
1. Cut a Red Paper Circle
Cut a circle about 4 inches across from red cardstock. Trace around a small bowl or a roll of tape if you want a clean shape - any round-ish edge works since the spiral cuts will hide small wobbles.
Tip: Heavier cardstock holds the rose shape better than printer paper. If you only have thin paper, the rose will still form but the petals won't have the same crisp edges.
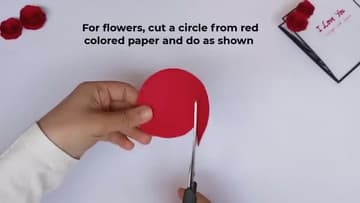
2. Cut the Circle Into a Spiral
Starting at the outer edge, cut inward in a continuous wavy spiral. The wave doesn't have to be perfect - those bumps become the rose's petals once rolled.
Tip: Wider spacing between spiral turns gives bigger, fluffier petals. Tighter spacing gives a denser rose. Mix it up across your roses for visual variety in the bouquet.
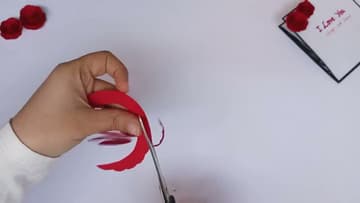
3. Roll the Spiral Into a Rose
Start at the outer end of the spiral and roll it tightly toward the center. Keep the rolled portion in one hand and feed the spiral in with the other.
Tip: Don't rush the roll. If the paper slips and the petals don't stack right, unwind a few turns and start again. Once it's glued you can't fix it.
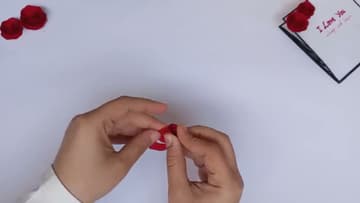
4. Glue the Rose to Its Base Disc
When the spiral is rolled all the way in, you'll be holding a tight bundle on top of the center disc. Add a generous dot of hot glue to the disc and press the rolled bundle firmly down onto it.
Tip: Repeat steps 1-4 until you have 10-12 finished roses. Once you have the technique, each rose takes about 2-3 minutes.
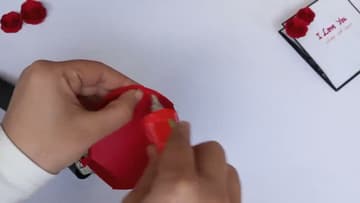
5. Roll the Black Cardstock Into a Cone
Take a square sheet of black cardstock (about 15 cm or 6 inches on each side). Roll it diagonally into a cone with the point at one corner.
Tip: The cone's point becomes the bottom of the bouquet. The wide open end is where the roses go. Aim for an opening about 3-4 inches across.
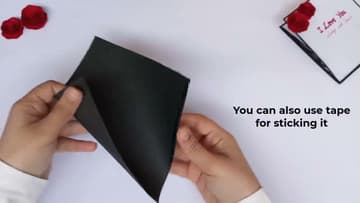
6. Trim the Cone Tip and Top
Check the open top of the cone. If it's uneven, run scissors around it so the rim is roughly flat - the roses will sit better in a level opening.
Tip: Don't trim too much off the top or the cone gets short and the roses spill out the sides. A small evening pass is all it needs.
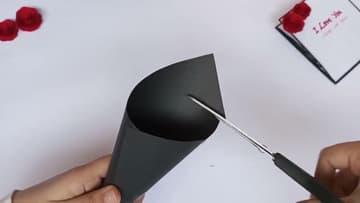
7. Stuff Scrap Paper Into the Cone
Crumple a sheet of scrap paper or tissue and stuff it down into the cone. Push it firmly so the wad sits a couple of inches below the top opening.
Tip: The closer the wad sits to the top, the more domed and full the bouquet looks. Too low and the roses sink in like coins in a piggy bank.
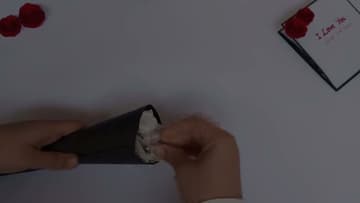
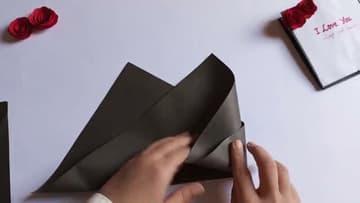
8. Wrap a Second Black Sheet Around the Cone
Take a second sheet of black cardstock and wrap it around the outside of the cone. Fold the corners upward so they stick up above the cone opening as pointed flaps - these frame the bouquet and give it that classic florist-style silhouette.
Tip: Two flaps in front and two in back looks deliberate. A third sheet wrapped on the other side adds even more depth if you want the bouquet to look fuller.
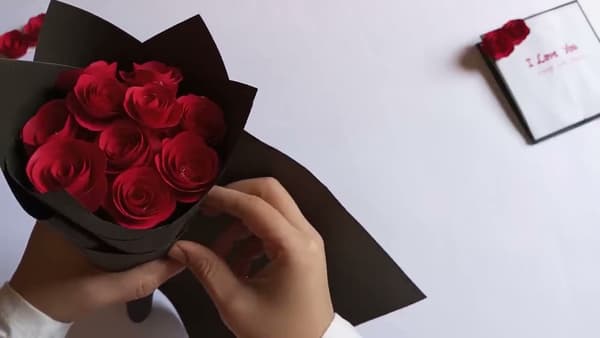
9. Arrange the Roses Inside the Cone
Now the satisfying part. Drop the roses one by one into the opening, packing them tight so the heads cover every visible gap.
Tip: If you have a stray petal that pokes out at a weird angle, gently bend it back into the dome. The roses are paper - they reshape easily.

10. Tie a Red Ribbon Around the Base
Wrap a length of red satin ribbon around the narrow part of the cone, just above where it tapers to the point. Tie it in a bow with the loops sitting at the front.
Tip: For a wedding or anniversary bouquet, swap the red ribbon for white or champagne satin. Same technique, totally different vibe.