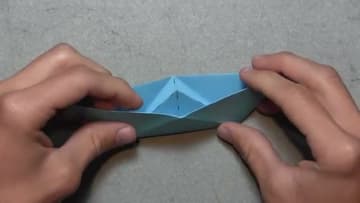
How to Make a Paper Boat (Origami)
Source: EzOrigami • Full tutorial: www.craftingstepbystep.com/paper-crafts/how-to-make-a-paper-boat
- Difficulty
- Easy
- Hands-on time
- About 10 minutes
- Makes
- 1 paper boat
Materials
- 1 rectangular sheet of paper (US letter or A4 - any color)
Steps
1. Make Two Center Creases
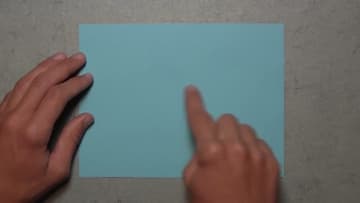
Lay the paper horizontally with the long side facing you. Fold the bottom edge up to the top edge to make a horizontal crease, then unfold.
Tip: Press creases sharp with your fingernail. Soft creases lead to sloppy folds later when layers start to stack up.
2. Fold the Top Corners In
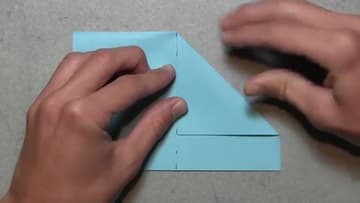
Rotate the paper so the long side now runs vertically. Fold the top-right corner down and over so it aligns with the center vertical crease, just like the start of a paper airplane.
Tip: Start the alignment at the very top of the vertical crease and work the edge down. Getting that tip aligned first keeps the rest of the fold straight.
3. Fold the Bottom Rectangle Up - Both Sides
Lift the top layer of the bottom rectangle and fold it up against the base of the triangle as far as it will go. Crease firmly along the bottom edge.
Tip: Both bottom flaps should land at the same height. If one side is taller than the other, push it down further until they match.
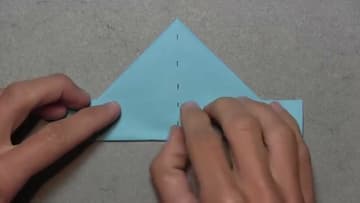
4. Squash Open Into a Diamond
Pick up the model and look at it from underneath. Slightly separate the two layers in the middle so the inside is visible.
Tip: If the squash feels stuck, your bottom flaps from step 3 might not have been folded high enough. Open the model back up and re-do those folds.
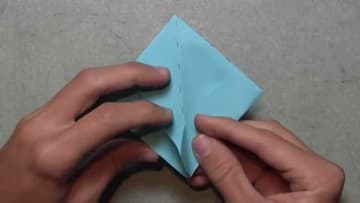
5. Tuck the Side Flaps Under
Look at the new diamond from the side. The two thin flaps along the bottom edge will not lie completely flat - they overlap each other.
Tip: This step is the lock that keeps the boat from coming apart later. If your tuck is loose, run a fingernail along the locked edge to seat it.
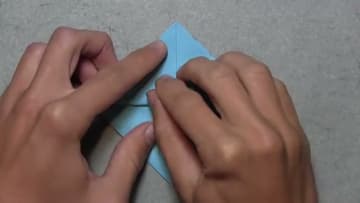
6. Fold Bottom Corner Up to Top
Take the bottom corner of the diamond and fold it up to meet the top corner on the front side. Crease all the way across so the front layer becomes a smaller triangle.
Tip: Both bottom corners should align exactly with the top corner. If they don't match, gently re-crease until they do.
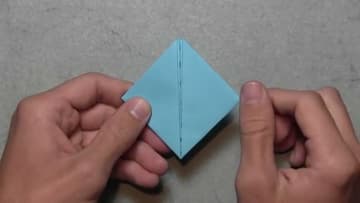
7. Pull Apart Into a Boat
Lift the model and slightly separate the two layers along the open top. Grab one of the triangular flaps in each hand and gently pull them apart in opposite directions, opening the diamond into a boat shape.
Tip: Pull slowly. If you tug too hard at the start, the locked tucks from step 5 can pop loose. Once both halves are open, the rest of the shape settles on its own.