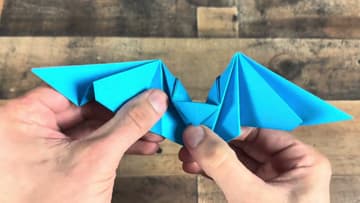
How to Make a Paper Bat (Easy Origami for Halloween)
Source: Art of Fold • Full tutorial: www.craftingstepbystep.com/paper-crafts/how-to-make-a-paper-bat
- Difficulty
- Easy
- Hands-on time
- About 15 minutes
- Cost
- About $3 to $7
- Makes
- 1 paper bat
Tools
- Bone folder (optional)
- Fine-tip black marker
Materials
- Square origami paper (black, orange, or purple)
- Googly eye stickers (optional)
- Double-sided tape
- Thin string or fishing line (for hanging)
Steps
1. Start With a Square and Crease the First Diagonal
Lay a square of origami paper colored-side down. Fold it in half diagonally, corner to corner, so you have a large triangle.
Tip: Six-inch origami paper is the sweet spot - small enough to handle, large enough to read as a bat shape when finished. Black, orange, or purple all look great.
2. Crease the Other Diagonal
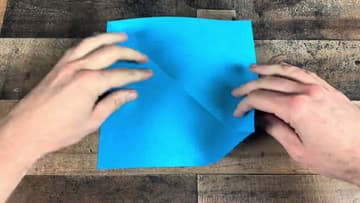
Fold the paper diagonally the other way, corner to corner, then unfold. The two creases should cross in the exact middle of the square, forming an X.
3. Collapse Into a Triangle
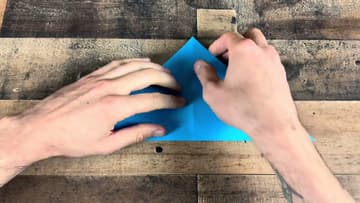
Flip the paper colored-side up and fold it in half horizontally and vertically, then unfold. You'll have a star pattern of creases.
Tip: If the paper resists collapsing, your creases probably aren't sharp enough. Refold each one over the edge of a table to crisp them up, then try again.
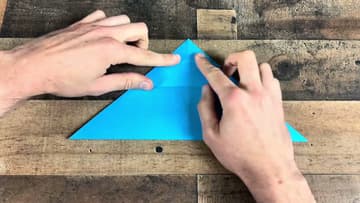
4. Fold Into a Long Narrow Band
With the triangle's point facing up, fold the two outer corners down to meet the bottom edge. You now have a flatter diamond shape.
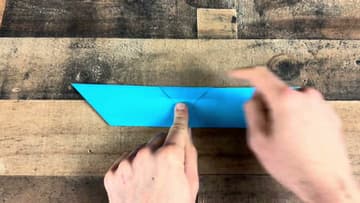
5. Fold the Wings Up
Pick up the band by the center ridge. Lift the left and right sides up so they stand perpendicular to the body, then fold them in toward the middle to create a small kite shape that points up.
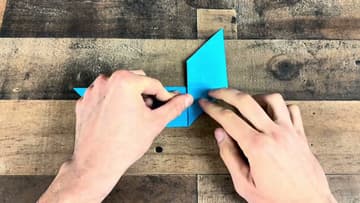
6. Pull the Wings Out to the Sides
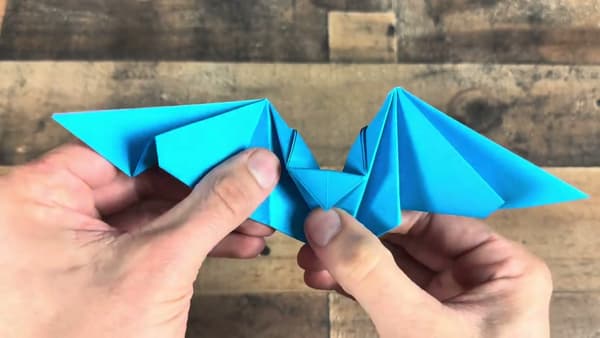
Open up the two wing flaps and pull them outward and down so they stick out from the body to the left and right. You should now see a recognizable bat silhouette: a small central body with two triangular wings extending out to the sides.
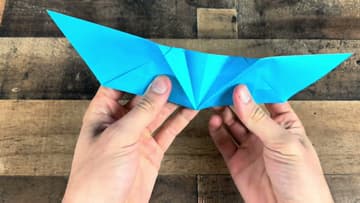
7. Accordion-Fold the Wings
This is the step that gives the bat its signature scalloped wing shape. Starting from the body, make a small fold up, then a small fold down, then up again, working out toward the wing tip.
Tip: If your pleats are uneven, that's fine. Bats in real life have raggedy wings. Aim for the general accordion look rather than perfect symmetry.
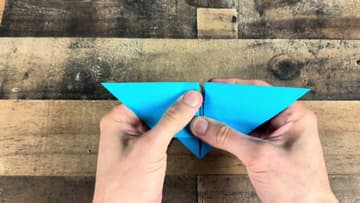
8. Pinch the Head and Add Eyes
Hold the body in the middle and gently pull the wings apart so they spread to either side. The bottom point pinches into a small triangle - that's the bat's head.
Tip: Make a whole flock in different colors and string them together with thin fishing line for an instant Halloween garland.