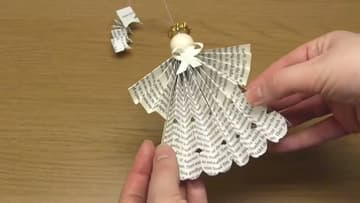
How to Make a Paper Angel (Easy Pleated Book Page Ornament)
Source: Rokolee DIY • Full tutorial: www.craftingstepbystep.com/paper-crafts/how-to-make-a-paper-angel
- Difficulty
- Easy
- Hands-on time
- About 20 minutes
- Wait time
- 15 minutes
- Cost
- About $1 to $3
- Makes
- 1 paper angel ornament

Tools
- scissors
- large eye needle
Materials
- 2 book pages or sheets of paper
- glue stick
- large wooden bead
- metallic thread
- gold pipe cleaner (optional)
- satin ribbon (optional)
- strong craft glue (optional)
Steps
1. Trim Two Book Pages Into Matching Rectangles for the Paper Angel
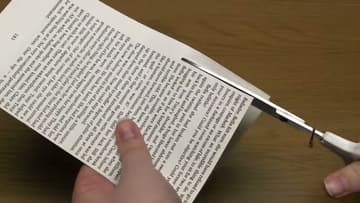
Pick two pages from an old book, or any paper you like. Cut off the plain margin around the printed text so you are left with two rectangles the same size.
Tip: Stack the pages and trim them together so they match exactly.
2. Fold Each Paper Angel Page Into an Accordion
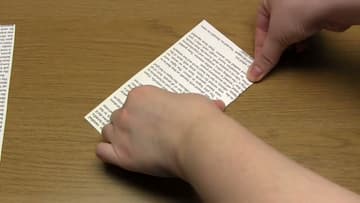
Starting on one long edge, fold a narrow strip over and crease it hard. Flip the paper over and fold the same width again.
Tip: If the last strip is very narrow, cut it off to keep the edge neat.
3. Fold Down the Paper Angel's Sleeve
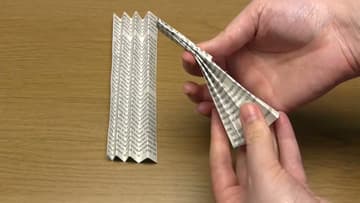
Hold one concertina strip with the pleats closed. Fold the top section down and to the side at an angle.
Tip: Hold both strips side by side before you glue to check the sleeves match.
4. Glue the Two Halves of the Paper Angel Together
Run a glue stick down the inside edge of the main body on one strip. Leave about 3/4 inch unglued near the centre top.
Tip: A glue stick is less messy than liquid glue and will not wrinkle thin book pages.
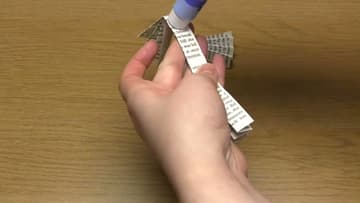
5. Glue the Paper Angel's Sleeves to Its Body
Put a little glue under each folded sleeve and press it down onto the body. Press the whole angel firmly all over.
Tip: Lay a sheet of scrap paper over the angel before the book so no glue transfers.
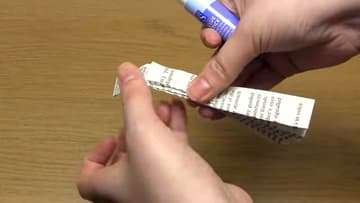
6. Thread a Hanging Loop Through the Paper Angel
Cut a long piece of metallic thread, longer than you think you need. Thread it on a needle with an eye big enough for it.
Tip: Gold or silver thread looks festive. Plain string works if that is what you have.
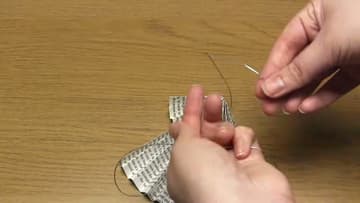
7. Add a Wooden Bead Head to the Paper Angel
Feed both ends of the thread through a large wooden bead and slide it down onto the top of the angel. Tie a knot right above the bead to hold it in place.
Tip: A dab of glue under the bead keeps it from spinning.
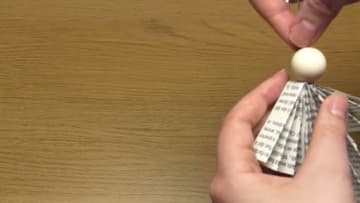
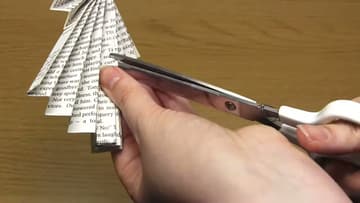
8. Cut Lace Notches Into the Paper Angel's Dress
For a lacy dress, pinch a few pleats together and snip small notches into the folded edge with scissors. Open the pleats to see the holes.
Tip: Small triangle snips look like eyelet lace. Keep them away from the glued centre.
9. Add a Pipe Cleaner Halo to the Paper Angel
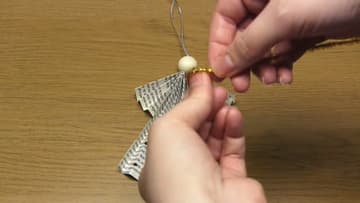
Take a sparkly gold pipe cleaner and bend one end into a small hoop, the size you want the halo to be. Bend the rest of the wire down to make a support stem a little taller than the bead.
Tip: Use a strong craft glue or superglue on the halo stem. A glue stick will not hold it.
10. Shorten the Paper Angel's Hem Into Scallops
If the dress looks too long, bunch the pleats together at the hem. Cut across them in a rounded curve, not a straight line.
Tip: Trim a little at a time. You can always cut more, but you cannot add it back.