How to Fold an Origami Heart (8 Easy Steps)
Source: EzOrigami • Full tutorial: www.craftingstepbystep.com/paper-crafts/how-to-fold-an-origami-heart
- Difficulty
- Easy
- Hands-on time
- About 20 minutes
- Cost
- About $2 to $4
- Makes
- 1 origami heart
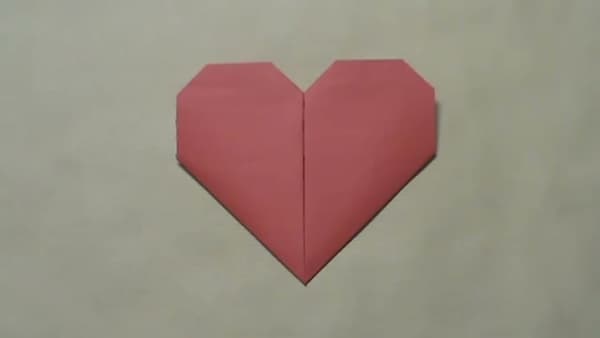
Materials
- One square sheet of colored origami paper
Steps
1. Crease the Paper in a Plus Pattern
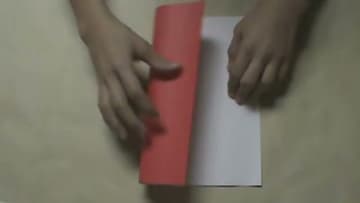
Start with a square sheet of paper, color side down. Fold it in half left to right, line up the edges, crease firmly, then unfold.
2. Fold the Bottom Edge Up to the Middle
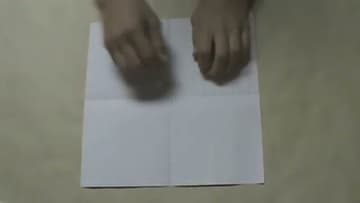
Take the bottom edge of the paper and fold it up to meet the horizontal centerline crease. Use the vertical crease as a sight-line to keep the fold straight.
3. Fold Lower Corners Up Like a Paper Airplane
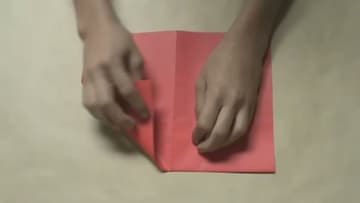
Flip the model over. Take the lower-left corner and fold it up so its bottom edge aligns with the vertical centerline - this is the same move you'd use to start a paper airplane.
4. Fold the Upper Edges to the Centerline
Flip the model back over. Now take the upper-left edge and fold it inward to meet the vertical centerline.
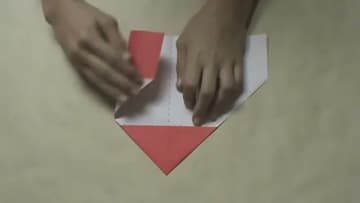
5. Fold Down the Top Corners
Take the top-left corner and fold it down so the top edge aligns with the vertical centerline. The corner tip should land right at the center of the model.
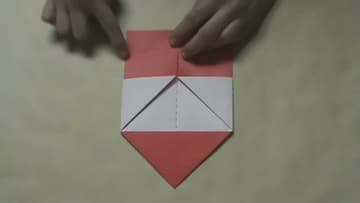
6. Pull the Top Tip Down to the Bottom
Bring the top tip of the model down to meet the bottom tip. The model won't lie flat - that's expected.
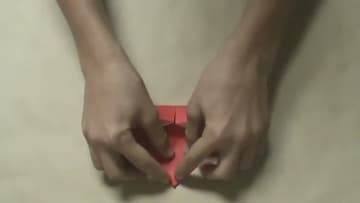
7. Squash the Side Flaps Flat
Take one of the raised side flaps and squash it down. Pull the two edges of the flap apart and let the existing crease line flatten in line with the bottom edge of the heart.
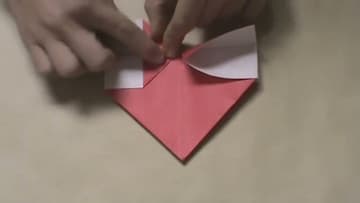
8. Round Off the Top Points
Take the top-left point of the heart and fold it down so the bend lands along the upper edge. This rounds off the lobe.