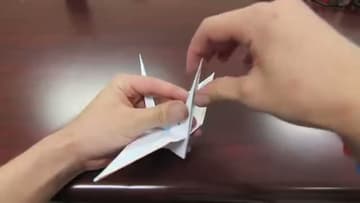
How to Make a Paper Crane: Fold an Origami Crane in 8 Steps
Source: Origami Tsunami • Full tutorial: www.craftingstepbystep.com/paper-crafts/how-to-fold-an-origami-crane
- Difficulty
- Medium
- Hands-on time
- About 25 minutes
- Makes
- 1 origami paper crane
Tools
- Scissors
Materials
- Square origami paper
- Or any square paper
Steps
1. Make a Square
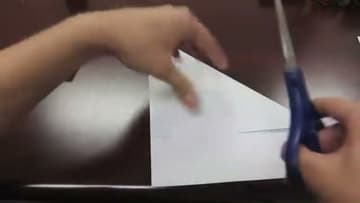
If your paper isn't already square, here's how to make one. Take a rectangular sheet, fold one corner diagonally over so the short edge lines up with the long edge.
Tip: Origami paper is usually 6 inches square and colored on one side.
2. Crease the Diagonals
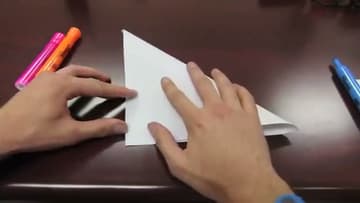
Fold the square in half diagonally, corner to corner, and crease firmly. Unfold.
3. Crease the Horizontal and Vertical
Flip the paper over so the X creases stick up like mountain peaks rather than valleys. Fold the square in half horizontally to crease the middle, then unfold.
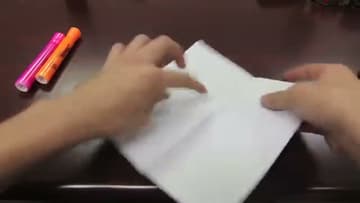
4. Collapse Into the Square Base
Lift the paper by the centers of two opposite edges and bring those points together. The diagonal creases will naturally pull the other two corners inward as you press it down.
Tip: If the paper resists the collapse, your creases probably aren't sharp enough. Refold each one over the edge of a table to make them crisper, then try again.
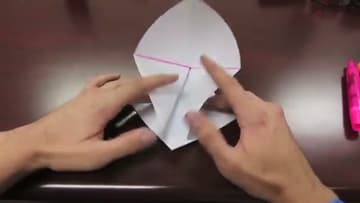
5. Fold the Kite on Both Sides
Place the square base with the open flaps pointing toward you. Take the bottom-right edge of the top layer and fold it inward to meet the vertical center crease.
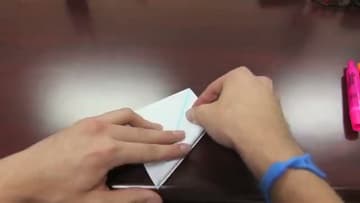
6. Open Up Into the Bird Base
This is the move that surprises beginners. Lift the bottom point of the top layer straight up, opening the kite flaps so the side edges fold inward along their existing creases.
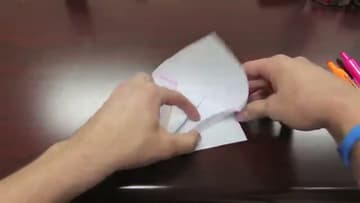
7. Reverse-Fold the Neck and Tail
Pick one of the long bottom flaps - this will become the neck. Open it slightly and tuck it up between the layers so it points whichever way you want the head to face.
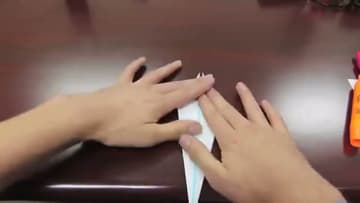
8. Form the Head and Open the Wings
On the neck flap, pinch a small section near the tip and reverse-fold it forward. That bend becomes the crane's head and beak.