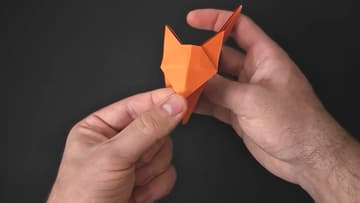
How to Fold an Origami Black Cat (Easy 3D Paper Cat)
Source: Easy Origami and Crafts • Full tutorial: www.craftingstepbystep.com/paper-crafts/how-to-fold-an-origami-cat
- Difficulty
- Medium
- Hands-on time
- About 25 minutes
- Makes
- 1 origami cat

Tools
- bone folder (optional)
- white gel pen (optional)
Materials
- 8-inch square origami paper, black for a black cat
Steps
1. Fold the Origami Paper in Half on the Diagonal
Lay your square flat, colored side down if it has one. Bring one corner across to the opposite corner to make a triangle.
Tip: Run a fingernail or bone folder along every crease. Sharp lines make the collapse much easier.

2. Fold the Origami Paper Edges to the Center for a Kite
Turn the paper so the crease runs up and down, like a diamond. Take the lower right edge and fold it in so it lies along the center crease.
Tip: Fold the bottom point first, then smooth up toward the top. The edge stays straighter.
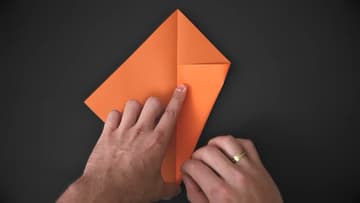
3. Turn the Origami Kite Over and Crease the Bottom Corner
Flip the kite over so the folded flaps are underneath. Fold the remaining loose corner up so its point lands on the center line, and crease it firmly.
Tip: If you lose track of which side is up, look for the two flaps from step 2. They face you now.
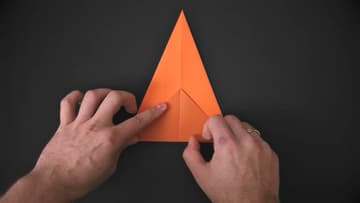
4. Fold the Origami Cat Base in Half and Tuck the Side Corners
Fold the model in half by bringing the bottom point up to the top. Reinforce the fold.
Tip: Check both corners match before creasing. Uneven corners give a lopsided cat face.
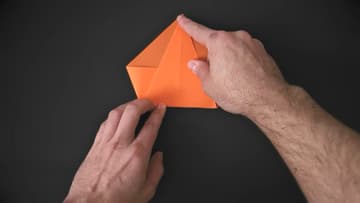
5. Crease New Diagonals on the Origami Cat Body
Fold the right side over to the middle mark from the last step, making a new diagonal crease. Press it well and unfold.
Tip: Take your time lining up with the mark. These creases set the width of the body.
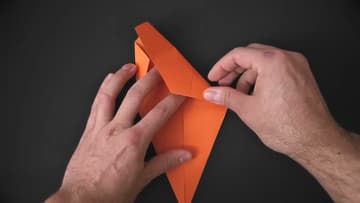
6. Fold the Top Corner Down to Set the Origami Cat Head
Fold the top corner down and crease it. Then fold again, connecting the corners, so the top becomes a neat triangle flap.
Tip: Keep the top fold straight across. A tilted fold gives one ear bigger than the other.
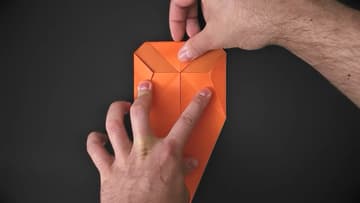
7. Collapse Both Sides of the Origami Cat to the Middle
This step needs attention. Close the right side and the left side together, bringing both to the middle along the creases you already made, so the paper closes.
Tip: Do not force it. If the paper resists, a crease is in the wrong place. Open it and check.
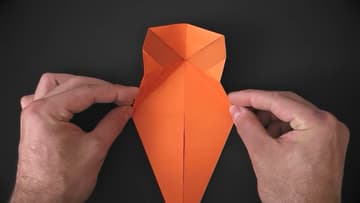
8. Shape the Origami Cat Head With the Corner Fold
Fold the small top corner of the back layer back to make a reference, then unfold it. Move the middle part over to the left.
Tip: This is the hardest step. Pause the video and match each fold before moving on.
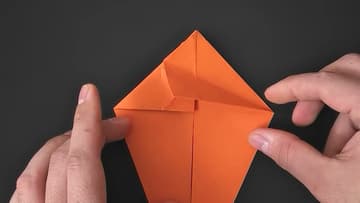
9. Fold the Origami Cat Body in Half Lengthwise
Rotate the paper and fold the model in half along its length. The head sits at one end and the long point that becomes the tail sits at the other.
Tip: A steep diagonal gives an upright tail. A shallow one gives a tail that trails behind.

10. Close the Origami Cat Body and Stand It Up
Close the paper as before. Open the body a little and push each side over the middle part, half the paper to each side.
Tip: Curl the tail around a pencil for a springy hook at the end.