How to Fold an Origami Box
Source: Paper Kawaii - Origami Tutorials • Full tutorial: www.craftingstepbystep.com/paper-crafts/how-to-fold-an-origami-box
- Difficulty
- Easy
- Hands-on time
- About 15 minutes
- Cost
- About $2 to $4
- Makes
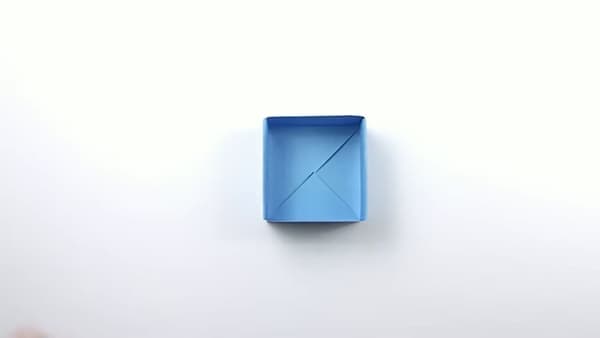
- 1 origami masu box
Tools
- bone folder
- ruler
Materials
- 1 sheet of square origami paper (6 inch / 15 cm)
Steps
1. Crease the Paper Both Ways
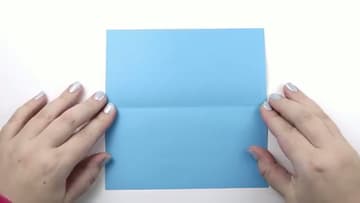
Start with the paper colour side up. Fold it in half edge to edge, press the crease, then open it back out.
Tip: Run a bone folder or your thumbnail along each crease. A soft fold here makes the whole box sit crooked later.
2. Fold the Corners to the Center
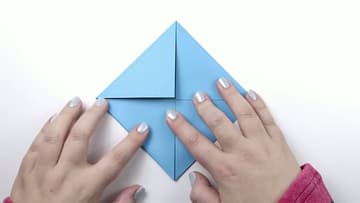
Bring one corner in so its tip lands right on the centre point where your creases cross. Press it flat.
3. Check Your Blintz Base
With all four corners folded in, the paper is now a smaller square with an X of creases running across it. Origami folders call this the blintz base.

4. Fold the Edges to the Center
Fold the top edge down so it meets the centre line, then fold the bottom edge up to meet it. Press both firmly.
Tip: Making a lid instead? Leave a 2mm gap on each edge instead of folding all the way to the centre. That gives you a slightly wider box that fits over the base.

5. Unfold and Read the Creases
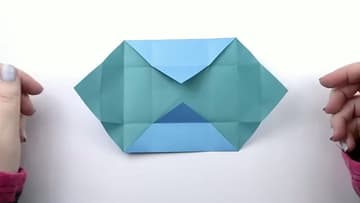
Open the paper back out to a flat sheet. Leave two of the corner triangles tucked in on opposite sides so they can form the ends of the box.
6. Lift the Walls and Lock Them
Stand two opposite sides straight up along their creases. Bring the tucked end flaps around the corners and fold them down into the box to hold the walls in place.
Tip: If a wall keeps popping loose, your edge creases from step 4 need to be sharper. Pinch them harder and the flap will stay put.
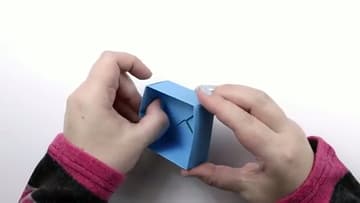
7. Your Finished Masu Box
That's it. You have a traditional masu box folded from a single square of paper.