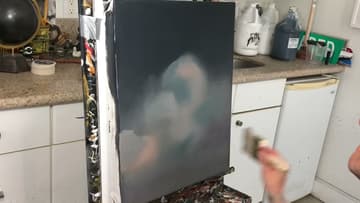
How to Use Acrylic Retarder to Slow Drying Time
Source: GregSimkinsArt • Full tutorial: www.craftingstepbystep.com/painting/how-to-use-acrylic-retarder
- Difficulty
- Medium
- Hands-on time
- About 30 minutes
- Wait time
- 15 minutes

Tools
- squeeze bottle
- foam brush
- chip brushes
- palette
- marker
Materials
- acrylic retarder
- slow-dry medium
- acrylic paint
- canvas
Steps
1. Pick a Slow Dry Medium and an Acrylic Retarder
Greg uses two products from the same acrylic brand: a slow-dry matte liquid and an acrylic retarder. Each one works alone, and he suggests trying them separately first to see how you like them.
Tip: Stick to one brand for paint and mediums when you can. They are made to work together.
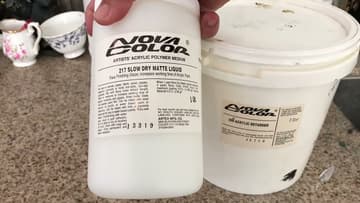
2. Mix the Retarder 50/50 in a Squeeze Bottle and Label It
Pour equal parts retarder and slow-dry medium into a clean squeeze bottle, cap it and shake it to combine. Then label it.
Tip: Mix a small batch first and test it on a scrap canvas before a real painting.
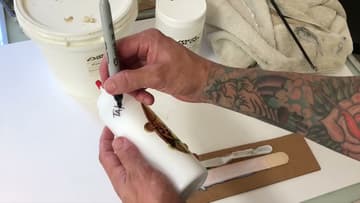
3. Squeeze the Slow Dry Medium Onto the Canvas
One way to use the mix is to coat the area you plan to blend before you add paint. Greg squeezes a line of medium across the top of a canvas he has already painted dark blue-grey.
Tip: Coat one section at a time on a large canvas.
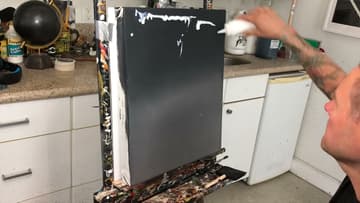
4. Spread an Even Coat of Retarder Medium With a Foam Brush
Spread the medium into a thin, even coat with a foam brush, working top to bottom. Add a little more where it looks dry so the whole area is covered.
Tip: Hold the canvas up to the light to spot any missed patches.
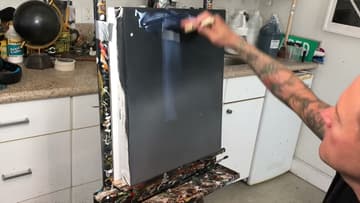
5. Lay the First Light Acrylic Strokes Into the Wet Medium
Mix a little of the medium into your paint on the palette as well. Then lay down your first light strokes.
Tip: Put a bit more medium in the palette dish as it gets used up.
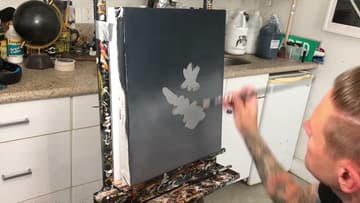
6. Blend the Acrylic Cloud Edges With a Dry Brush
Take a completely dry brush and softly push the paint around. Greg calls this badgering: light, quick touches that melt one value into the next.
Tip: Wipe the brush on a dry towel often to keep it from loading up.
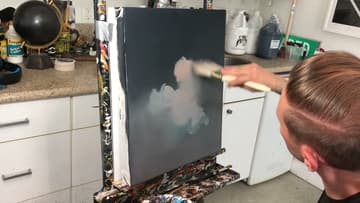
7. Keep Blending the Acrylic While It Stays Open
Keep working the edges, adding light and dark as needed. Use a separate dry brush for each value: one for the brightest highlights, one for white and one for mid-tones.
Tip: Small mistakes often blend into happy accidents. Keep going.
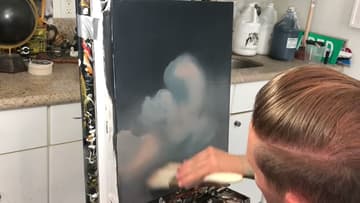
8. Check the Acrylic Is Still Wet After 10 Minutes
After about 10 to 12 minutes of blending, Greg's sky still has a wet shimmer and the paint still moves. Without the medium, the same paint would have dried within minutes.
Tip: Test dryness on an edge with a fingertip before painting over it.