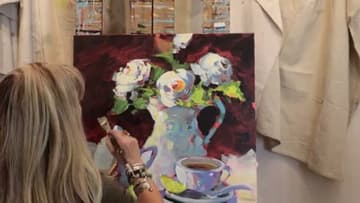
How to Paint Roses in Acrylic
Source: Freedom of Acrylics with artist Jane Slivka • Full tutorial: www.craftingstepbystep.com/painting/how-to-paint-roses
- Difficulty
- Medium
- Hands-on time
- About 1 hour
- Cost
- About $20 to $35
- Makes
- 1 roses painting
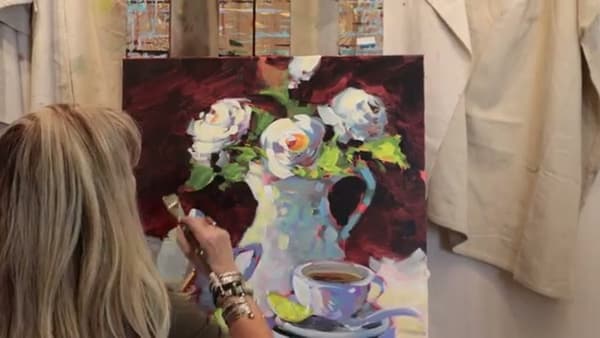
Tools
- 1-inch flat brush
- Round brush (size 4)
- Round brush (size 8)
- Medium filbert brush
- Palette knife
- Plastic palette
- Water cup
- Paper towels
- Easel
- Stretched canvas (12x16 or 16x20)
Materials
- Titanium white acrylic
- Hookers green deep hue acrylic
- Alizarin crimson acrylic
- Cad red light acrylic
- Cad yellow medium acrylic
- Ivory black acrylic
- Pink acrylic
- Gesso primer
- Water
Steps
1. Block Dark Base Blobs Where Each Rose Will Sit
Pick up a dark mix on your flat brush and lay down a rough blob wherever you want a rose. Jane puts a big one center-stage, another off to the side, and a smaller bud-shaped one nearby.
Tip: Vary the blob sizes and avoid balancing them symmetrically. Jane explicitly says she doesn't want anything to look too balanced - asymmetry reads as natural.
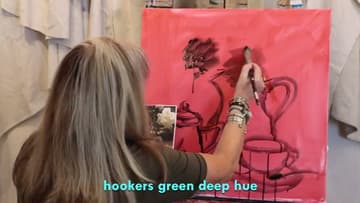
2. Paint Hookers Green Stems and Drippy Leaf Shapes
Load your round brush with hookers green deep hue and pull stems up from each blob. Add a few rough leaf shapes branching off.
Tip: Add an extra leaf coming in from the top of the canvas to balance the bottom-heavy stems.
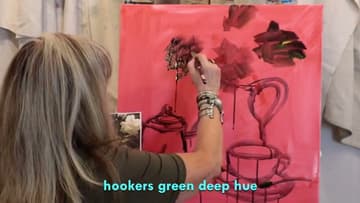
3. Sketch a White Teacup and Saucer Under Each Rose
Switch to titanium white and sketch a small teacup-and-saucer shape over each dark blob. One cup faces left, one faces straight at you, one tilts right, the bud points away.
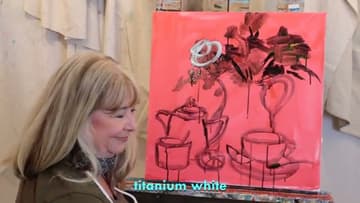
4. Circle White Petals Around Each Cup Center
Find the center of each cup - that's the bottom of the saucer or the rim center, depending on the angle. Start circling petals around it with your white-loaded brush.
Tip: Leave the dark base partially visible between petals. That darkness is the shadow inside the rose - completely covering it makes the flower look flat and posterized.
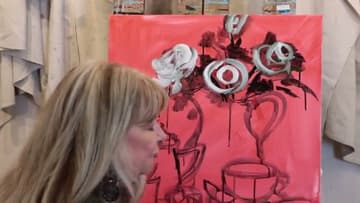
5. Add Green Leaves with Hookers Green and Cad Yellow
Mix hookers green with cad yellow medium on your palette. The yellow lifts the green from the dark stem color into something that reads as fresh leaf.
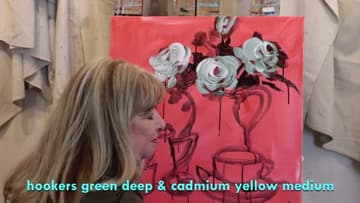
6. Brush Cool Purple-Blue Tones on Petal Edges
Mix a cool tone on your palette - a touch of blue or purple knocked back with white. Brush this gently along the shaded side of each rose, just one drop, no more.
Tip: If your mix turns brown by accident, leave it. Jane's did - she carried it around and it ended up reading as warm shadow on the back of the rose.

7. Tap Cad Red and Yellow Into Rose Centers
Mix cad red light with a touch of cad yellow medium. With a small round brush, tap this warm color into the very center of each rose.
Tip: Step back two feet and squint. If a rose looks dead, it usually needs more warmth in the center.