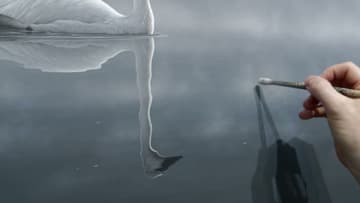
How to Paint Fog and Mist in Acrylics With Dry Brushing
Source: Joseph Koensgen • Full tutorial: www.craftingstepbystep.com/painting/how-to-paint-fog-and-mist
- Difficulty
- Medium

Tools
- worn round brushes
- flat brushes
- soft round or fan brush
- palette
- paper towels
Materials
- acrylic paints (titanium white, black, ultramarine blue, alizarin crimson)
- gessoed panel or smooth canvas
Steps
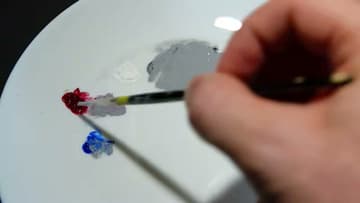
1. Mix a Purple Tinted Grey for the Acrylic Mist
Start with a pile of mid grey on your palette. Joseph pulls in a little ultramarine blue and a touch of alizarin crimson to tint it slightly purple.
Tip: Test a dab on the edge of the canvas. Grey always looks different next to your background.
2. Block In the Base Color of the Fog
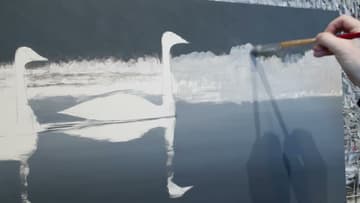
With a flat brush, paint the grey into the area where the mist will sit. Joseph left a space between the dark background and the water for it, with the white swan shapes already blocked in.
Tip: Paint loosely around your subject. You can tidy the edges later.
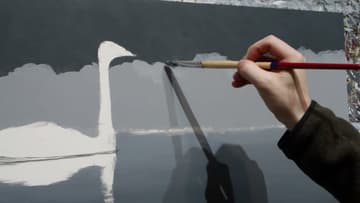
3. Add Darker Grey Bands Above the Mist
Mix a slightly darker grey and paint a band above the first one, working toward the dark background. Then a darker one still.
Tip: Keep the value jumps small. Three or four close steps blend far easier than two big ones.
4. Load a Nearly Dry Brush for Dry Brushing Mist
Mix a value halfway between two neighbouring bands. Test it between them on the canvas to check it sits in the middle.
Tip: Wipe the brush on a paper towel between loads so it never gets wet.
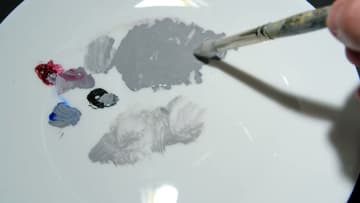
5. Dry Brush a Smooth Gradient Into the Fog
Scrub the nearly dry brush firmly over the line between two bands. This is called scumbling.
Tip: Acrylic dries in seconds this thin, so you can layer pass after pass without waiting.
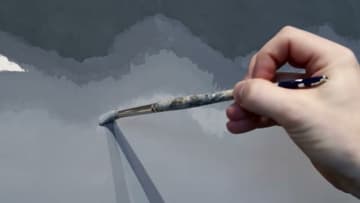
6. Pull Out Light Wisps of Mist With a Small Brush
Once the gradient is smooth, mix a slightly lighter grey. Draw out little structures in the mist, like curls and drifts rising off the lake.
Tip: Step back from the easel often. Wisps that look rough up close read as soft from a distance.
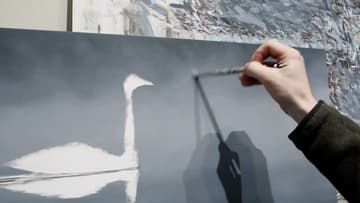
7. Build Lighter Mist Where the Light Falls
Decide where the light comes from in your scene. Joseph's swans are lit strongly from one side, so he adds lighter and lighter mist in the foreground and on the water near them.
Tip: Go one value lighter at a time. Jumping straight to white looks chalky.
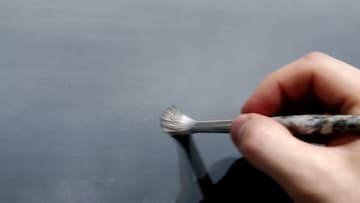
8. Strengthen the Light Beam in the Mist Beside the Swans
With your subject painted, check the mist again. Joseph felt the light near the swans was too weak, so he dry brushed in more light grey, like a beam breaking through trees on the shoreline.
Tip: Paint the subject before the final mist pass. Then you can judge the light against it.
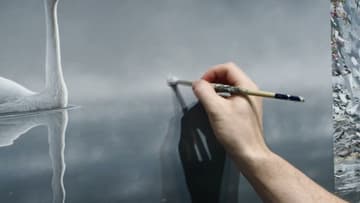
9. Dry Brush Mist Over the Reflections to Finish
Lightly dry brush a little mist over the swan reflections and the water. This pushes them back and gives the whole scene a light, airy feel, as if the fog sits between you and the water.
Tip: Less is more over a finished subject. One light pass, then step back and look.