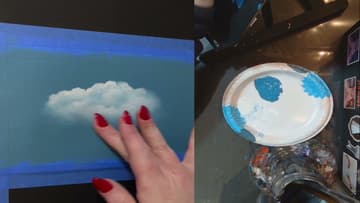
How to Paint Clouds
Source: laurasbeatingart • Full tutorial: www.craftingstepbystep.com/painting/how-to-paint-clouds
- Difficulty
- Easy
- Hands-on time
- About 30 minutes
- Cost
- About $10 to $18
- Makes
- 1 clouds painting
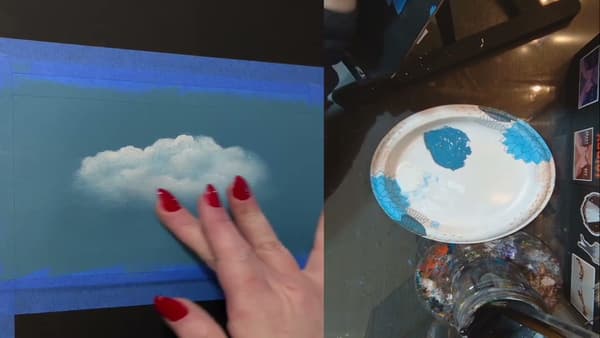
Steps
1. Gather your materials
You'll need acrylic paint in a sky blue (Laura uses Apple Barrel Moody Blue), white craft paint, paper or canvas taped down to a hard board, and three brushes - a wide flat for the background, a small mop brush for shaping the cloud, and a small filbert brush for highlights. Tape the edges of your paper down to a...
Tip: Any wide flat brush will work for the background. You don't need an expensive set; the dollar-store flats are fine for the sky layer.
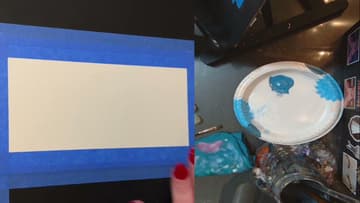
2. Paint the blue sky background
Load the wide flat brush with sky blue and cover the entire paper with two coats. Work in long horizontal strokes so the brush marks read as sky rather than texture - vertical streaks look like rain.
Tip: If the second coat starts to drag and lift the first coat, you're working too long. Lighten your touch and don't go back over the same spot more than twice.
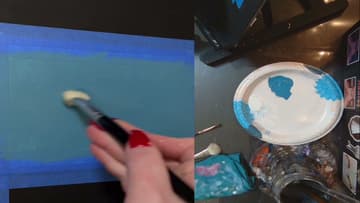
3. Lay the cloud shape with white paint
While the blue is still wet, dip a smaller mop brush into white paint and dab the rough cloud shape onto the paper. Don't try to outline a hard edge - just a fluffy blob slightly off-center.
Tip: Real clouds are wider than they are tall - aim for a flatter, sausage shape rather than a perfect circle.
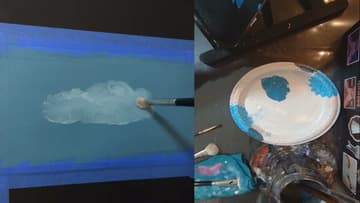
4. Soften the bottom edge
Wipe a clean mop brush on a cloth so it's almost dry. Sweep it lightly along the underside of the cloud using small swirling motions.
Tip: Wipe the brush on a paper towel between sweeps. A loaded brush smears the cloud instead of softening it.
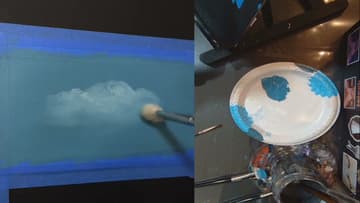
5. Add white highlights to the top
Once the first cloud layer has dried (a few minutes for acrylics), switch to a small filbert brush. Load it with pure white and dab brighter highlights along the top of the cloud where light would naturally hit.
Tip: The most common beginner mistake is covering up the entire cloud with bright white. Stop highlighting before you think you should.
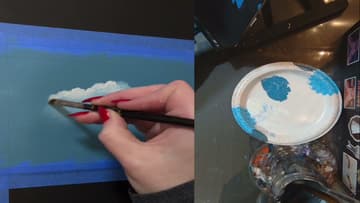
6. Blend and add wispy trails
Wipe the filbert brush clean and run it lightly across the edges of the highlight to fade the bright spots into the rest of the cloud. The transition from bright top to shadowed bottom should feel gradual.
Tip: If you absolutely cannot stop tweaking, walk away for ten minutes. When you come back, you'll see what's actually working and what isn't.