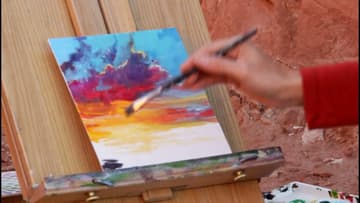
How to Paint a Sunset: 5-Step Acrylic Tutorial
Source: Createful Art with Ashley Krieger • Full tutorial: www.craftingstepbystep.com/painting/how-to-paint-a-sunset
- Difficulty
- Easy
- Hands-on time
- About 45 minutes
- Cost
- About $12 to $20
- Makes
- 1 sunset painting
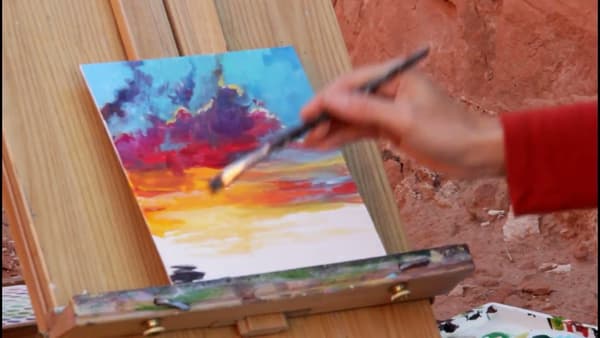
Tools
- Stretched canvas (8x8 inch)
- Small round brush
- Small flat brush
- Palette (stay-wet recommended)
- Water cup
- Paper towels
Materials
- Cadmium Yellow Light acrylic
- Cadmium Orange acrylic
- Cadmium Red acrylic
- Quinacridone Magenta acrylic
- Dioxazine Purple acrylic
- Cerulean Blue (Brilliant Blue) acrylic
- Phthalo Green acrylic
- Titanium White acrylic
- Mars Black acrylic
Steps
1. Block In the Bright Colors
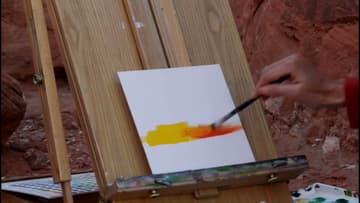
Start with the warmest colors. Lay yellow where you want the sun, then add orange around it.
Tip: Mix a tiny bit of white into the center of the sun area while the paint is still wet. That's where the light is brightest and you want it to glow when you build the drama layer.
2. Add Cool Colors and Grays
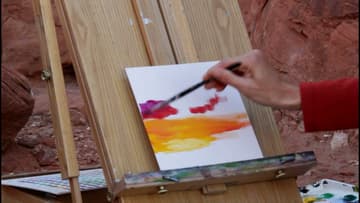
Now add the magentas and dioxazine purple above the warm zone. The colors get darker and cooler as you move away from the sun - that's the visual rule that makes a sunset read as a sunset.
3. Paint the Upper Sky
Paint cerulean blue across the top of the canvas. Blend it down into the cool clouds you laid in step 2.
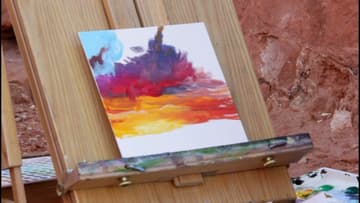
4. Add the Drama Layer
Go back over the brightest spots with pure pigment - thick paint, no blending. Stab strokes of magenta and red into the cool clouds, swipe pure orange and yellow back over the sun area.
Tip: Iridescent or metallic acrylic paint over the sun spot reads as actual glow when the painting catches light at an angle. Optional but worth trying.
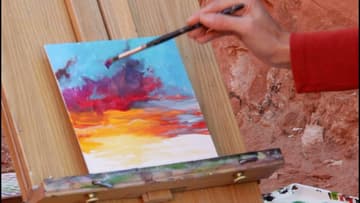
5. Finish the Sky and Add the Foreground
Soften the transitions with a light dry-brush stroke between zones. Then paint the foreground - water, trees, mountains, whatever fits your composition.