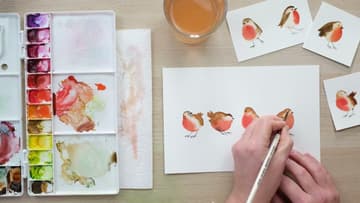
How to Paint a Robin in Watercolor (Easy Wet-on-Wet)
Source: de Winton Paper Co. • Full tutorial: www.craftingstepbystep.com/painting/how-to-paint-a-robin
- Difficulty
- Easy
- Hands-on time
- About 30 minutes
- Wait time
- 15 minutes
- Makes
- a row of 4 robins

Tools
- size 6 round watercolor brush
- water jar
- paper towel
- palette
Materials
- cold pressed watercolor paper
- burnt sienna watercolor
- cadmium red watercolor
- cadmium orange watercolor
- dark brown watercolor
- mars black watercolor
Steps
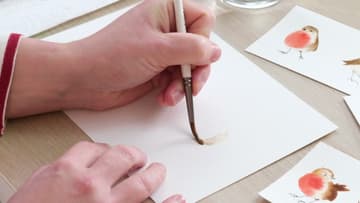
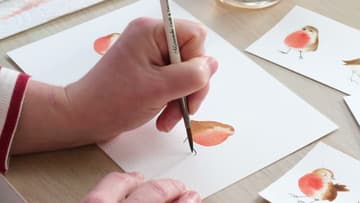
1. Paint a Pale Robin Body Shape in Watercolor
Mix a very dilute wash of burnt sienna with a touch of raw umber. It should be pale enough to barely see.
Tip: Blot the brush on a paper towel first so you do not lay down too much water.
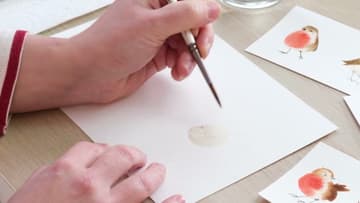
2. Add a Small Head Bubble to the Robin Shape
While the body is still wet, paint a small bump on top for the head. Keep it tiny.
Tip: Paint several bodies at once if you are making cards, then work along the row.
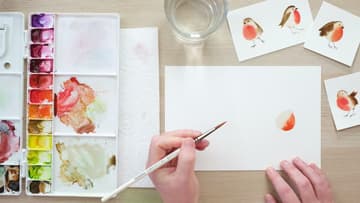
3. Drop Red Into the Robin Breast and Let It Blend
Pick up cadmium red with a little cadmium orange, because a robin breast sits between the two. Stroke the color once down the front of the wet shape.
Tip: If the red runs too far, the body was too wet. Use less water on the next one.
4. Edge the Robin Head and Back in Dark Brown
Rinse and blot the brush, then load a strong dark brown. Using only the tip, run it along the top of the head and down the back of the robin.
Tip: Keep a clean edge between brown and red. Do not paint brown over the breast.
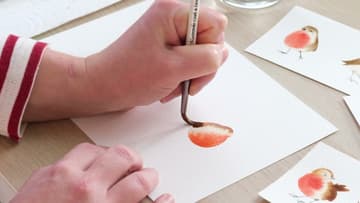
5. Add a Tail and Wing to the Watercolor Robin
With the same dark brown, flick a couple of short strokes out from the back of the body for the tail. Then lay a small curved stroke on the side for the wing.
Tip: Pull each tail stroke away from the body so it tapers to a point.
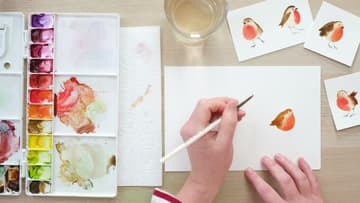
6. Paint a Second Robin Facing the Other Way
Paint another pale body, this time more of a potato shape facing the other way, with a small head bump. Load stronger cadmium red and fill the breast in from the side so more of the red shows.
Tip: Clean the brush between the red and the brown to keep both colors bright.
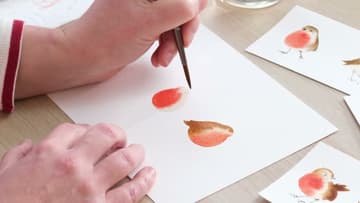
7. Paint a Pecking Robin With Its Head Down
For a third pose, set the head low on the front of the body, as if the robin is pecking at the ground. Edge the red along the front and let it bleed in.
Tip: A really wet body here gives uneven blooms. Keep it damp, not soaking.
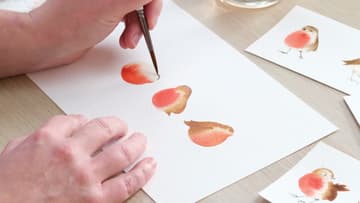
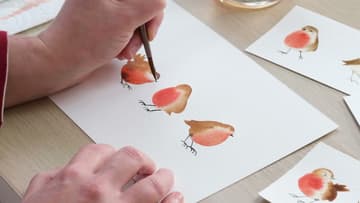
8. Paint Black Legs and Feet on the Robin
Load a little mars black on the same size 6 brush and use only the very tip. Paint two thin legs set a bit toward the back of the body, then three tiny curved toes at the bottom of each.
Tip: Practice the toes on scrap paper first. Three quick flicks are all you need.
9. Add a Small Black Beak to Each Robin
Paint a small pointed beak in black on the robins that are dry around the head. For a bird whose beak sits on the body, like the one looking over its shoulder, wait until the paint is completely dry.
Tip: Test dryness with the back of a finger. Cool paper is still damp.
10. Dot In the Robin Eyes to Finish
Place the eye a little above the beak. Paint a tiny loop of black and leave a pinprick of white paper in it so the eye looks like it has a shine.
Tip: Less is more. One eye dot and a highlight is enough detail.