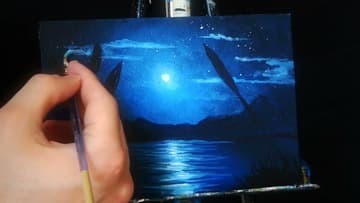
How to Paint a Moonlit Lake in Acrylics
Source: Stay Creative Painting with Ryan O'Rourke • Full tutorial: www.craftingstepbystep.com/painting/how-to-paint-a-moonlit-lake
- Difficulty
- Easy
- Hands-on time
- About 45 minutes
- Wait time
- 15 minutes
- Cost
- About $4 to $10
- Makes
- 1 small canvas painting

Tools
- large, medium and small square (flat) brushes
- old worn flat brush
- small round brush
- palette
- water cup
- paper towels
- tabletop easel
Materials
- 8x10 black canvas
- titanium white acrylic paint
- primary blue acrylic paint
- Mars black acrylic paint
Steps
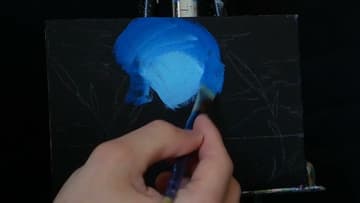
1. Paint the Moonlit Sky Glow in the Center of the Canvas
Dampen a medium square brush. Mix about equal parts titanium white and primary blue and lay a patch in the middle of a black canvas, right where the moon will sit.
Tip: A light pencil or chalk sketch of the horizon and bulrushes helps you place things later.
2. Blend Dark Blue Edges Into the Night Sky Glow
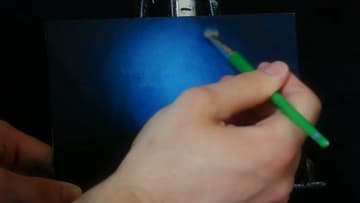
Mix equal parts Mars black and primary blue and brush it onto the left and right sides of the sky. That dark frame is a vignette.
Tip: Cover the whole sky in wet paint before you start on the stars.
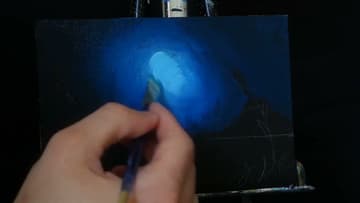
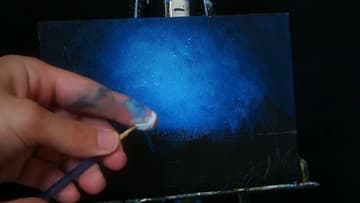
3. Tap Tiny Stars Into the Wet Night Sky With a Worn Brush
Switch to an old square brush whose bristles splay out. Tap it lightly on the wet sky, starting in the bright center and working out in circles.
Tip: No worn brush? Bend back the bristles of a cheap flat brush until they fan out.
4. Spatter Bigger Stars and Plot the Moon in the Night Sky
Load a small round brush with lots of water and a little titanium white. Hold it near the canvas and pull the bristles back with your thumb so the paint flicks onto the sky.
Tip: Test the spatter on a paper towel so you do not get big blobs.
5. Paint Dark Mountains Along the Lake Horizon
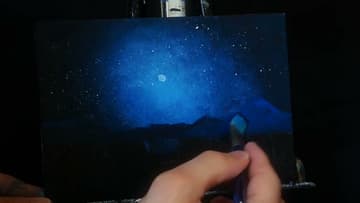
Use the medium square brush to block in a low row of mountains across the horizon. Start with an even mix of primary blue, Mars black and titanium white.
Tip: Vary the peaks. A taller one off to the side looks more natural than an even row.
6. Block In the Lake Water Light in the Middle and Dark at the Sides
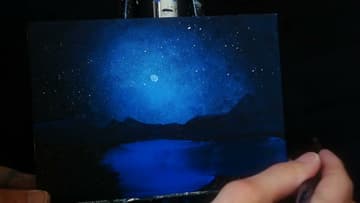
Take the larger square brush and lay an equal mix of white and primary blue in the middle of the water, right below the moon. Put the black and blue mix on the left and right sides.
Tip: Keep your strokes horizontal so the water lies flat.
7. Paint Black Bulrush Silhouettes in the Foreground
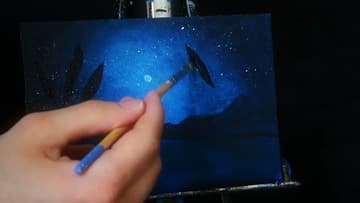
Use a small square brush and pure Mars black to paint a few bulrushes. Pull up thin stalks and give each one a long pointed seed head.
Tip: Let the stalks cross the mountains and sky. Overlapping layers make the scene feel deep.
8. Pull the Moonlight Reflection Across the Lake
Load the medium square brush with plenty of titanium white and a touch of blue. Paint short horizontal strokes on the water right under the moon, brightest in the middle.
Tip: Lost the brightness? Add a few more white strokes once the layer underneath settles.
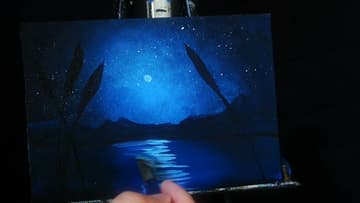
9. Add Dark Grass to the Bottom Corners of the Lake Scene
With the small square brush and dark paint, flick short grass blades up from the bottom left and right corners. Now all four corners of the painting are dark.
Tip: Flick upward fast with light pressure for thin, tapered blades.
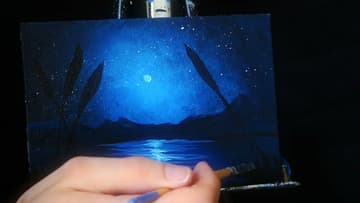
10. Brighten the Moon and Paint Soft Clouds in the Night Sky
Once the sky is dry, dab pure white on the moon so it glows. Add a little more white to the middle of the reflection and soften it with your finger.
Tip: Keep clouds away from the moon itself so its glow stays clear.