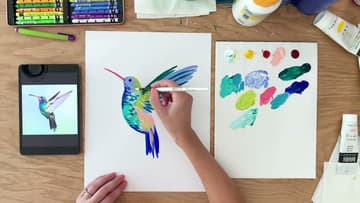
How to Paint a Hummingbird in Acrylics
Source: Julie Marriott • Full tutorial: www.craftingstepbystep.com/painting/how-to-paint-a-hummingbird
- Difficulty
- Easy
- Hands-on time
- About 30 minutes
- Cost
- About $2 to $5
- Makes
- 1 painting

Tools
- round #8 brush
- palette
- water cup
- wax pastel or pencil
Materials
- heavyweight mixed media paper
- acrylic paint: titanium white, medium yellow, red, light pink, magenta, phthalo green, ultramarine blue
- paper towels
Steps
1. Set Out Your Acrylic Palette and Hummingbird Reference
Squeeze small dots of your colors along the top of a paper palette: titanium white, a medium yellow, a red, light pink, magenta, phthalo green and ultramarine blue. Put a sheet of heavyweight mixed media paper in front of you and your hummingbird photo beside it.
Tip: Close substitutes for any of these colors work fine.
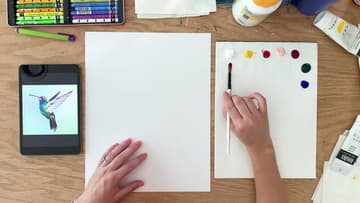
2. Sketch the Hummingbird Head and Beak With a Wax Pastel
Pick a light colored wax pastel or a pencil. Julie uses purple.
Tip: A water soluble wax pastel blends away under the paint.

3. Sketch the Hummingbird Wings and Tail Lines
Add a few fanned lines rising from the back of the body for the raised wing feathers. Sketch a short tail pointing down.
Tip: Count only the longest wing feathers; the rest come later in paint.

4. Dab Turquoise Feathers Onto the Hummingbird Body
Mix phthalo green with a little blue and white into a turquoise. Use the tip of the brush to dab short marks over the body, like small overlapping feathers.
Tip: Add more green if the turquoise looks dull.
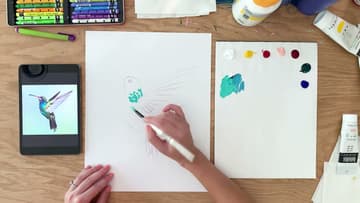
5. Paint the Hummingbird Head in Blue
Mix a soft periwinkle blue from ultramarine and white. Paint the whole head with it, right up to the base of the beak.
Tip: Leave a tiny gap where the eye will go.
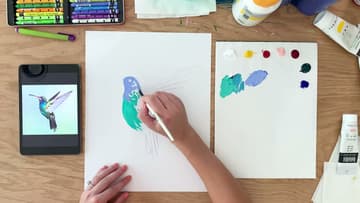
6. Pull Long Blue Strokes for the Hummingbird Wing
Load the brush with the same blue and a touch more water so it flows. Start each stroke at the body and pull it outward along your wing lines, lifting the brush at the end to make a pointed feather tip.
Tip: Turn the paper so you pull strokes in a comfortable direction.
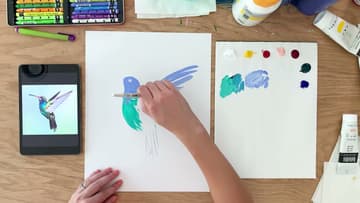
7. Paint the Hummingbird Tail in Dark Blue
The tail in the photo is nearly black, but pure black can look flat. Use straight ultramarine blue instead.
Tip: Dark blue reads as black next to bright colors.
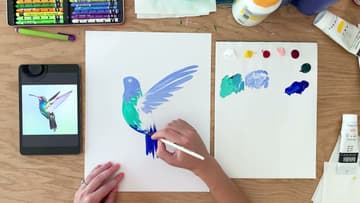
8. Mix a Soft Yellow Green for Hummingbird Highlights
Mix yellow with a little phthalo green for a bright yellow green. If it looks too intense, add a bit of white to soften it.
Tip: Stroke along the back of the head to show where green meets blue.
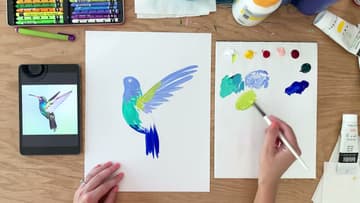
9. Paint the Hummingbird Beak and Peach Belly
Mix light pink with a little red for a reddish pink. Paint the long thin beak in one smooth stroke, adding water if the paint feels scratchy.
Tip: Steady your hand on the table edge for the beak stroke.
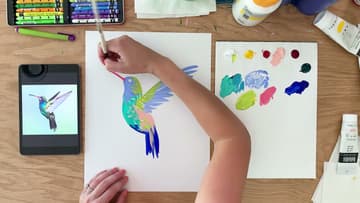
10. Add Dark Shadows and Light Sparkle to the Hummingbird
Mix phthalo green with a little blue for a deep shadow color. Paint dark strokes along the crease of the wing and add the far wing peeking out behind the head.
Tip: Stop while it still looks loose; overworking dulls the colors.