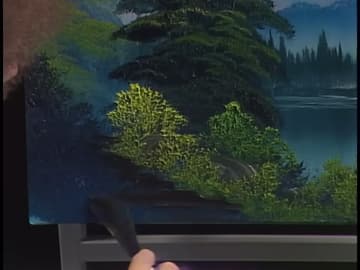
How to Oil Paint a Landscape With Bob Ross
Source: Bob Ross • Full tutorial: www.craftingstepbystep.com/painting/how-to-oil-paint-a-landscape
- Difficulty
- Medium
- Hands-on time
- About 2 hours 30 minutes
- Cost
- About $40 to $80
- Makes
- 1 oil landscape painting

Tools
- 2-inch landscape brush
- 1-inch landscape brush
- Fan brush
- Palette knife
- 18 x 24 inch stretched canvas
Materials
- Liquid White
- Alizarin Crimson
- Phthalo Blue
- Prussian Blue
- Titanium White
- Sap Green
- Cadmium Yellow
- Yellow Ochre
- Dark Sienna
- Odorless paint thinner
Steps
1. Coat the Canvas and Load Your Brush
Everything here depends on starting wet. Cover the whole canvas with a thin, even coat of Liquid White before you begin.
Tip: Bob works on an 18 by 24 inch double-primed pre-stretched canvas. Any size works, but the paint has to go on while the Liquid White is still wet.
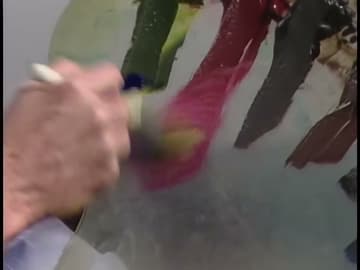
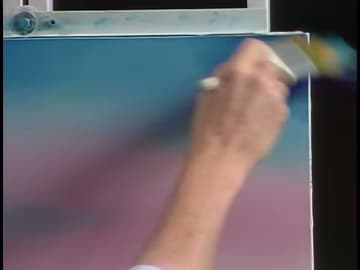
2. Brush a Warm Glow Into the Sky
Take the loaded brush to the upper canvas and work in small crisscross strokes, little Xs, dropping a soft pink band across the sky. Keep it loose.
Tip: Put the warm colour down first. Blue is far stronger and will swallow pink if you reverse the order.
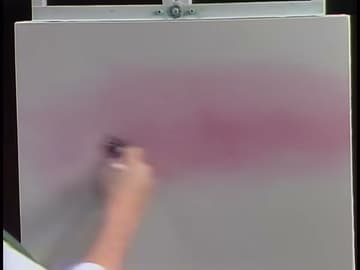
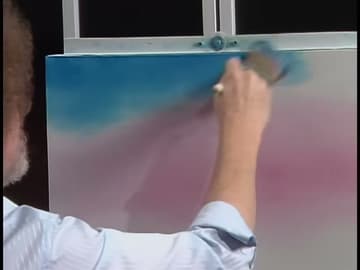
3. Work Blue Over It and Blend
Without cleaning the brush, go straight into Phthalo Blue. Tap a little into the bristles and lay it across the top of the sky with the same crisscross strokes.
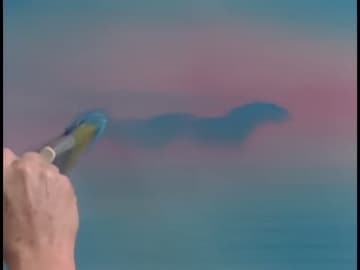
Tip: Want a cloud? Tap the brush lightly in one spot and a soft stringy shape appears, then blend the edges out.
4. Pull In the Still Water
Still water is always level, so every stroke here runs horizontally. Pull from the outside edge in toward the centre, then repeat from the other side.
Tip: Then clean the brush in odourless thinner and, in Bob's words, beat the devil out of it. A dry brush is what makes the next blend work.
5. Tap In a Misty Line of Distant Trees
Mix a light blue, mostly Phthalo with plenty of Titanium White. Take the corner of the brush and pull straight down in short strokes to suggest a treeline far back in the distance.
Tip: Add a second, darker layer below the first for depth.
6. Drop In the Nearer Evergreens
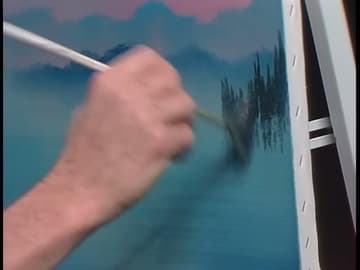
Mix a dark from black, Prussian Blue, Phthalo Blue, a little Crimson and a touch of Sap Green. Load a fan brush on both sides.
Tip: Resist adding detail back here. Distant things read as shape and value only, and that restraint is what creates the depth.
7. Pull the Reflections Straight Down
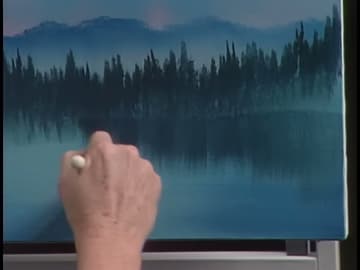
Reflections are the part traditional painters find hardest and the wet-on-wet method makes trivial. Take the same dark colour on a two-inch brush, touch the water directly below each tree, and pull straight down.
Tip: Lift a little white upward afterwards to suggest another plane of water. Those marks end up reading as pale trunks among the trees.
8. Build the Island
Lay a waterline in with Liquid White pulled out flat, cutting straight across. Then highlight the evergreens with Cadmium Yellow and Yellow Ochre worked into the green already on the fan brush.
Tip: Thin paint sticks to thick paint. Adding Liquid White to a highlight colour is what lets it grab the dark layer underneath.
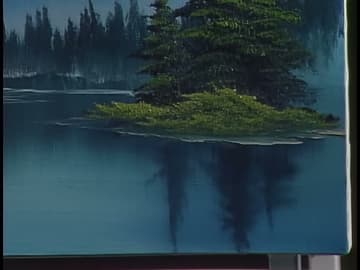
9. Lay In the Big Foreground Tree
This is the bravery test. Take the corner of the two-inch brush and block in the basic shape of a large tree at the edge of the canvas, much closer to the viewer than anything else in the scene.
Tip: You decide how tall, how wide, how far it reaches. Bob's line is worth keeping in mind: on this canvas you can move rivers and mountains.
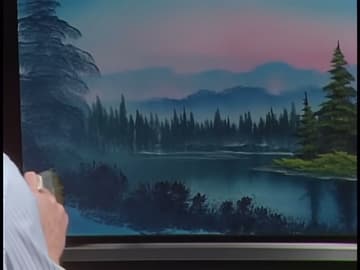
10. Add the Path and Foreground Bushes
Cut a path in with a light brown so there is a way to walk down to the water, then graze a white and Dark Sienna highlight along one edge, barely touching. Work the foreground bushes with a one-inch brush loaded straight down and pulled in one direction, rounded edge upward, using almost no pressure.
Tip: One bush at a time. It starts working, you get greedy, and the foreground turns to mud. Details like these are what make the painting look finished.