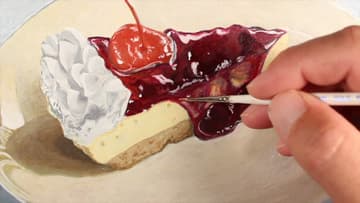
How to Glaze With Acrylics - Grisaille Underpainting and Color Glazes
Source: Drawing & Painting - The Virtual Instructor • Full tutorial: www.craftingstepbystep.com/painting/how-to-glaze-with-acrylics
- Difficulty
- Medium
- Hands-on time
- About 4 hours
- Wait time
- 1 hour

Tools
- soft synthetic flat brush
- small round brushes
- palette
- water cup
- pencil
Materials
- canvas or canvas panel
- acrylic paints
- carbon black and titanium white acrylic
- acrylic glazing medium
- paper towels
Steps
1. Start the Grey Underpainting for an Acrylic Glaze
Begin with a light pencil contour drawing on the canvas. Then mix carbon black and titanium white into a few greys and start painting.
Tip: Mix three or four greys before you start so you are not chasing the same tone twice.
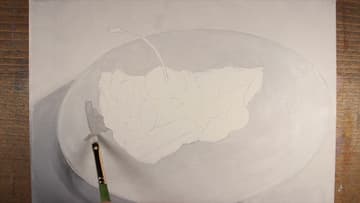
2. Block In the Darkest Values of the Underpainting
Work one section at a time. Cover the whole shape with the base tone that fills most of it.
Tip: Do not worry about detail yet. A clean, even base tone makes the next layers easier.
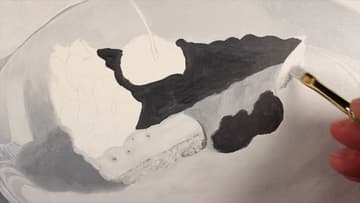
3. Build Lighter Greys to Model the Underpainting
Over the dark base, add lighter and lighter greys to bring out the form and texture. Compare each new value with the ones beside it.
Tip: Thin a little grey with water and lay it over dry paint to soften hard transitions.
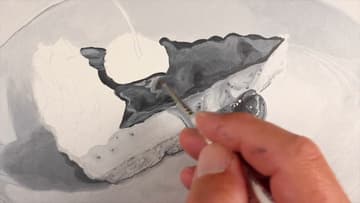
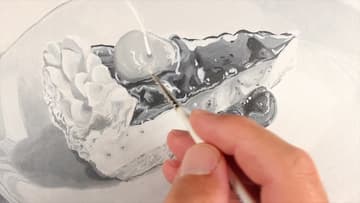
4. Add Bright Highlights to the Grey Underpainting
Finish the underpainting with the strong highlights. Shiny surfaces like the cherry and the wet topping catch the light wherever their form changes.
Tip: Stop when you have a full range from the darkest dark to the brightest light.
5. Mix an Acrylic Glaze With Glazing Medium and Water
Now for the colour. Mix a small amount of paint with a generous amount of glazing medium and a bit of water.
Tip: Test the glaze on a scrap of grey painted card before it goes on the painting.
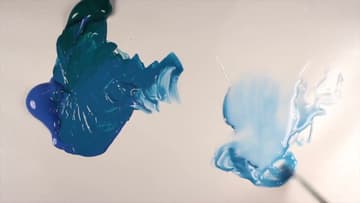
6. Brush a Thin Yellow Acrylic Glaze Over the Plate
Glaze the background areas first. Several blue glazes go on the tablecloth, then a yellow glaze of Indian yellow and cadmium yellow light goes over the plate.
Tip: Let each glaze dry fully before the next, or you will lift the colour underneath.
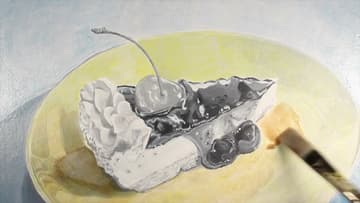
7. Mute an Acrylic Glaze With a Thin White Glaze
Glazing does more than add colour. It can tone a colour down or change its value.
Tip: You can still paint thick, opaque colour over glazes, for example to clean up a cast shadow.
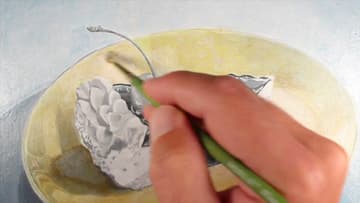
8. Glaze the Cherry With Layers of Red Acrylic
Move on to the cherry. Mix a glaze of cadmium red light with a touch of alizarin crimson.
Tip: Use a small round brush for the stem and keep the glaze inside the shape.
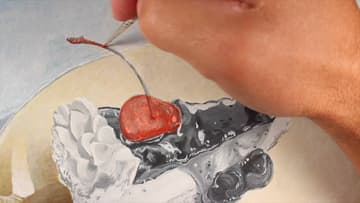
9. Build Up Crimson Acrylic Glazes on the Topping
The cheesecake itself gets several glazes of Indian yellow, titanium white and a touch of raw umber, with a browner mix on the crust. For the cherry topping, mix alizarin crimson with a little cadmium red light.
Tip: Re-darken any shadows that faded once the colour is in place.
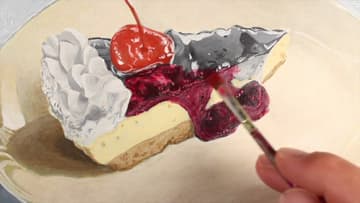
10. Restore the Highlights Over the Acrylic Glazes
The glazes will have dulled your brightest spots. Go back with thick titanium white and a fine brush and put the strong highlights back on the topping and the cherry.
Tip: Fewer, sharper highlights read as gloss. Too many make the surface look busy.