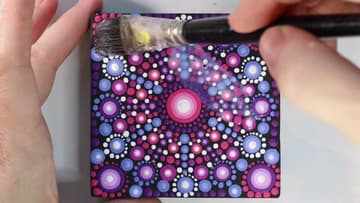
How to Do Dot Mandala Painting for Beginners
Source: The Dotting Center • Full tutorial: www.craftingstepbystep.com/painting/how-to-do-dot-mandala-painting
- Difficulty
- Easy
- Hands-on time
- About 2 hours
- Wait time
- 12 hours
- Cost
- About $3 to $10
- Makes
- 1 mandala painting

Tools
- dotting tools (stylus set and dotting rods)
- 12-line divider stencil
- white chalk pencil
- compass
- paint palette or wet palette
- cotton swabs
- flat brush
Materials
- wood block, canvas or smooth rock
- black chalky finish paint
- acrylic paint in 4 colors plus white
- matte varnish
Steps
1. Chalk the Dot Mandala Grid With a Divider Stencil
Base coat your block black with chalky finish paint and let it dry. Lay a 12-line divider stencil over it and nudge it until the overhang is even on every side, so the center sits in the middle.
Tip: No stencil? Fold a paper circle in half three times and use the creases as guides.
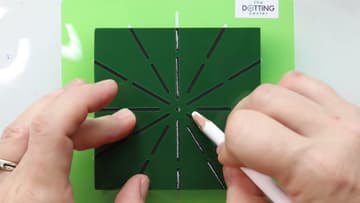
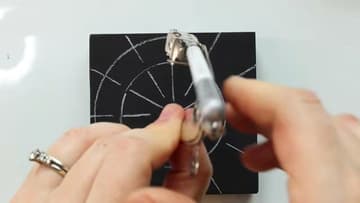
2. Draw Chalk Circles for the Dot Mandala Rings
Set a compass point in the center and draw three circles about half an inch apart. These rings are guides, not rules.
Tip: Chalk dust under a dot makes it bead up and slide. Dust well.
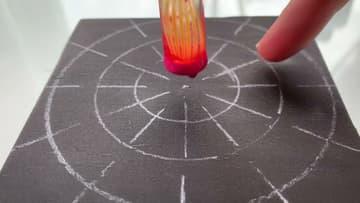
3. Paint the Center Dot of the Dot Mandala
Pick four colors you like plus white, and pour a little of each on a palette. Dip the end of your largest dotting rod into the first color.
Tip: Hold the rod upright. Tilting it makes an oval dot.
4. Add the First Ring of Small Dots Around the Center
Switch to the small end of a stylus. Place one tiny dot on each chalk line where it meets the center dot.
Tip: Turn the block as you go instead of reaching across your work.
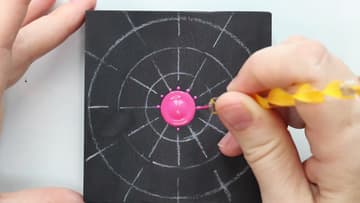
5. Dot Every Other Line for the Next Mandala Ring
This is where the stencil earns its keep. Take the smallest clear rod and place a dot on every other chalk line, a little farther out.
Tip: Choose tools by the space left, not by a set size.
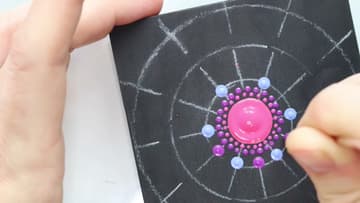
6. Walk the Dots Out Into a Star Shape
Load the largest stylus once and press four dots in a line straight out along a chalk line, without reloading. Each dot comes out a little smaller than the last.
Tip: Start the first dot touching the ring so the ray looks connected.
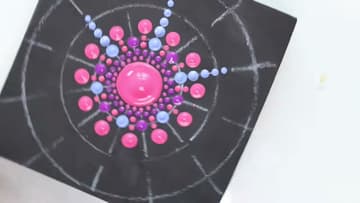
7. Ring the Large Dots With Small Border Dots
Place big dots with a rod where the outer circle meets every other line. Then frame each one.
Tip: Let the dots shrink as the paint runs low. It looks intentional.
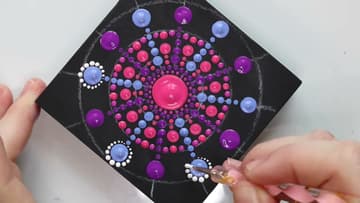
8. Fill the Negative Space Around the Dot Mandala
Look for the empty spots. Find a tool that fits each gap and add a dot there, keeping each new dot on the same circle as its neighbors.
Tip: Let the painting dry every 15 minutes so mistakes wipe off cleanly.
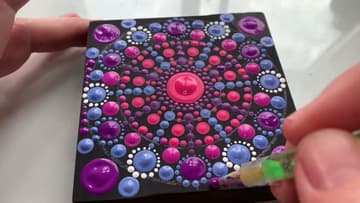
9. Add Lighter Top Dots to Finish the Dot Mandala
Mix a little white into each of your colors to make lighter tints. Use a smaller stylus to set a tint dot on top of each large dot, then a smaller white dot on top of that.
Tip: Let the first layer dry before you add top dots, or they sink in.
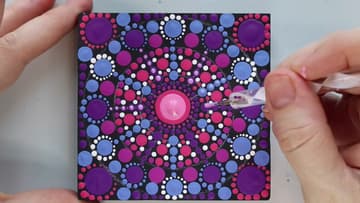
10. Wipe Off the Chalk and Varnish the Dot Mandala
Let the painting dry overnight so the thick dots are hard all the way through. Wipe the chalk lines away with a damp cloth.
Tip: Varnish too soon and the brush flattens soft dots. Wait the full night.