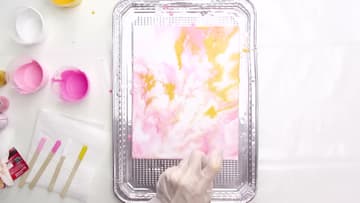
How to Do an Acrylic Pour Painting
Source: Kristen // k.becca • Full tutorial: www.craftingstepbystep.com/painting/how-to-do-an-acrylic-pour-painting
- Difficulty
- Easy
- Hands-on time
- About 45 minutes
- Wait time
- 24 hours
- Cost
- About $15 to $30
- Makes
- 1 acrylic pour painting

Tools
- Shallow tray
- Wooden craft sticks
- Mixing cups
- Shot glasses
- Gloves
Materials
- Craft acrylic paint
- White school glue
- Water
- Canvas panel
- Isopropyl alcohol
Steps
1. Cover Everything
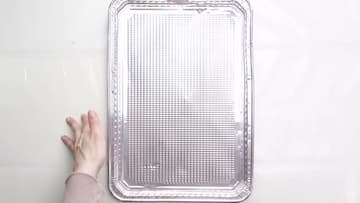
Acrylic pouring is messy by design, so protect the surface first with a bin bag, drop cloth or old newspaper. Sit a shallow tray underneath the work as well.
Tip: Trays come in packs of two cheaply. Worth it if you do not have a dedicated space for this.
2. Pick Your Paint
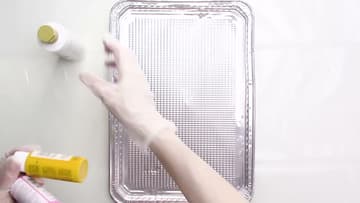
Ordinary craft acrylic is all you need. Folk Art, Americana, Apple Barrel and Craft Smart all pour well.
3. Make the Pouring Medium
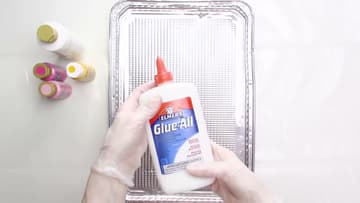
Rather than buying a dedicated pouring medium, mix your own from white school glue and water. It behaves the same for a fraction of the cost, which matters because a pour uses a surprising amount of it.
Tip: Distilled water is the purist choice, but tap water works fine unless you want the piece to last decades.
4. Mix It Four to Eight
Fill your bottle to the 4 ounce mark with glue, then top it up to the 8 ounce mark with water. Cap it and shake until there are no streaks.
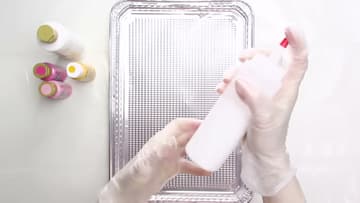
5. Give Each Colour a Cup
Pour each colour into its own cup and stir the medium in with a wooden craft stick. Popsicle sticks, wooden skewers or plastic spoons all do the same job, so use whatever you have.
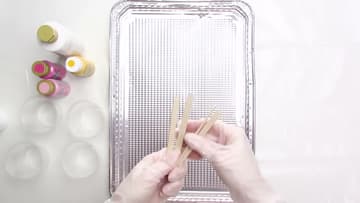
6. Mix to Buttermilk
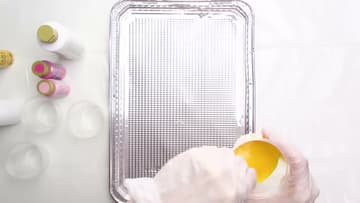
Keep adding medium until the paint runs like buttermilk off the stick. It usually lands close to a one-to-one ratio of paint to medium, but go by how it flows rather than the measurement.
Tip: This is the step that decides whether the pour works. Too thick and nothing moves when you tilt.
7. Raise the Panel
Set your canvas panel on four shot glasses, one at each corner, inside the tray. Lifting it clear lets the paint run off all four edges instead of pooling underneath and gluing the panel down.
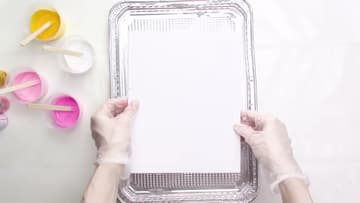
8. Pour
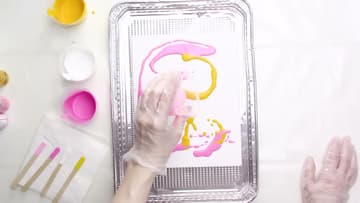
Pour the colours straight onto the panel. There are as many pouring patterns as there are painters - stripes, puddles, a dirty pour from one cup.
9. Tilt to Guide It
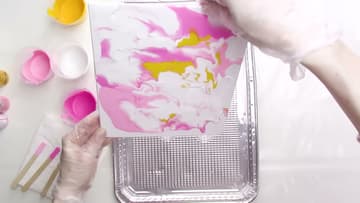
Lift the panel and tip it so the paint starts travelling. Work it toward each corner in turn until the whole surface is covered.
Tip: Paint runs off the edges quickly once you start tilting, so keep the tray underneath and do not chase every gap.
10. Spritz for Cells
Spray isopropyl alcohol over any bubbles you can see. It pops them and leaves extra texture where it hits the wet paint.