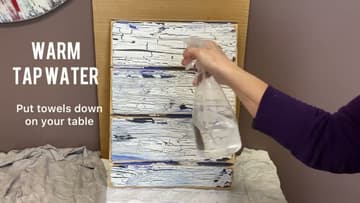
How to Crackle Paint - Weathered Wood Finish in 7 Steps
Source: Our Upcycled Life • Full tutorial: www.craftingstepbystep.com/painting/how-to-crackle-paint
- Difficulty
- Easy
- Hands-on time
- About 45 minutes
- Wait time
- 8 hours
- Cost
- About $15 to $30
- Makes
- 1 crackle painted wood piece
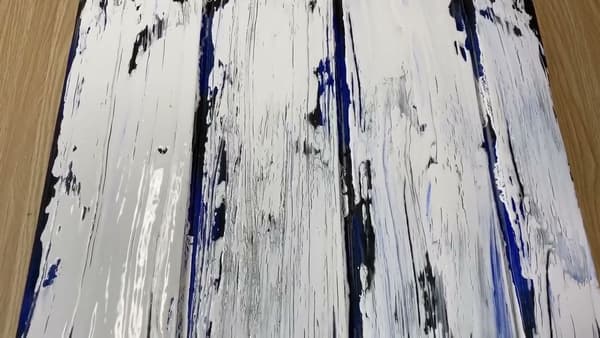
Tools
- 2-inch chip brush or foam brush for the base coat
- 1-inch chip brush for the glue mixture
- Wood block or end-grain scrap for texture stamping
- Spray bottle filled with warm water
- 80-grit sandpaper
- Plastic mixing cup and a wooden skewer or stir stick
- Old t-shirt or rag for blotting
Materials
- Wooden board or piece of furniture to apply the technique to
- Elmer's school glue (4 oz bottle or larger)
- Chalk paint or latex paint in 3 colors - dark base, accent, and light topcoat
- Black latex paint or stain (for the final aging step)
- Poly acrylic sealer (optional - only if the piece will see use)
Steps
1. Gather the Supplies (Elmer's Glue is the Secret)
Pull together everything you need: a piece of wood (any flat painted surface works for practicing the technique), Elmer's school glue (any school glue will work - the specific brand doesn't matter), a small block of wood for the texture stamping, a spray bottle of warm water, and three paint colors. The three colors...
Tip: This is a fantastic project for the leftover paint at the back of your craft cabinet.
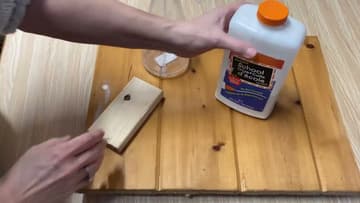
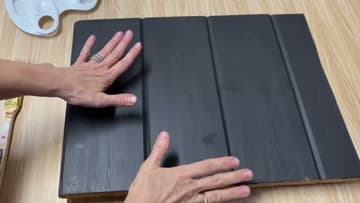
2. Paint a Solid Dark Base Coat
Brush a solid coat of the dark base color over the entire wood surface. The base color will peek through the cracks once the crackle effect develops, so pick something with strong visual contrast to the lighter topcoat - a deep navy, charcoal, or rich brown all work well behind white.
Tip: Use a foam or chip brush rather than a fancy bristle brush - this technique creates intentional roughness, so brush quality doesn't matter.
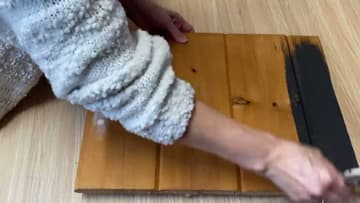
3. Add the Accent Color in Random Patches
Once the dark base coat is dry, add the accent color in random patches across the board - don't cover the whole surface, just dab it on here and there. The accent adds visual depth so the cracked surface looks like it has multiple layers of old paint underneath, rather than just one solid color.
Tip: Vary the patch sizes and don't make them symmetric. Real old paint chips don't have a pattern - random is more convincing.
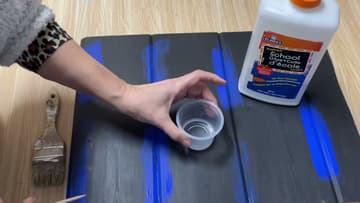
4. Mix the Glue and Brush It On
Mix the secret crackle potion: 1 part water to 2 parts Elmer's school glue. The mix doesn't have to be exact - the goal is glue thinned just enough that it flows from a brush in long even strokes (the consistency should be like maple syrup).
Tip: Test by lightly touching with a fingertip - the glue should feel slightly sticky but not transfer to your finger. That's the magic moment for the next step.
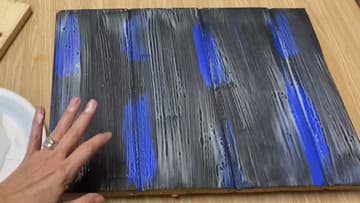
5. Apply the Topcoat with a Wood Block
While the glue is tacky, dip a small block of wood (any scrap, end-grain side down) into white chalk paint. Press the painted face of the block onto the tacky surface and drag it across in single passes - don't rework an area or you'll mush the glue around.
Tip: End-grain wood blocks (the cut end of a 2x4) give the best texture because the grain pattern transfers along with the paint. Side-grain blocks give a smoother result.
6. Let it Dry Overnight Then Sand Aggressively
Let the board dry fully - overnight is best. Don't use a hair dryer or heat gun: forced drying gives less dramatic cracks than letting the glue contract naturally over hours.
Tip: Wear a dust mask while sanding. Old paint plus glue plus aggressive sanding creates a lot of fine dust that you don't want in your lungs.
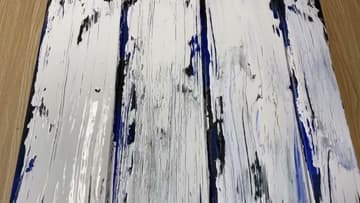
7. Water and Black Paint Weathering Pass
For the final aging effect, stand the board upright and mist water across the whole surface with a spray bottle. Dab black latex paint along all the edges and exposed raw wood spots with a chip brush.
Tip: Don't touch the board after the water spray. The water reactivates the glue layer underneath the paint, and any pressure smears the paint.