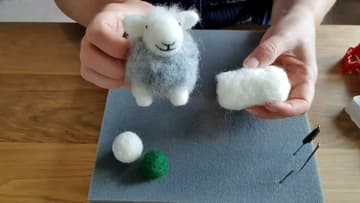
How to Needle Felt
Source: Felts By Philippa • Full tutorial: www.craftingstepbystep.com/other-crafts/how-to-needle-felt
- Difficulty
- Easy
- Hands-on time
- About 30 minutes
- Cost
- About $8 to $15
- Makes
- 1 needle felted ball

Tools
- felting needles (36, 38 and 40 gauge)
- foam felting pad
- leather finger guards
- needle storage tube
Materials
- carded wool roving in colours
- white wool roving
- core wool
Steps
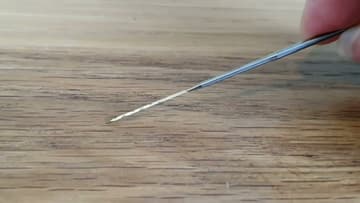
1. Look Closely at the Barbed Felting Needle
Start with the needle. It is a long triangular steel needle with tiny notches near the tip.
Tip: Wrap a bit of coloured tape round the top of each needle so you can tell the gauges apart at a glance.
2. Put Leather Finger Guards on Your Thumb and First Finger
Most beginner kits include two leather finger guards. One goes on your first finger and one on your thumb of the hand that holds the wool.
Tip: If the guards slip, a strip of masking tape round the base holds them on.
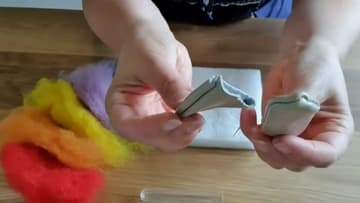
3. Pull a Strip of Wool Roving Gently Apart
Take a length of wool roving. If you grip it hard and yank, it will not come apart.
Tip: Pull a little more than you think you need. Felting shrinks wool a lot.
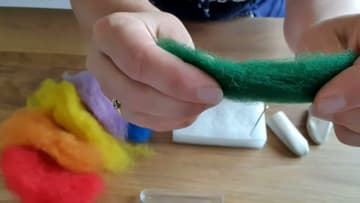
4. Roll the Green Wool Into a Tight Ball on the Foam Pad
Lay the wool on the foam pad and roll it up into a rough ball, tucking the ends under as you go. Roll it as tightly as you can.
Tip: Hold the loose end down with the needle for a few stabs so the roll does not spring open.
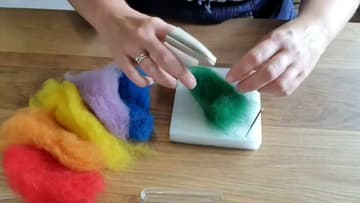
5. Stab the Felting Needle Straight In and Straight Out
Push the needle into the wool and pull it back out along the same line. Same angle in, same angle out.
Tip: Breaking a few needles is normal. If a tip snaps inside the wool, dig it out before you carry on.
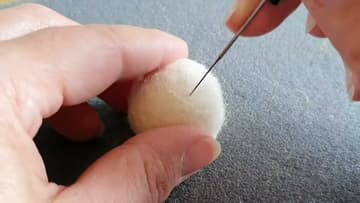
6. Turn the Felt Ball Between Stabs So It Stays Round
Keep stabbing and keep turning the ball. If you felt in one spot, the wool locks together only there and you get a dent or a hole.
Tip: Take one finger guard off now and then to feel how firm the ball is getting.
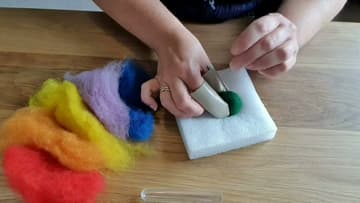
7. Squeeze the Needle Felted Ball to Test How Firm It Is
Give the ball a squeeze. Firm felt springs back and feels solid.
Tip: If it feels spongy all over, roll it tighter in your fingers and keep stabbing.
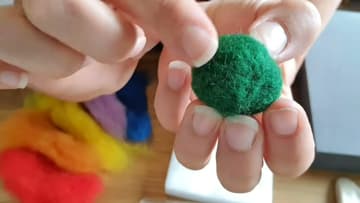
8. Roll the Finished Felt Ball Between Your Palms
When the ball is firm all round, put the needle down. Roll the ball between your flat palms for a minute, like making a ball of dough.
Tip: Warm hands work best. The friction does a little extra felting.
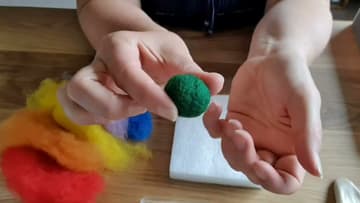
9. Roll White Wool Into an Oblong and Needle Felt the Body Shape
For an animal body, roll a bigger piece of white wool into a sausage instead of a ball. Stab along the loose edge to fix it, then felt all the way along the middle.
Tip: Pick out any bits of straw or hay as you find them. They show on a white finish.
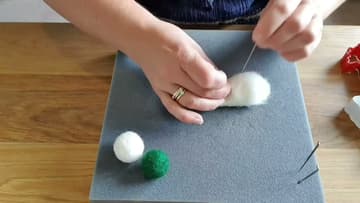
10. Use the Felted Oblong as the Body of a Needle Felted Sheep
That oblong is the base for almost any small animal. Put it next to a small white ball and you have the body and head of a sheep.
Tip: Keep the oblong slightly softer than the balls so the legs and fleece will felt into it easily later.