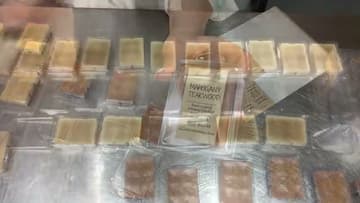
How to Make Wax Melts (Strong Scent Throw)
Source: Ellen Ruth Soap • Full tutorial: www.craftingstepbystep.com/other-crafts/how-to-make-wax-melts
- Difficulty
- Easy
- Hands-on time
- About 30 minutes
- Wait time
- 2 hours
- Cost
- About $10 to $18
- Makes
- a set of about 6 wax melts
Tools
- Wax melter or double-boiler
- Candle thermometer
- Stainless steel pour pot
- Stirring spoon
Materials
- Pillar of Bliss or similar combo wax
- Candle fragrance oil
- Wax dye chips or liquid dye
- Clamshell wax melt molds
- Sugar sprinkles or pearls (optional)
- Printed labels
Steps
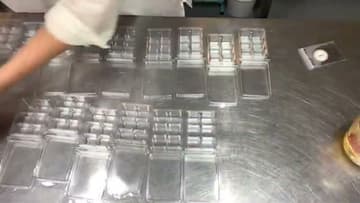
1. Lay Out Your Clamshell Molds and Supplies
Set out the empty clamshell molds in rows on a clean, level work surface. Steel benches or a kitchen counter both work.
Tip: If you're going to sell the melts, weigh the empty clamshells first so you know your tare weight. That makes labeling the net weight quick later.
2. Melt the Wax and Add Color
Heat the wax in a melter or double-boiler to 190°F. Once it's fully liquid, drop in wax dye chips and stir until the color dissolves completely.
Tip: Pillar of Bliss wax tolerates a heavy fragrance load - up to 12% by weight. That's why Ellen specifically recommends it for strong-scent melts.
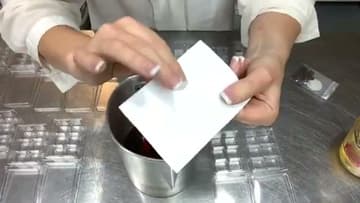
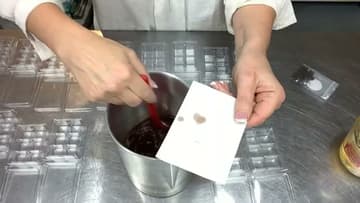
3. Test the Color on White Paper
Drop a small amount of melted colored wax onto a piece of white paper and wait 20 seconds for it to set. The cooled spot is the actual color your finished melts will be - hot wax always looks darker than its cooled state.
Tip: Take notes on how many chips of which color got you the shade you wanted. Repeat batches go faster when you know the ratio.
4. Cool to 180°F, Add Fragrance, and Pour
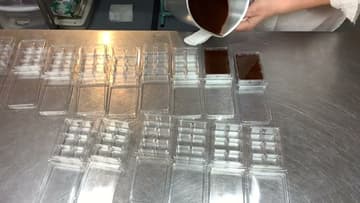
Let the wax drop to about 180°F before adding fragrance oil. Hotter than that and the fragrance flashes off into the air instead of bonding with the wax - that's the most common reason DIY melts smell weak.
Tip: Standard fragrance load for wax melts is 6-8% by weight. So for a 10 oz batch, that's roughly 0.7 oz of fragrance oil.
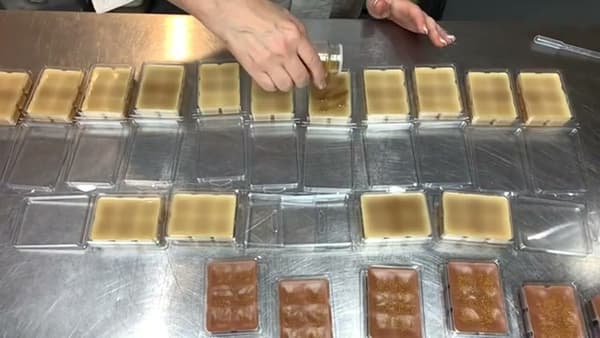
5. Add Sprinkles or Pearls Once a Skin Forms
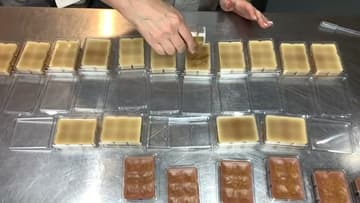
Wait about five minutes after pouring for a thin skin to form on the surface. Then sprinkle on sugar sprinkles, decorative pearls, biodegradable glitter, or whatever decoration you want.
Tip: Sprinkles only sit on top - they don't change how the melt performs in a warmer. Coordinate the color of the decoration with the scent for a more polished look.
6. Cool Fully, Snap the Tops Shut, and Label
Let the wax cool completely - usually two hours - before snapping the clamshell tops shut. Trapping any condensation inside the closed clamshell weakens the scent throw.
Tip: Online Labels has a free Maestro Label Designer that prints to standard 2x3 inch label sheets - the same size most clamshell wax melt sellers use.