How to Make Soap from Scratch
Source: TheCraftyGemini • Full tutorial: www.craftingstepbystep.com/other-crafts/how-to-make-soap
- Difficulty
- Advanced
- Hands-on time
- About 1 hour
- Wait time
- 4 weeks
- Cost
- About $25 to $50
- Makes
- about 6 to 8 bars of soap
Steps
1. Suit up with safety gear
Working with lye is the most dangerous part of soap making. Sodium hydroxide is caustic and the fumes released when it first hits water are toxic for about 30 seconds.
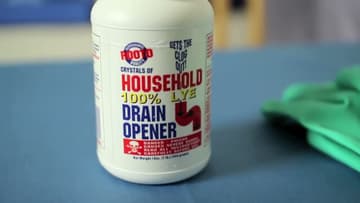
Tip: Buy lye specifically labeled for soap making - 100% sodium hydroxide. Don't use generic drain cleaner that contains lye; it's mixed with other chemicals that contaminate your soap.
2. Measure your oils, lye, and water
Use a digital scale - never volume measurements (cups, teaspoons) - because soap making is a chemical reaction that needs precise ratios. A few grams off and the bar either won't saponify or will leave excess lye that burns skin.
Tip: Use containers and tools that you set aside ONLY for soap making - label them.
3. Carefully mix lye into water
Pour the measured water into a heat-proof glass measuring cup or pitcher first. Then SLOWLY pour the lye crystals into the water (always lye into water, never the other way around - reverse order causes a violent reaction).
Tip: Work next to your sink so you can rinse a splash immediately.
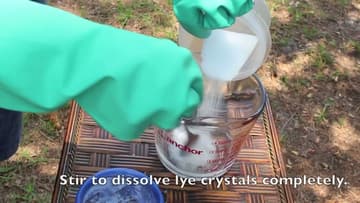
4. Wait for both temperatures to match
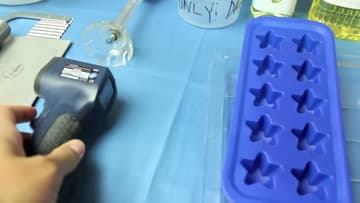
Use a thermometer (gun-style or a candy thermometer) to check the lye water and the oils separately. The lye water cools down from its 200°F peak while the oils warm up slightly to room temperature.
Tip: Speed it up by setting the lye container in a sink of cool water (no ice; that thermal-shocks the glass). Don't speed up the oils - just let them warm naturally.
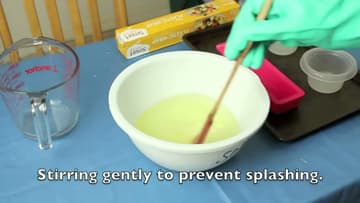
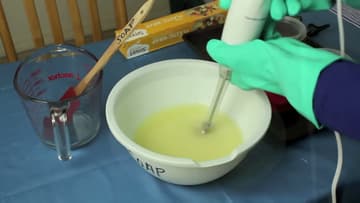
5. Combine and stick-blend to 'trace'
Slowly pour the lye water into the bowl of oils while stirring gently. Switch to a stick blender and pulse-blend in short bursts (5-10 seconds at a time) so you don't introduce air bubbles.
Tip: This is the stage to add fragrance, color, or exfoliants like ground oats.
6. Pour into molds, rest 24 hours, then cure 4-6 weeks
Pour the traced batter into silicone or plastic soap molds (or recycled milk cartons cut in half). Tap the molds gently on the counter to release any air bubbles.
Tip: Label each bar with the date it was made and the recipe. Six weeks is hard to track without a label, and 'is this cured yet?' becomes a guess otherwise.