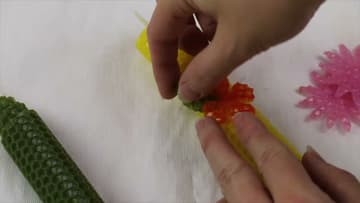
How to Make Rolled Beeswax Candles
Source: sheri vegas • Full tutorial: www.craftingstepbystep.com/other-crafts/how-to-make-rolled-beeswax-candles
- Difficulty
- Easy
- Hands-on time
- About 35 minutes
- Cost
- About $10 to $18
- Makes
- 2 rolled beeswax candles

Tools
- heat gun or hair dryer
- craft knife
- ruler
- craft scissors
- cookie cutters (optional)
- tongs
- small melting pot (optional)
Materials
- honeycomb beeswax sheets
- cotton square braid candle wick
- extra beeswax for priming the wick (optional)
- baking paper
Steps
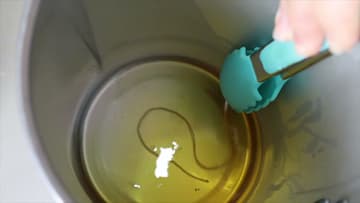
1. Prime the Cotton Candle Wick in Melted Beeswax
Cut a length of cotton wick about an inch longer than your beeswax sheet. Drop it into a pot of melted beeswax and hold it under with tongs.
Tip: Use tongs, not fingers. Melted wax is hot enough to burn.
2. Lay the Primed Wick Along the Edge of the Beeswax Sheet
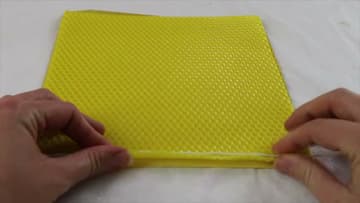
Set a honeycomb beeswax sheet flat on the table. Lay the dry wick along the bottom edge, with a little wick sticking out past each side.
Tip: Leave more wick at the top end than the bottom. The top is the end you light.
3. Roll the Beeswax Sheet Tight Around the Wick
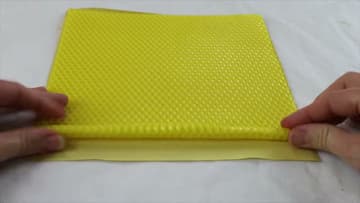
Fold the edge of the sheet over the wick and press it down hard. That first turn decides how solid the candle is, so squeeze out any air around the wick.
Tip: Lay a ruler along one side of the sheet and roll against it to keep the candle square.
4. Warm the Seam of the Rolled Beeswax Candle With a Heat Gun
When you reach the end of the sheet, the loose outer edge needs sealing. Set a heat gun on its lowest setting, or use a hair dryer, and pass it over the seam for no more than five seconds.
Tip: Keep the nozzle moving the whole time so no single spot gets too hot.
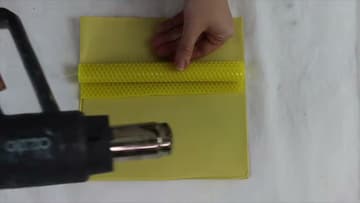
5. Roll the Warm Beeswax Candle to Seal the Seam
Put your palm on the warm candle and roll it back and forth across the table a few times. The softened edge melds into the layer underneath and the seam disappears into the honeycomb.
Tip: Press the bottom of the candle on the table to flatten it so it stands straight in a holder.
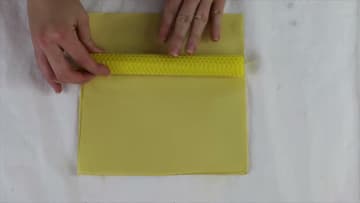
6. Cut the Beeswax Sheet on a Diagonal for a Spiral Taper
For a spiral taper, cut a fresh sheet on an angle. Lay a ruler or the edge of a notepad from one top corner to a point partway down the opposite side, and run a craft knife along it.
Tip: Scissors work if you do not have a craft knife. Warm the sheet first so it cuts clean.
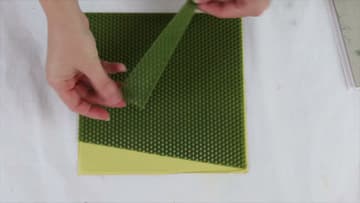
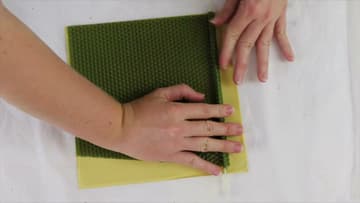
7. Roll the Spiral Beeswax Taper From the Tall Edge
Lay the wick along the tall straight side of the cut sheet, the highest point. Then roll toward the short side the same way as before.
Tip: Only the bottom edge needs to stay straight. Let the top spiral form by itself.
8. Cut Flower Shapes From a Beeswax Sheet With Cookie Cutters
Warm a colored beeswax sheet with the heat gun until it is pliable. Press a cookie cutter straight down into the wax and lift.
Tip: Fondant plunger cutters from the baking aisle are the right size for thin candles.
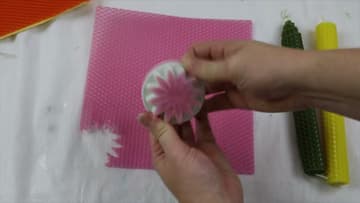
9. Press the Beeswax Flower Cutouts Onto the Rolled Candle
Pass the heat gun over the candle for a second or two so the surface is tacky. Lay a leaf on first, then press a flower over it with your fingertips.
Tip: Keep decorations on the lower two thirds of the candle, away from the flame.