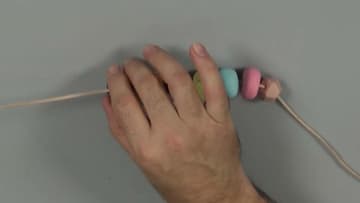
How to Make Polymer Clay Beads (6 Easy Styles)
Source: Mont Marte Art • Full tutorial: www.craftingstepbystep.com/other-crafts/how-to-make-polymer-clay-beads
- Difficulty
- Easy
- Hands-on time
- About 1 hour
- Wait time
- 45 minutes
- Cost
- About $8 to $20
- Makes
- 1 bead necklace

Tools
- craft blade or scissors
- palette knife
- needle tool or pottery spike
- paintbrush
- soft brush
- foil or baking tray
- oven
- oven thermometer
Materials
- polymer clay
- leafing size
- fine glitter
- copper leaf sheets
- faux suede cord
Steps
1. Cut and Knead Polymer Clay Into a Soft Ball
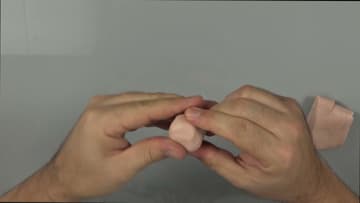
Cut a square off a block of beige clay with scissors or a blade. Knead it between your fingers until it is warm and soft with no stiff bits left.
Tip: Cold clay is stiff. Warm the block in your hands or a pocket for a few minutes first.
2. Blend Two Polymer Clay Colors Into a New Shade
Mix your own colors from a starter pack. Press a blue block and a white block together and keep folding and kneading until the streaks disappear and you have an even sky blue.
Tip: Stop kneading early if you like the marbled look. Partly mixed clay makes great beads.
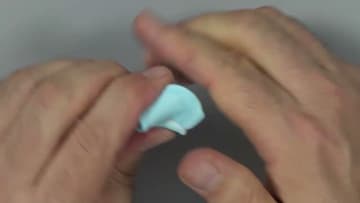
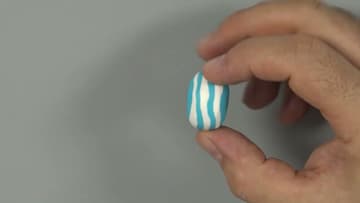
3. Layer Clay Slices for a Striped Polymer Clay Bead
Cut a blue block and a white block into thin slices of the same thickness. Stack them, alternating colors, so you build a striped brick.
Tip: Light pressure keeps the stripes crisp. Heavy rolling smears them together.
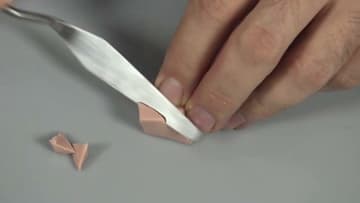
4. Carve a Faceted Polymer Clay Bead From a Cube
Form a block of clay into a neat cube. Mark the middle of each edge, then mark diagonals between those points.
Tip: Chill the clay for ten minutes before cutting. Firm clay gives cleaner facets.
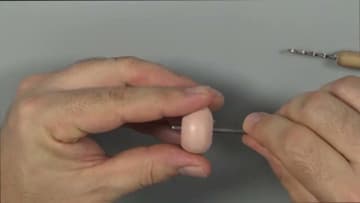
5. Pierce a Hole Through Each Polymer Clay Bead
Hold the bead lightly and push a pottery spike or needle tool through the center. Keep the hole as centered as you can so the bead hangs straight on the cord.
Tip: Push halfway from each side so the exit hole does not tear.
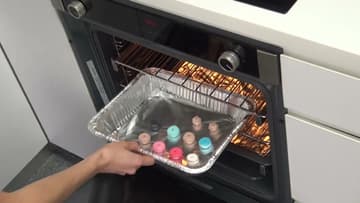
6. Bake the Polymer Clay Beads on a Foil Tray
Preheat the oven to the temperature on your clay packet. Mont Marte clay bakes at 130 C (about 265 F) for 30 minutes.
Tip: An oven thermometer tells you the real temperature. Many ovens run hotter than the dial.
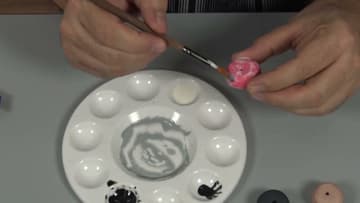
7. Brush Leafing Size Onto the Baked Clay Beads
Pour a little leafing size into a palette. Size is the glue that holds glitter and metal leaf.
Tip: Slide the bead onto a skewer or tool so you can coat it without touching it.
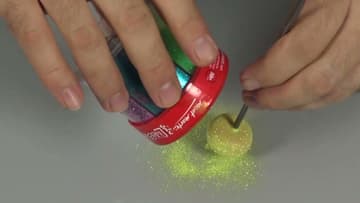
8. Pour Glitter Over a Sized Polymer Clay Bead
Hold the sized bead over a sheet of paper and pour glitter over it. The video uses the yellow from a six color shaker.
Tip: Fine glitter gives a smooth sparkle. Chunky glitter shows the shape of each flake.
9. Wrap a Clay Bead in Copper Leaf
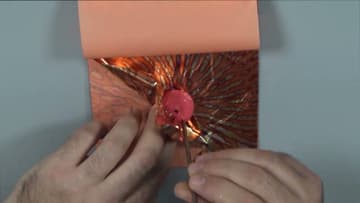
Set a sized bead in the middle of a fresh sheet of copper leaf. Lift the leaf up and fold it gently around the bead until it is fully covered.
Tip: Leaf is thin and tears easily. Work in a spot with no breeze or fan.
10. Thread the Polymer Clay Beads Onto a Cord
Lay out your beads and decide on the order before you start. Thread them one at a time onto a length of faux suede cord, sliding each one down to meet the last.
Tip: Wrap a bit of tape around the cord tip if it frays and will not go through the holes.