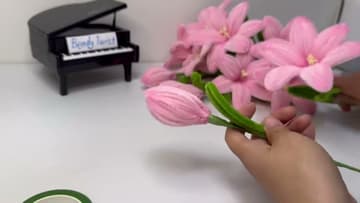
How to Make Pipe Cleaner Flowers (5 Easy Designs)
Source: BendyTwist • Full tutorial: www.craftingstepbystep.com/other-crafts/how-to-make-pipe-cleaner-flowers
- Difficulty
- Easy
- Hands-on time
- About 1 hour
- Cost
- About $5 to $10
- Makes
- a bouquet of about 5 pipe cleaner flowers
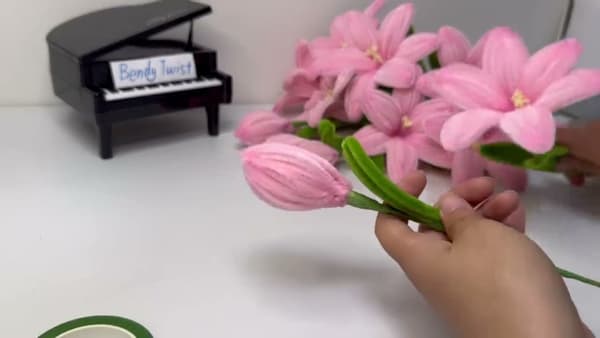
Tools
- scissors
- metal ruler
- hot glue gun
- lighter (optional, for melting glue strings)
Materials
- pink pipe cleaners (chenille stems)
- green pipe cleaners
- 18-gauge floral wire
- green floral tape
- yellow stamens
- hot glue sticks
- pink eyeshadow or colored chalk powder
Steps
1. Cut and Twist the Pink Petals
Lay out a stack of pink pipe cleaners. For a single lily you need twelve - that gives you six petals, two strands per petal for body.
Tip: Cut a few extra strands the first time you try this. The first two or three petals are practice, and you'll want spares.
2. Make the Green Filler Leaves
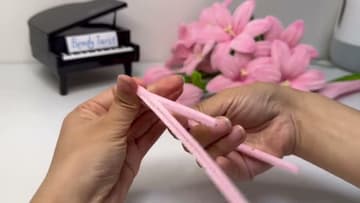
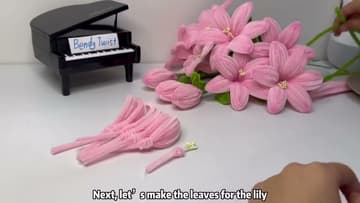
The lily leaves are long, pointed, and grass-like. Take two green pipe cleaners, fold one in half, then fold it in half again so you end up with four parallel strands bound at one end.
Tip: If the leaves look flat or floppy, run your thumb and forefinger down each strand to give it a slight curl. Real lily leaves are never perfectly straight.
3. Glue Six Petals Around the Wire Stem
Plug in the hot glue gun and let it warm up for a couple of minutes. While it heats, cut an 18-gauge floral wire to about 30 cm - that's the stem length for one stalk.
Tip: No hot glue gun? A lighter works. Briefly pass the flame under the petal base to soften the chenille fibers, then press them onto the wire. It's slower but the bond is strong.
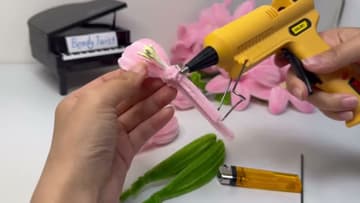
4. Trim and Shape the Open Petals
Take a small pair of scissors and trim a clean point at the tip of each petal. The cut should taper from the outside edge to a pointed center - that's what gives the lily its star shape.
Tip: Sharper trim equals more dramatic flower. Round-tip petals read as daisies. Pointed petals read as lilies.
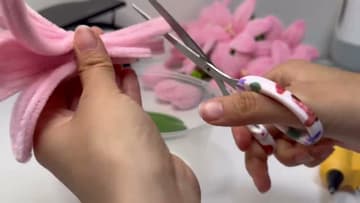
5. Wrap a Closed Bud Variation
Buds add depth to a bouquet so it doesn't look like a row of identical open flowers. To make one, take three 10 cm pink strands and stack them flat.
Tip: If the bud bulges in the middle, you've used too many strands. Two-strand buds are slimmer and more realistic than three.
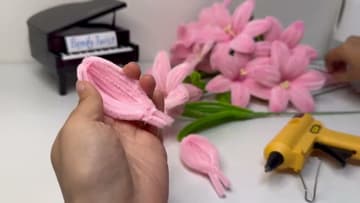
6. Dust the Petals With Pink Eyeshadow
This is the secret-weapon step that lifts pipe cleaner flowers from craft project to gift-worthy. Squeeze a small mound of bright pink eyeshadow onto a saucer (a free single-shade pan from any drugstore works fine) and use a yellow chalk pastel or makeup brush to grind it to a fine powder.
Tip: Don't use blush or bronzer - they have shimmer that reads as plastic on chenille. Matte eyeshadow is the right finish.
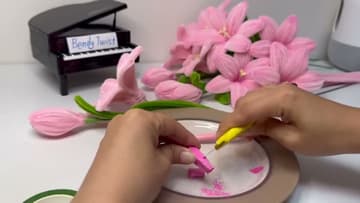
7. Wrap Each Stem With Green Floral Tape
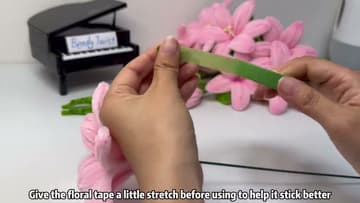
Floral tape only sticks when stretched. Tear off a 60 cm length, pinch one end, and pull gently until the tape thins and becomes tacky.
Tip: If the tape keeps tearing, you're stretching too hard. Stretch just enough to make it tacky - not enough to thin it to nothing.
8. Gather Into the Finished Bouquet
Lay your finished pieces on the table: six open lilies, two or three buds, four to six green leaves. Now arrange them by feel rather than by rule.
Tip: Odd numbers always look better than even. Six flowers, three buds, five leaves is more pleasing to the eye than five flowers, two buds, four leaves.