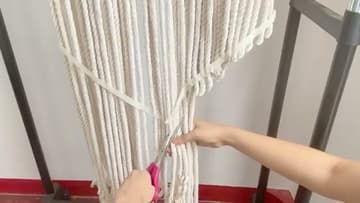
How to Make a Macrame Wall Hanging - Beginner Pattern
Source: Habit Made • Full tutorial: www.craftingstepbystep.com/macrame/how-to-make-a-macrame-wall-hanging
- Difficulty
- Easy
- Hands-on time
- About 1 hour 15 minutes
- Cost
- About $10 to $18
- Makes
- 1 macrame wall hanging
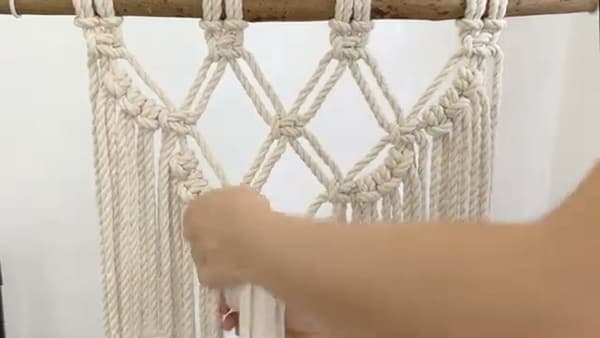
Tools
- Sharp scissors
- Measuring tape
- Masking tape (to anchor the dowel)
Materials
- 7mm cotton macrame cord (about 50 feet total)
- Wood dowel or branch (about 2 feet long)
Steps
1. Gather Your Supplies
You need cotton macrame cord (7mm thickness is the standard for wall hangings), sharp scissors, a measuring tape, masking tape, and a 2-foot wood dowel or natural branch. Cotton cord gives a soft, lived-in look once it unravels at the bottom into fringe.
Tip: Look for a natural-finish wooden branch instead of a perfect dowel - it adds rustic character. Most craft stores sell them in the floral or wedding section.
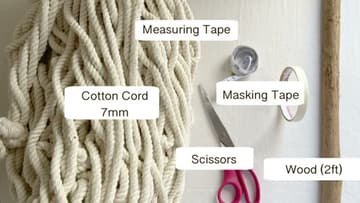
2. Cut Your Cords
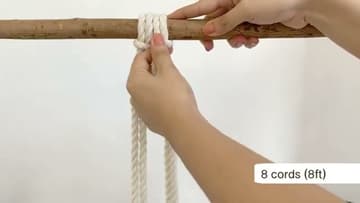
Cut 8 cords at 8 feet each - these go in the center of the design and need extra length for all the knots. Then cut 18 cords at 6 feet each - these add to the sides later.
Tip: Always cut a foot longer than you think you need. Macrame eats cord faster than expected, and running out 3/4 of the way through the design is the worst feeling.
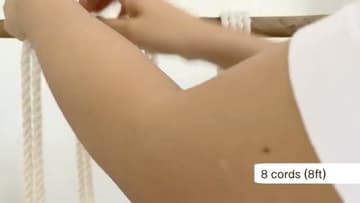
3. Attach Cords with Larkshead Knots
Tape the dowel to a flat surface or hang it on a hook so it stays still. Fold each 8-foot cord in half.
Tip: Push each new larkshead snug against the previous one - small gaps look intentional, big gaps look sloppy.
4. Tie the First Square Knot Row
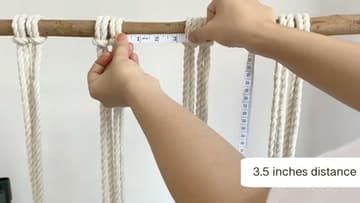
Group the hanging cords into bundles of 4 (the two outer cords are the working cords, the two inner cords are the filler). Drop down 3.5 inches from the dowel.
Tip: Keep your tension even across all the knots in one row. Pull each knot to the same tightness or the row dips and waves.
5. Build Square Knot Rows in a V
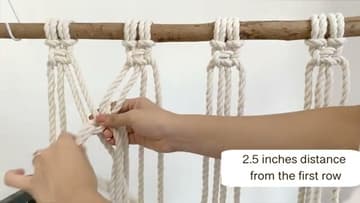
Drop another 2.5 inches and tie the second row of square knots, but offset between the first row's knots (this is called alternating square knots). Repeat with another row of 2 knots offset 2.5 inches below, then a final single knot at the bottom point.
Tip: If your V isn't centered on the dowel, you used different bundles than expected for the offset. Untie back to the previous row and start the alternation pattern over.
6. Attach 18 More Cords
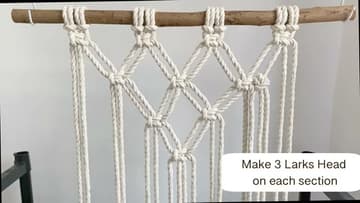
Take the 18 shorter (6-foot) cords. Attach them with larkshead knots in groups of 3 - that's 3 cords per section, alternating sections on each side of the central V.
Tip: The video calls these 'larks heads' but the technique is identical to step 3 - just three folded cords instead of one.
7. Diagonal Double Half Hitch Knots
Starting from the leftmost cord at the top, tie diagonal double half hitch knots working down toward the center. Each knot wraps the working cord twice around a holding cord laid diagonally across the design.
Tip: Double half hitch is the slowest knot in macrame - don't rush. The diagonal angle has to stay consistent or the V looks crooked.
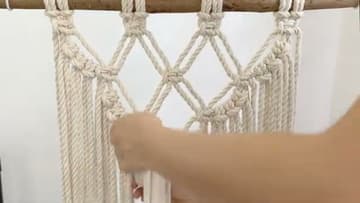
8. Trim the Bottom Fringe
Tape a piece of masking tape across the bottom in a V or straight line - this is your cut guide. Trim the cords with sharp scissors right along the tape edge.
Tip: Steam-iron the cord ends after trimming for a neat finish. A little water in a spray bottle plus an iron on the cotton setting tames frizzy ends in seconds.