How to Make a Macrame Feather - Easy Macrame Leaf for Beginners
Source: Lots of Knots Canada • Full tutorial: www.craftingstepbystep.com/macrame/how-to-make-a-macrame-feather
- Difficulty
- Easy
- Hands-on time
- About 1 hour 30 minutes
- Cost
- About $4 to $8
- Makes
- 1 large feather

Tools
- pet slicker brush
- fine comb
- sharp scissors
- pen
- measuring tape
Materials
- 3mm single strand twisted cotton cord
- stiff felt sheet
- fabric glue
Steps
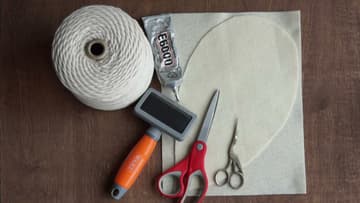
1. Gather Cotton String, Felt, Glue and a Pet Brush for a Macrame Feather
You need 3mm single strand twisted cotton string, a sheet of felt, fabric glue, a pet slicker brush with a fine comb, and sharp scissors. Chantel uses E6000 glue and a pet brush from the store.
Tip: Buy a brush you only use for crafts. Cotton fluff clogs it fast.
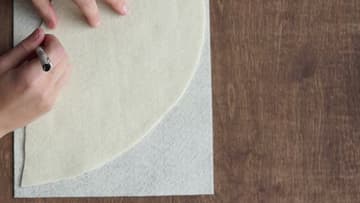
2. Trace a Leaf Template Onto the Felt Backing
The felt backing holds the feather's shape on the wall, so start there. Chantel cuts a reusable template first, then traces it onto the felt.
Tip: Keep the template. Making a matching set is much easier with one.
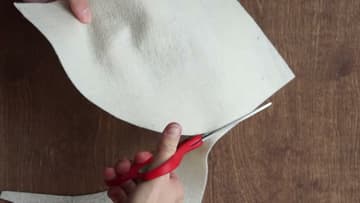
3. Cut the Leaf Shape Out of the Felt
Cut along your traced line with sharp scissors. Go slowly around the curves and the pointed tip so the edge stays smooth.
Tip: Stiff felt works better than soft craft felt. It keeps the feather flatter on the wall.
4. Tie a Double Knot at the Top of the Macrame Feather Centre Cord
Cut a piece of cord 36 inches long. This becomes the spine running down the middle of the feather.
Tip: Make the loop big enough to slip over a nail or a driftwood branch.
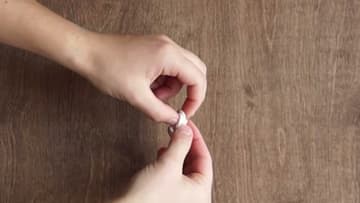
5. Attach the First Cords With a Cow Hitch Knot
Cut 32 pieces of cord at 17 inches each. Fold one in half, slide the loop under the centre cords, and pull the ends through the loop.
Tip: Lay the felt under your work now and then to check you are covering it edge to edge.
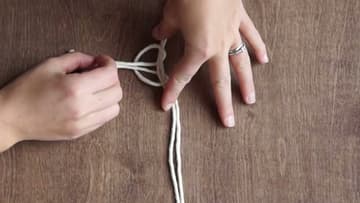
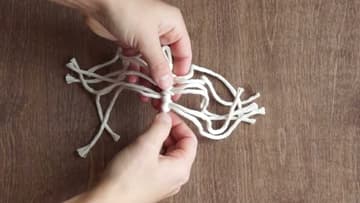
6. Stack Cow Hitch Knots Left and Right Down the Feather
Add the next cord from the other side, then keep alternating. One on the left, one on the right, all the way down until all 32 pieces are on.
Tip: Leave about an inch of cord past the felt on each side so no felt shows from the front.
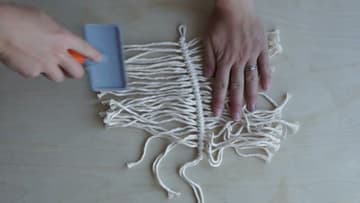
7. Brush Out the Macrame Feather Strands With a Pet Brush
Move the feather to a board you do not mind scratching. Hold the spine down with one hand and brush the strands outward with the pet brush, working from the spine to the tips.
Tip: Expect a pile of fluff. Brush over a towel or outdoors to save on cleanup.
8. Glue the Felt Backing to the Back of the Macrame Feather
Decide which side looks best and use it as the front. Turn the feather over.
Tip: Let the glue set before trimming so the felt does not slide out of place.
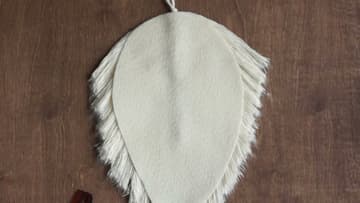
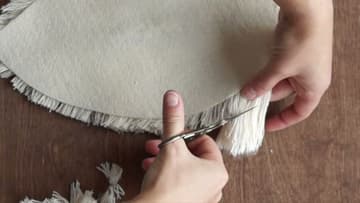
9. Trim the Macrame Feather Along the Felt Edge
With the felt on the back, cut along its edge to shape the feather. Chantel's regular scissors were a bit dull, so she used her sewing scissors.
Tip: Trim a little at a time. You can always take more off, never put it back.
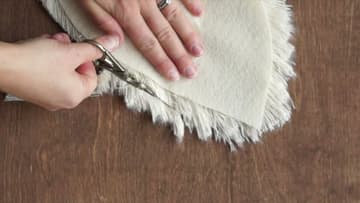
10. Tidy the Macrame Feather Tip and Fluff the Fringe
Give the front a final comb so the strands lie straight, and snip any that stick out past the outline, especially around the tip. Then fluff the fringe lightly with your fingers to give the feather a little more depth.
Tip: A light mist of fabric stiffener holds the shape longer in a humid room.