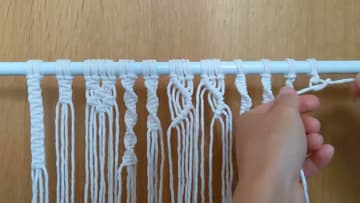
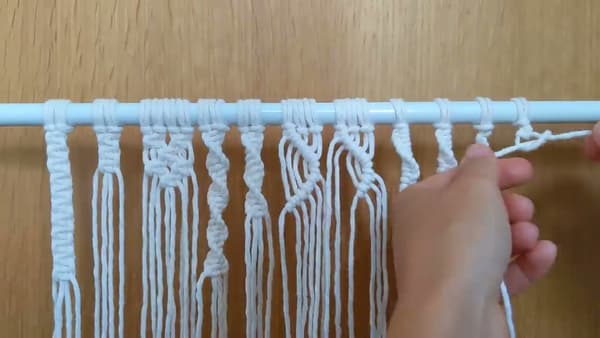
How to Macrame: 7 Basic Knots Every Beginner Must Know
Source: Majestic Macrame • Full tutorial: www.craftingstepbystep.com/macrame/how-to-macrame
- Difficulty
- Easy
- Hands-on time
- About 25 minutes
- Cost
- About $8 to $15
Tools
- Wooden dowel or rod
- Scissors
- Tape measure
Materials
- Macrame cord (3mm or 5mm cotton cord)
Steps
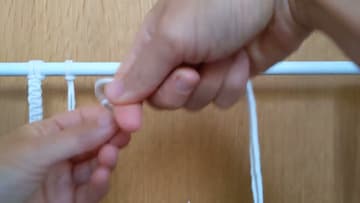
1. Tie a Larks Head Knot
Every macrame project starts with attaching cord to a rod. Fold a long cord in half, drape the fold over the back of the dowel, then bring both cord ends through the loop and pull tight.
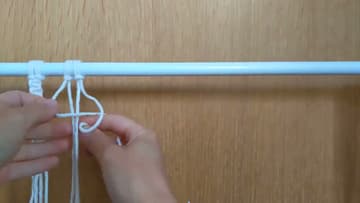
2. Tie a Square Knot
Square knots are the workhorse - most macrame walls and plant hangers are mostly square knots. With 4 cords (from 2 Larks Heads), take the leftmost cord OVER the middle two and UNDER the rightmost.
3. Combine Sets With Alternating Square Knots
Tie square knots in two adjacent groups of 4 cords. For the next row, take the middle 4 cords (2 from each adjacent group) and tie a square knot using those.
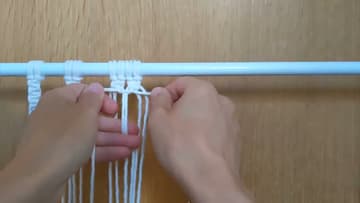
4. Tie a Spiral Knot
Tie ONLY the first half of a square knot - left cord over middle and under right, right cord under middle and through the loop - then repeat exactly that same direction. Don't reverse.
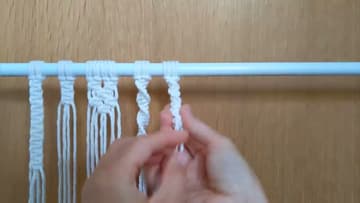
5. Tie Double Half Hitch Knots
Take one cord (the 'lead' or 'leader') and hold it horizontally across the others. Each remaining cord is a 'filler' - wrap each filler OVER and UNDER the leader twice, creating two knots per filler.
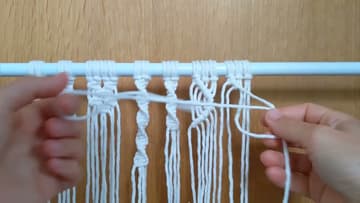
6. Tie a Single Half Hitch Knot
The single Half Hitch is just one wrap (versus two for Double). Always lead with the same cord - take the left cord over the right and through the loop, then repeat with the same left cord over and over.
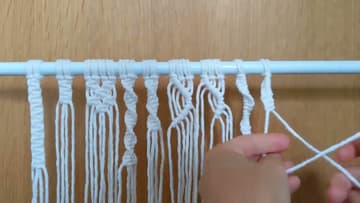
7. Tie an Alternating Half Hitch Knot
This time, alternate which cord is the leader. Tie a Half Hitch leading with the LEFT cord, then a Half Hitch leading with the RIGHT cord, then left, then right - back and forth.
Tip: Practice each knot 20-30 times on a scrap cord before trying a real project. The hand motions feel awkward at first but become automatic surprisingly fast.