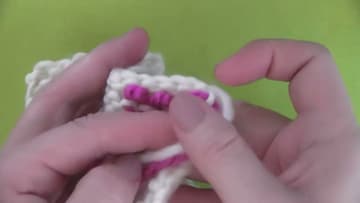
How to Weave In Ends Knitting (2 Methods for a Clean Finish)
Source: Studio Knit • Full tutorial: www.craftingstepbystep.com/knitting/how-to-weave-in-ends-knitting
- Difficulty
- Easy
- Hands-on time
- About 10 minutes
Tools
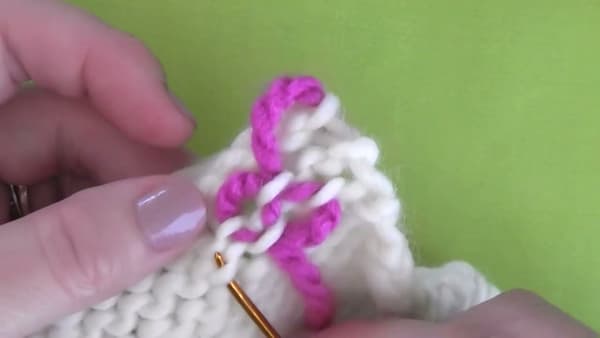
- tapestry needle
- embroidery scissors
- knitting needles
Materials
- yarn
Steps
1. Thread Your Tapestry Needle
You should have a few inches of yarn tail hanging off the corner of your finished knit piece. Thread the tail through the eye of your tapestry needle.
Tip: A bent-tip tapestry needle (sometimes called a darning needle) is worth the extra two dollars.
2. Weave Along the Edge (First Direction)
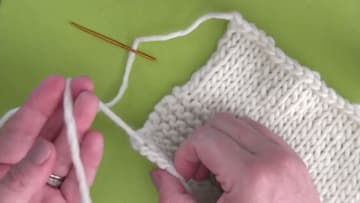
Flip the knit piece over so the wrong side - the back - is facing up. The wrong side of garter stitch has the same bumpy look as the front, but for stockinette it is the smooth purl side.
3. Reverse Direction Through the Same Column
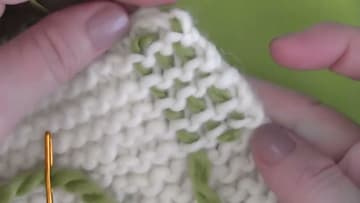
Once you have woven about an inch in the first direction, change direction and come back up the same column of surface loops, threading the tail through them exactly the same way you went down. This is what locks the yarn in place.
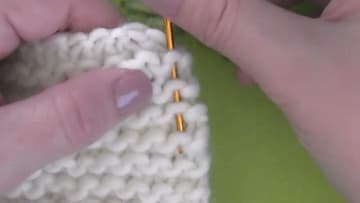
4. Third Pass for Extra Security
For anything that gets washed or worn regularly - hats, sweaters, socks, washcloths - add a third pass alongside the first column. Same idea: travel down through five or so loops, in the same row of surface loops you have been working.
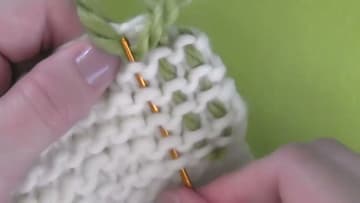
5. Start the Diagonal Method
Here is the second method, useful when you have a contrasting yarn color or when the weave-in needs to be completely invisible. With the wrong side facing up, slide your needle under one strand of a knit stitch, then move one stitch over and pick up the next strand at a slight angle.
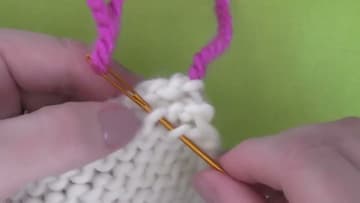
6. Continue the Diagonal Weave
Keep picking up one strand at a time, moving one stitch over and one row up (or down) with each pass. The yarn traces a faint zigzag through the back of the work.
Tip: If you can see the contrasting yarn pop through to the front while you are working, you went too deep. Only catch the top strand of each stitch, not the strand below it.
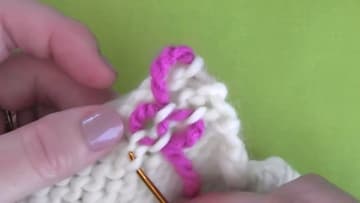
7. Trim the Yarn
Give the woven tail a gentle stretch so it sits flush with the surrounding fabric. Then trim the leftover yarn close to the surface using sharp embroidery scissors - the small curved kind sometimes called stork scissors are ideal because they get in tight without nicking the knit.