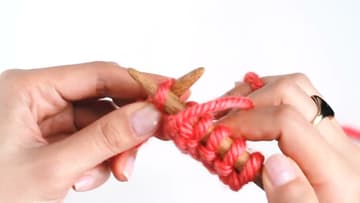
How to Purl Stitch: 7 Step Beginner Knitting Tutorial
Source: Sheep & Stitch • Full tutorial: www.craftingstepbystep.com/knitting/how-to-purl-stitch
- Difficulty
- Easy
- Hands-on time
- About 15 minutes
- Cost
- About $4 to $8
Tools
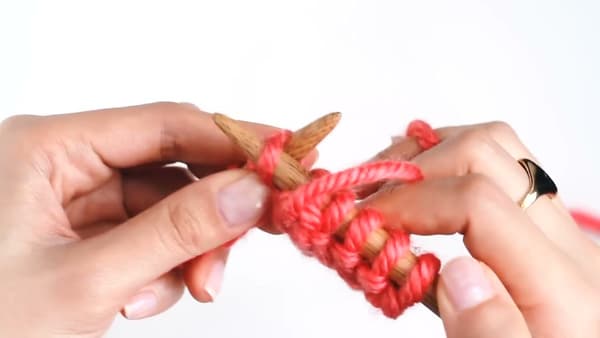
- 10mm bamboo or wooden knitting needles
- Scissors
Materials
- Bulky weight yarn
- Cast-on stitches (about 10-15)
Steps
1. Set Up the Starting Position
Hold needles in standard knitting position. Your cast-on stitches sit on the LEFT needle.
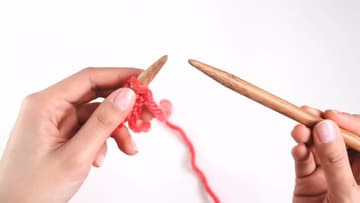
2. Bring Yarn to the FRONT
This is the single biggest difference between purl and knit. For purl stitches, the working yarn must be in FRONT of your needles - between the needles and you, not behind them.
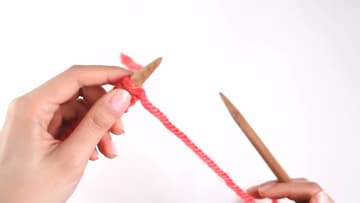
3. Insert Right Needle Top to Bottom
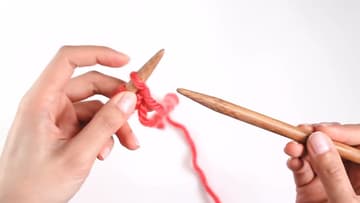
Take the right needle and push it into the first stitch on the left needle from TOP to BOTTOM. The needle enters from the front of the stitch and angles down through the stitch, coming out below.
4. Wrap Yarn Back to Front
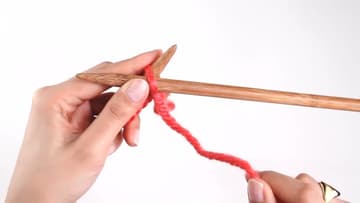
Take the working yarn (still in front) and wrap it around the right needle from BACK to FRONT. The yarn passes over the top of the right needle and comes back to the front, leaving a fresh loop on the right needle.
5. Catch the Loop and Pull Through
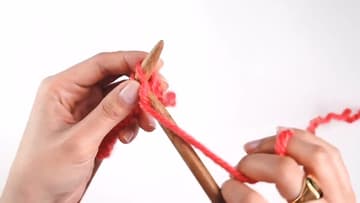
Use the right needle to catch the new loop and pull it through the stitch on the left needle. The needle dips down through the original stitch, capturing the new yarn loop and bringing it forward.
6. Slide the Original Stitch Off
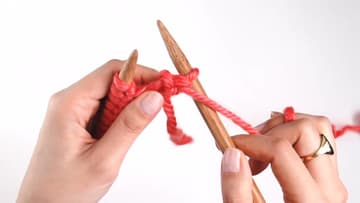
Slide the original stitch off the LEFT needle. The new loop is now on the right needle - your finished purl stitch.
7. Repeat Across the Row
Repeat the same five moves: yarn front, needle in top-to-bottom, wrap back-to-front, pull through, slide off. Work each stitch from the left needle onto the right needle until the row is done.
Tip: Knit stitch and purl stitch are two faces of the same coin - the back of a knit looks like a purl, and vice versa.