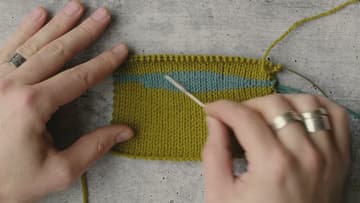
How to Knit Short Rows (German Short Rows)
Source: Brooklyn Tweed • Full tutorial: www.craftingstepbystep.com/knitting/how-to-knit-short-rows
- Difficulty
- Medium
- Hands-on time
- About 30 minutes

Tools
- circular knitting needles
- locking stitch markers
- tapestry needle
- scissors
Materials
- smooth worsted weight yarn
- contrast color yarn for practice
Steps
1. Knit a Partial Row for the First Short Row
Start from the right side of a stockinette swatch. Join a contrast color if you are practicing, so the short rows stand out.
Tip: Mark the stopping point with a locking marker the first time so you can count back.
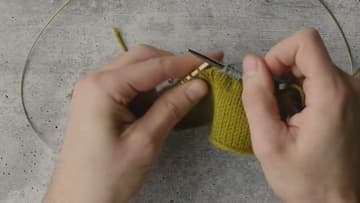
2. Turn the Knitting Mid Row
Turn the work around, as if you had reached the end of the row. The unworked stitches are now on the right needle and the stitches you knit are on the left.
Tip: Push the stitches to the needle tips first. A tidy needle makes the next move easier.
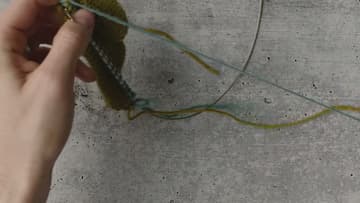
3. Slip the First Stitch Purlwise With Yarn in Front
Bring the yarn to the front if it is not there already. Slip the first stitch on the left needle to the right needle purlwise, without working it.
Tip: Purlwise means you insert the needle from right to left, as if to purl.
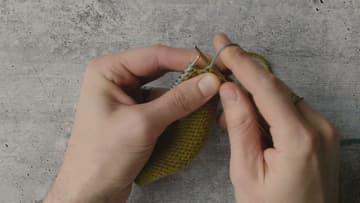
4. Pull the Yarn Over to Make the Short Row Double Stitch
Pull the yarn firmly up and over the top of the right needle. The slipped stitch flips, and its two legs from the row below sit on the needle.
Tip: Snug the double stitch up before you work on. Tension here is what stops holes.
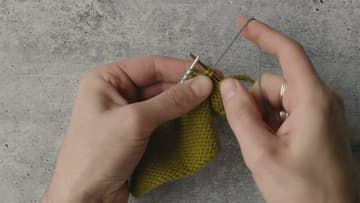
5. Slip and Pull From the Knit Side of the Short Row
Purl back until you are five stitches from the other end, then turn again. Now the knit side faces you and the yarn is at the back.
Tip: The move is the same on both sides. Only where the yarn starts is different.
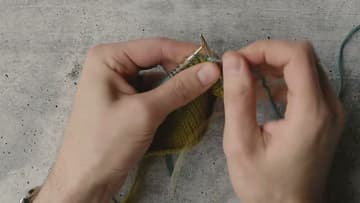
6. Stagger the Next Short Rows Four Stitches In
Work the next short row to four stitches before the last turning point. Turn, slip and pull, and work back.
Tip: Count the double stitch as one stitch when you count to the next turn.
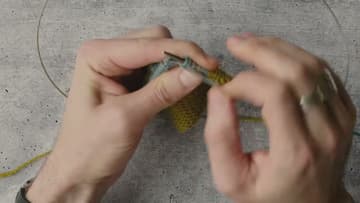
7. Lay the Knitting Flat to Check the Short Row Turns
Lay the swatch flat and look along the needle. You will see a double stitch at each turn, staggered across the row.
Tip: A loose double stitch is easy to snug now. It is hard to fix once it is worked.
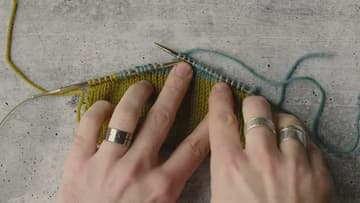
8. Knit the Double Stitch Together on the Right Side
Knitting across, you will reach the double stitch. It is not two stitches; it is the slipped stitch and its pulled yarn.
Tip: Go into the center of both legs at once. Catching only one leaves a loop.
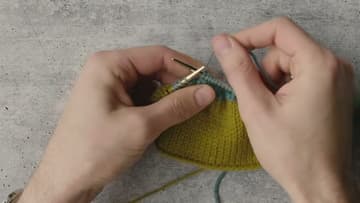
9. Purl the Double Stitch Together on the Wrong Side
Turn and purl back across the full row. When you reach a double stitch from the wrong side, go through both legs as if to purl two together.
Tip: Look for the two legs riding on the needle. They are easy to spot after one or two.
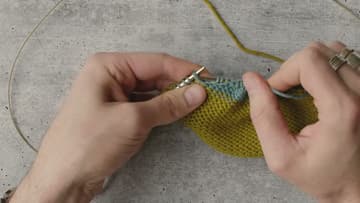
10. Check the Shape the Short Rows Made in the Knitting
Knit a few full rows and lay the work flat. The center is taller than the sides, because it got six extra rows while the edges got only two.
Tip: Compare the sides with a ruler to see how much height the short rows added.