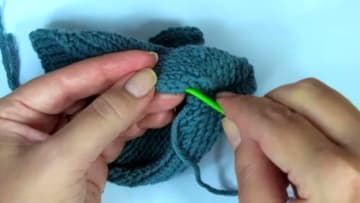
How to Knit Mittens - Easy Flat Mittens With Thumbs
Source: So Woolly • Full tutorial: www.craftingstepbystep.com/knitting/how-to-knit-mittens
- Difficulty
- Medium
- Hands-on time
- About 4 hours
- Cost
- About $6 to $12
- Makes
- 1 pair of toddler mittens

Tools
- 4 mm (US 6) knitting needles
- 5 mm (US 8) knitting needles
- tapestry needle
- scissors
Materials
- worsted weight yarn (about 30 g per mitten)
Steps
1. Cast On 30 Stitches for the Mitten Cuff
Using the smaller 4 mm needles, cast on 30 stitches. Any stretchy cast on works.
Tip: Count your stitches twice before you start. An odd number throws off the rib.
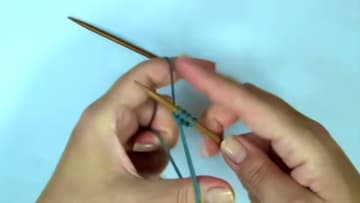
2. Knit the 1x1 Ribbed Mitten Cuff
The first row and every odd row is the wrong side. Start with purl 1, knit 1 and repeat to the end.
Tip: If you lose your place, look at the stitch below. Match it and the rib stays straight.
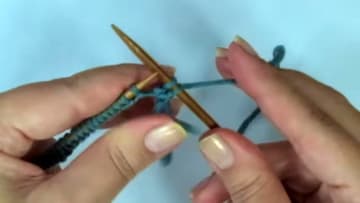
3. Switch to Larger Needles for the Mitten Hand
Change to the larger 5 mm needles and knit across the whole row. On the next row, swap in the second 5 mm needle and purl every stitch.
Tip: Put a removable stitch marker in the first big-needle row. It makes counting rows easy.
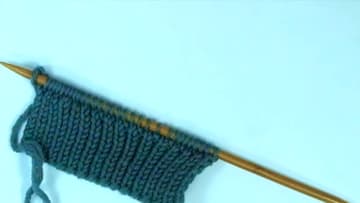
4. Start the Mitten Thumb Gusset With Make One Increases
To shape the thumb, knit 13 stitches. Make one right: pick up the strand between the two stitches with your left needle from back to front and knit it.
Tip: The two increases lean toward each other and frame the thumb. Keep them mirrored.
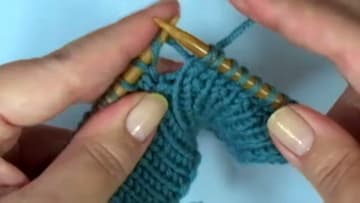
5. Widen the Mitten Thumb Gusset Every Other Row
Repeat the increase row three more times, purling every row in between. Each time, knit 13, make one right, knit the thumb stitches, make one left, then knit to the end.
Tip: Count the stitches between the increases on every increase row. It should always be odd.
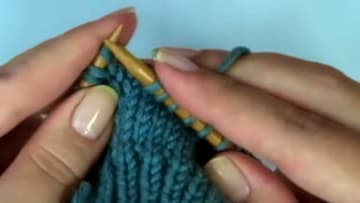
6. Knit the Mitten Thumb on 9 Stitches
Knit 22 stitches, which takes you to the end of the 9 thumb stitches. Turn the work and purl 9.
Tip: Ignore the stitches on either side. They hang there until the thumb is done.
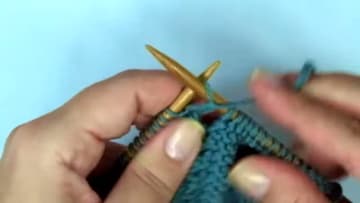
7. Close the Top of the Mitten Thumb
To close the thumb, knit 2 together four times and knit the last stitch. Five stitches are left.
Tip: Leave this tail hanging. You will use it to sew up the thumb seam.
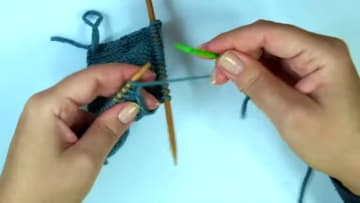
8. Pick Up at the Thumb Base and Knit the Mitten Hand
With the right side facing, join the yarn at the base of the thumb. Pick up and knit one stitch on each side of the thumb base so there is no gap.
Tip: Leave a long tail when you join the yarn. You can close any small hole with it later.
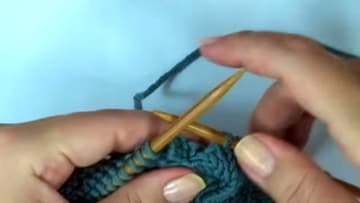
9. Decrease to Shape the Mitten Top
Round off the top with paired decreases. Knit 1, SSK (slip, slip, knit the two slipped stitches together), knit 10, knit 2 together, and repeat once more, then knit the last stitch.
Tip: The SSK leans left and the knit 2 together leans right. That pair gives the curved top.
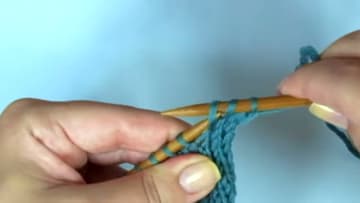
10. Sew the Mitten Seam
Fold the mitten in half with the right side out. Using a tapestry needle and the yarn tails, sew the top of the mitten closed.
Tip: Sew the cuff from the wrong side if you plan to fold it back. The seam then hides.