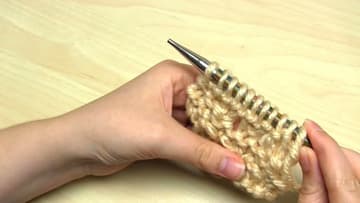
How to Knit a Yarn Over Between Knit and Purl Stitches
Source: Rokolee DIY • Full tutorial: www.craftingstepbystep.com/knitting/how-to-knit-a-yarn-over
- Difficulty
- Easy
- Hands-on time
- About 20 minutes

Tools
- knitting needles
- locking stitch markers
- scissors
Materials
- chunky yarn for practice
- fingering or DK yarn for lace
Steps
1. Bring the Yarn to the Front Between the Knitting Needles
Knit up to the spot your pattern marks yo. Here it comes after a knit stitch, written k1, yo, k1.
Tip: UK patterns call this yfwd, short for yarn forward.
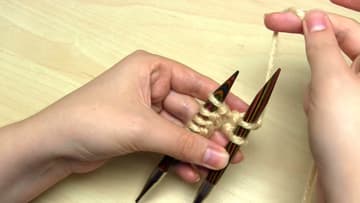
2. Knit the Next Stitch to Wrap the Yarn Over the Right Needle
Put the right needle into the next stitch knitwise and knit it as normal. To finish that stitch, the yarn has to travel from the front, up over the top of the right needle, and down to the back.
Tip: Hold the wrap in place with your right index finger for the first few tries.
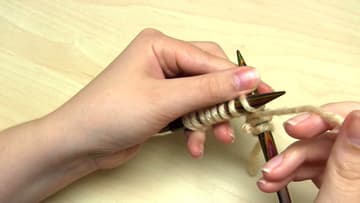
3. Spot the Yarn Over Loop and Eyelet on the Right Needle
Look at the right needle. The new yarn over sits there as a slanted loop, leaning a different way from the stitches around it.
Tip: Clip a locking stitch marker beside each yarn over so you can find them on the next row.
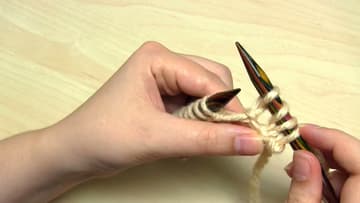
4. Make a Yarn Over Between a Knit and a Purl Stitch
For k1, yo, p1, knit the first stitch and bring the yarn forward as if to purl. That alone is not enough, because a purl stitch needs the yarn in front anyway.
Tip: UK patterns write this as yrn, yarn round needle.
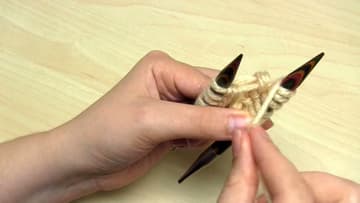
5. Make a Yarn Over Between Two Purl Stitches
For p1, yo, p1, purl the first stitch. The yarn is already in front.
Tip: If the loop looks twisted, it went the wrong way round. Undo it and wrap over the top instead.
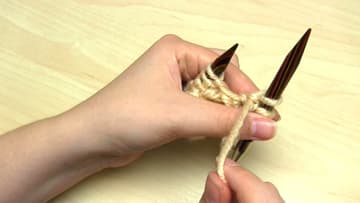
6. Make a Yarn Over Between a Purl and a Knit Stitch
For p1, yo, k1, purl the first stitch and leave the yarn where it is, in front. Normally you would move it to the back before a knit stitch.
Tip: This is the easiest version, and also the one beginners make by accident.
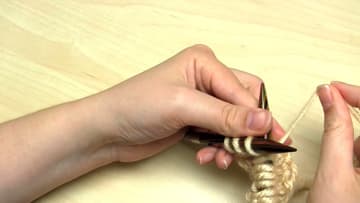
7. Knit the Yarn Over Loop on the Next Row
On the next row the yarn over looks loose and a little messy. That is how it should look.
Tip: Work into the front of the loop. Working into the back twists it and closes the hole.
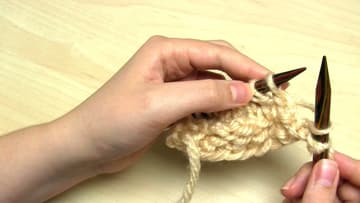
8. Drop an Accidental Yarn Over and Even Out the Slack
Found a yarn over you did not mean to make? Slide it off the left needle and let it go.
Tip: Count stitches at the end of every row while you learn. An extra stitch is usually a stray yarn over.
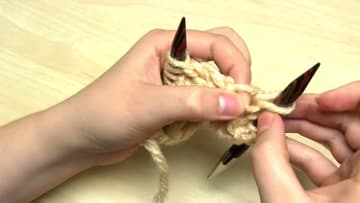
9. Check the Finished Row of Yarn Over Eyelets
Hold the work up after a couple of rows. Each yarn over has become a round eyelet, and any you dropped have vanished into the fabric.
Tip: A row of eyelets makes a handy channel for threading ribbon through a hat or bag.