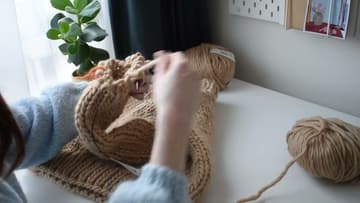
How to Knit a Chunky Sweater for Beginners
Source: Well-Loved Knits • Full tutorial: www.craftingstepbystep.com/knitting/how-to-knit-a-sweater
- Difficulty
- Medium
- Hands-on time
- About 9 hours
- Makes
- 1 sweater

Tools
- 12mm circular needles
- 15mm circular needles
- darning needle
- tape measure
- scissors
- stitch holder
Materials
- super chunky wool yarn, about 400 m
Steps
1. Cast On the Sweater Back Panel With a Long Tail Cast On
Start with the back panel. Check your pattern for the cast on count in your size.
Tip: Wrap the yarn around the needle once per stitch to estimate the tail, then add a bit more.
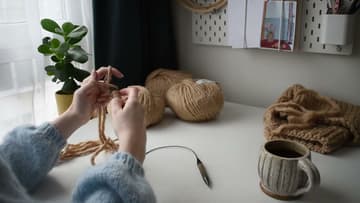
2. Knit the 1x1 Rib Hem of the Sweater Panel
Work knit one, purl one across every row for the ribbed hem. Keep going until you reach the number of rows in the pattern, or the depth you like.
Tip: Count rows in pairs of ridges. Chunky stitches are easy to see.
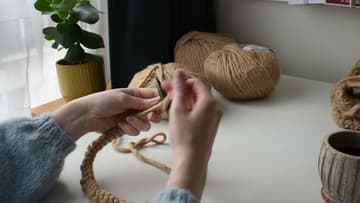
3. Switch to Larger Needles for the Sweater Body
Now move up to 15mm needles for the body. With interchangeable needles you swap one tip at a time.
Tip: Tighten interchangeable tips with the key so they do not unscrew mid row.
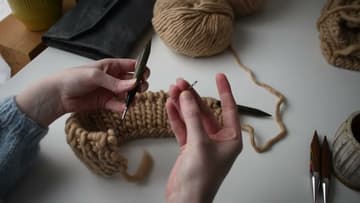
4. Knit the Sweater Panel in Stockinette to Length
Work back and forth in stockinette stitch, knit one row and purl the next. From here it is steady, relaxing knitting until the panel reaches the length in your pattern.
Tip: Measure on a flat table. Holding the panel up stretches it and reads long.
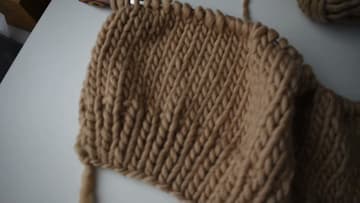
5. Shape the Sweater Front Panel Neckline
Knit the front panel the same way until it matches the back up to the neck shaping. On a right side row, knit the stitches for the left shoulder and slip them onto a spare needle or stitch holder.
Tip: Slip held stitches with the needle behind so none of them twist.
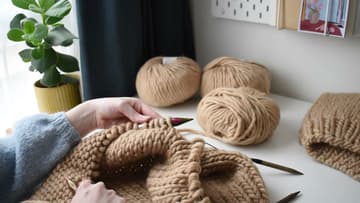
6. Decrease the Sweater Shoulders Toward the Neck
Knit across the remaining stitches to work the right shoulder. At the start of each knit row on that side, knit one, then slip slip knit to decrease.
Tip: Ssk leans left and k2tog leans right, so the neck curves evenly on both sides.
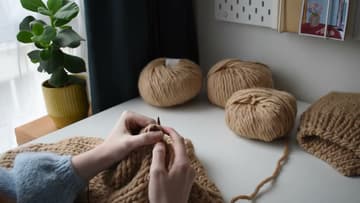
7. Weave In the Loose Ends on the Sweater Panels
Before sewing anything, weave in the loose ends you will not use for seams. Thread a darning needle and run the tail through the backs of a few stitches in one direction.
Tip: Weave super chunky ends along the purl bumps so they stay hidden.
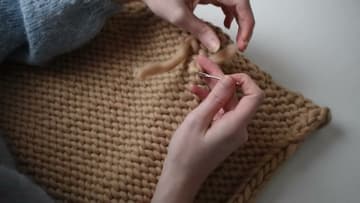
8. Seam the Sweater Sides With Mattress Stitch
Lay the front and back panels side by side, right sides up. Start at the hem using the cast on tail.
Tip: Sew the shoulder seams the same way once both sides are done.
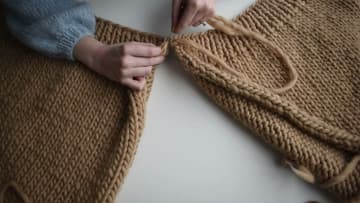
9. Pick Up Stitches Around the Sweater Neckline for the Collar
With 12mm circular needles, start at a shoulder seam. Push the needle tip into a stitch along the neck edge, wrap the working yarn around it and pull a loop through.
Tip: A loose bind off lets the collar stretch over your head.
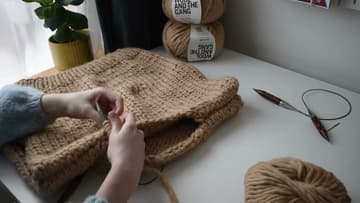
10. Knit the Sweater Sleeves From the Armhole Down
Pick up stitches around one armhole the same way, this time on 15mm needles. Knit in the round in stockinette down toward the wrist.
Tip: Try the sweater on before the cuff so the sleeve length fits your arm.