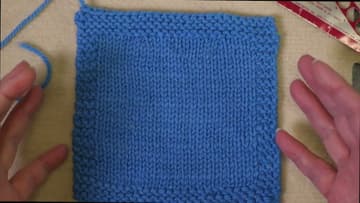
How to Knit a Gauge Swatch That Measures True
Source: Roxanne Richardson • Full tutorial: www.craftingstepbystep.com/knitting/how-to-knit-a-gauge-swatch
- Difficulty
- Easy
- Hands-on time
- About 1 hour
- Wait time
- 12 hours
- Makes
- 1 gauge swatch

Tools
- knitting needles in the pattern size
- needles one size up and down
- gauge ruler
- stitch markers
- towel
- blocking mat
Materials
- project yarn
- wool wash
Steps
1. Cast On the Gauge Swatch and Knit a Garter Stitch Border
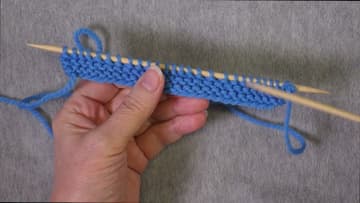
Check your pattern for the gauge, such as 20 stitches over 4 inches. Cast on that number plus 6, so 26 stitches here.
Tip: Write the needle size on a scrap of paper and keep it with the swatch.
2. Add Increases on the First Stockinette Row of the Gauge Swatch
On the next right side row, knit the first 3 stitches for the side border. Then knit about 5 stitches, make one, knit 10 more and make one again.
Tip: Any increase works here. Make one, knit front and back, whichever you know.
3. Purl Across the Gauge Swatch With Garter Stitch Edges
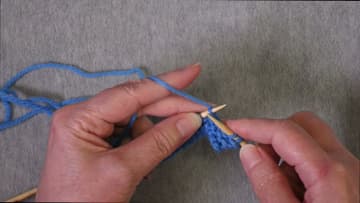
On the wrong side, knit the first 3 stitches, purl across until 3 stitches remain, then knit those last 3. On right side rows, knit every stitch.
Tip: Clip a stitch marker after the third stitch on each side until the pattern sinks in.
4. Knit Two Inches of Stockinette in the Gauge Swatch
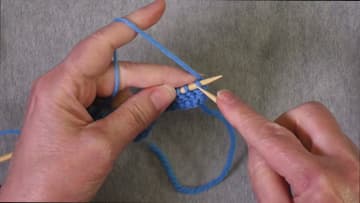
Keep working the rows until you have about 2 inches of stockinette above the border. Finish on a right side row.
Tip: Knit at your normal pace. Tense or careful knitting changes gauge too.
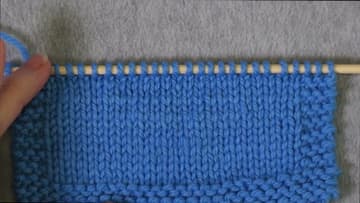
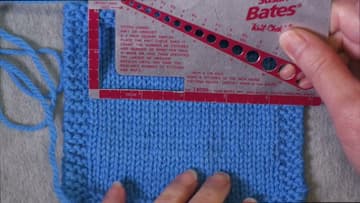
5. Take a Preliminary Gauge Measurement on the Needle
Lay the swatch flat with the needle still in. Set a gauge ruler on the stockinette and count the stitches across 4 inches.
Tip: Count the little V shapes. Each V is one stitch.
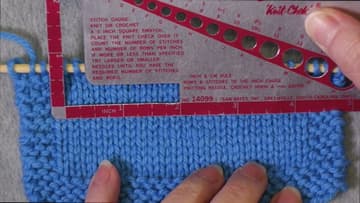
6. Change Needle Size Mid Swatch With a Garter Ridge
If your gauge is off, do not rip it out. Grab the next needle size up or down.
Tip: Fewer stitches than you need means smaller needles. More means bigger needles.
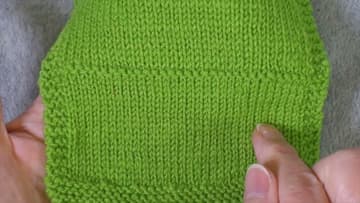
7. Decrease and Knit the Top Garter Border of the Gauge Swatch
Once the stockinette reaches about 4 inches, work 2 decreases on the next right side row, in about the same places as your increases. That brings you back to the cast on count.
Tip: Bind off with a larger needle if your bind offs tend to be tight.
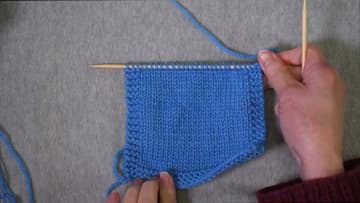
8. Measure the Gauge Swatch Before Washing
Lay the swatch flat without stretching it. Measure across the center stockinette again, leaving out the edge stitches.
Tip: Measure in two or three places and use the average.
9. Soak the Gauge Swatch and Roll It in a Towel
Wash the swatch the way the yarn label says. For plain wool, soak it in a bowl of warm water for at least 20 minutes.
Tip: Add a little wool wash so the swatch is treated the way your project will be.
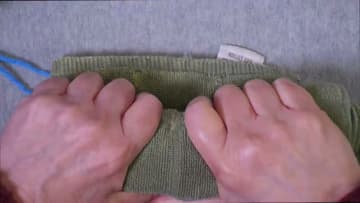
10. Dry the Gauge Swatch Flat and Measure It Again
Lay the damp swatch on a mat or towel. Smooth the stitches with your hands and push it in a little so nothing is stretched.
Tip: Keep the swatch with your project notes. It is a handy color and yarn reference later.