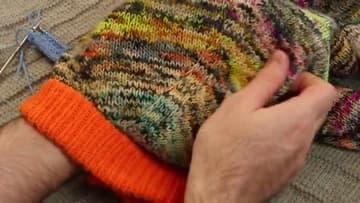
How to Increase in Knitting (5 Methods: KFB, YO, M1, M1L/M1R)
Source: Stephen West • Full tutorial: www.craftingstepbystep.com/knitting/how-to-increase-in-knitting
- Difficulty
- Easy
- Hands-on time
- About 30 minutes
- Cost
- About $2 to $5
Tools
- knitting needles
- scissors
- tapestry needle
Materials
- worsted weight yarn
Steps
1. The Five Increases at a Glance
Stephen opens by listing the five increases he reaches for across every Westknits pattern: knit front back, yarn over, make one with a backwards loop, make one left paired with make one right, and make one by knitting into the back of the stitch from the row below. Each one looks different in the finished fabric.
Tip: Watch a swatch of all five side by side before you start. Once you can read the look of each one, picking the right increase for a pattern gets a lot easier.
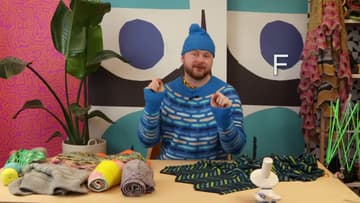
2. Knit Front Back (KFB)
Start with the easiest one. KFB stands for knit front back.
Tip: If you're working English style with the yarn in your right hand, the back-of-the-stitch part can feel tight. Loosen the loop on the left needle slightly before going in.
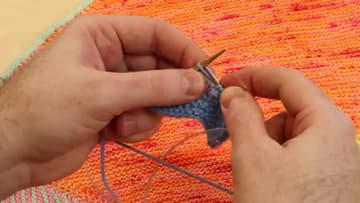
3. Yarn Over (YO)
Yarn over is the most visible of the five, and the only one that adds a hole on purpose. Bring the working yarn up and over the top of the right needle, then knit the next stitch.
Tip: If your eyelets look uneven, check that you aren't twisting the yarn over on the next row. Knit it through the front loop or it'll close up.
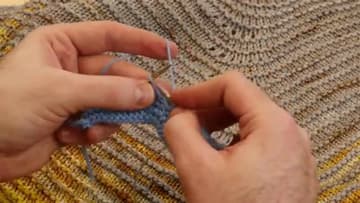
4. Make One with a Backwards Loop (M1)
Make one with a backwards loop is the lazy genius option. Twist the working yarn into a small loop and place it on the right needle, locking the overlap so it doesn't pop loose.
Tip: Keep the loop snug against the needle. A loose backwards loop unravels on the very next stitch and you'll lose the increase before you knit it.
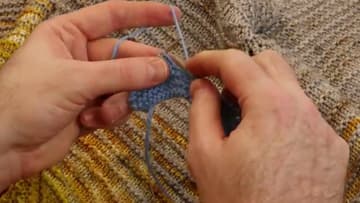
5. Make One Left and Make One Right (M1L & M1R)
M1L and M1R are the tightest, tidiest increases of the bunch. For M1L think "I left the front door open" - lift the ladder between two stitches with the left needle from the front, then knit through the back loop to twist it.
Tip: If knitting through the front of M1R feels too tight, slip the lifted strand back to the left needle, give it a little tug to loosen, then knit it. The twist still locks in.
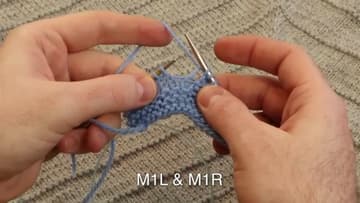
6. Make One from the Row Below
The fifth one is make one by knitting into the back of the stitch from the row below. Drop your eye one row down, find the stitch sitting below the next live stitch, insert the right needle into the back of it, and knit.
Tip: This one is easiest in plain stockinette. If you can't find the stitch below, lay the fabric flat and look for the little V sitting under your next stitch on the left needle.
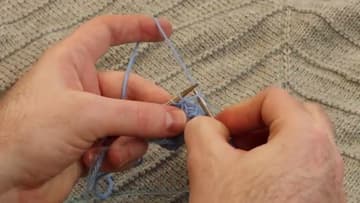
7. Which Increase to Pick When
Quick decision guide. Garter or seed stitch edge?
Tip: Save a small reference swatch with all five increases knit in a row, each one labeled with a stitch marker.