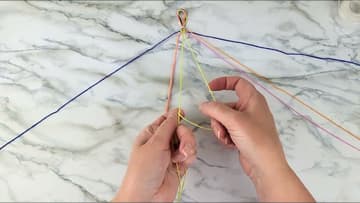
How to Make a Chevron Friendship Bracelet: 7 Step Tutorial
Source: Cutesy Crafts • Full tutorial: www.craftingstepbystep.com/jewelry-making/how-to-make-chevron-friendship-bracelet
- Difficulty
- Easy
- Hands-on time
- About 1 hour 15 minutes
- Cost
- About $2 to $5
- Makes
- 1 chevron friendship bracelet
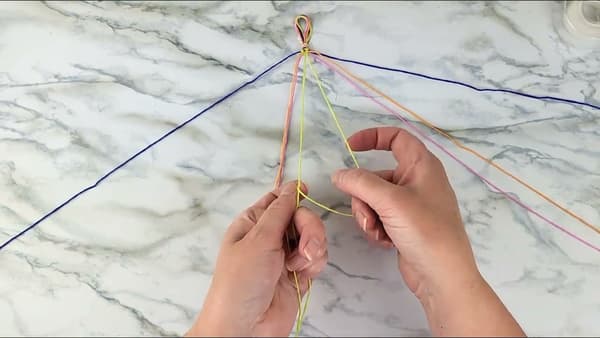
Tools
- Scissors
- Tape (or safety pin or clipboard)
Materials
- Embroidery floss (4 different colors)
- Bead or button (optional, for closure)
Steps
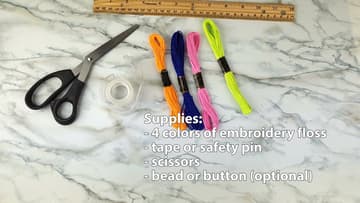
1. Gather Your Supplies
Pick 4 colors of embroidery floss. DMC and similar craft brands have the widest color range.
2. Fold and Tie a Loop
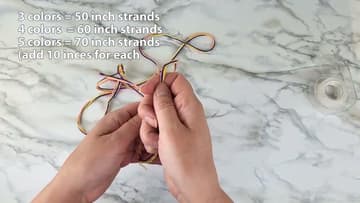
Hold all 4 strands together as a bundle and fold the bundle in half. At the fold, make a small loop (about half an inch wide) and tie an overhand knot at the base of the loop.
3. Tape and Mirror the Strands
Tape the knotted loop to a flat surface (table, clipboard, or pin to your jeans). Separate the 8 working strands so the colors mirror left-to-right.
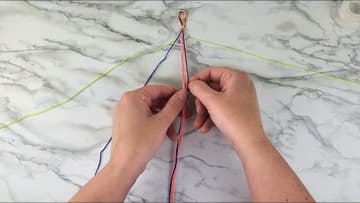
4. Tie a Forward Knot
Take the leftmost strand (the lead). Lay it OVER the strand to its right, forming a number-4 shape.
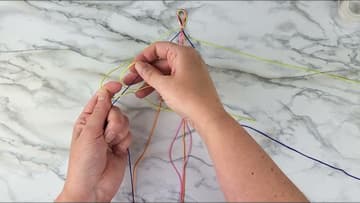
5. Travel the Lead Strand to the Middle
The lead strand keeps moving. After 2 forward knots on the leftmost pair, move the same lead strand to the next strand right and tie 2 forward knots there.
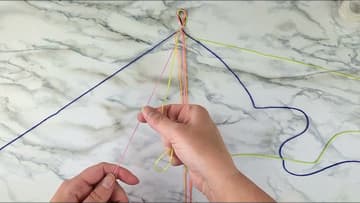
6. Tie Backward Knots on the Right Side
Now mirror the process on the right side. The rightmost strand becomes your lead.
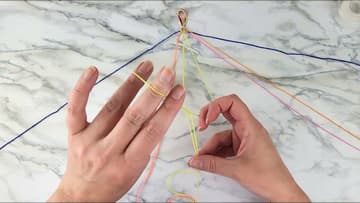
7. Join the Chevron in the Middle
When the two lead strands meet in the center, tie 2 backward knots between them. The right one is active, the left one stays straight as the anchor.
Tip: If your knots come out loose, you're not pulling the lead strand hard enough as you tighten.