How to Make a Paracord Bracelet (Cobra Weave)
Source: Beadaholique - STORE CLOSING, Everything on Sale! • Full tutorial: www.craftingstepbystep.com/jewelry-making/how-to-make-a-paracord-bracelet
- Difficulty
- Easy
- Hands-on time
- About 45 minutes
- Cost
- About $5 to $10
- Makes
- 1 paracord bracelet
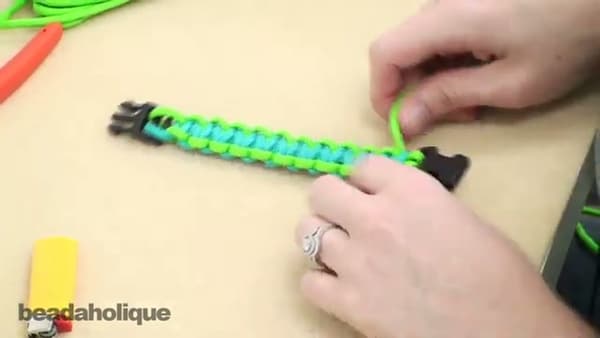
Tools
- Disposable lighter
- Flush cutters or sharp scissors
- Beading mat or work surface
Materials
- 550 paracord, color A (6 feet)
- 550 paracord, color B (6 feet)
- Plastic side-release buckle (0.6 inch / 15mm)
Steps
1. Gather Supplies and Measure Your Paracord
You'll need two colors of 550 paracord, a 0.6 inch plastic buckle, a basic disposable lighter, and either flush cutters or strong scissors. Don't substitute a torch lighter - it'll burn straight through nylon paracord.
Tip: Measure your wrist and add an inch for comfort.
2. Attach the Cord to the Buckle
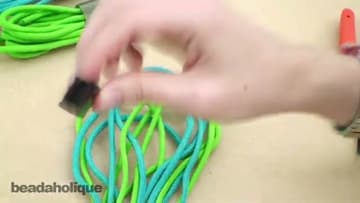
Separate the male and female halves of your buckle. Pick one cord, fold it so a small loop sticks up, and pass that loop through one of the slots on the female buckle.
Tip: Pull the loop tight against the buckle slot. Any slack in the lark's head knot makes the whole bracelet wobbly later.
3. Fuse the Two Cords Into One Core
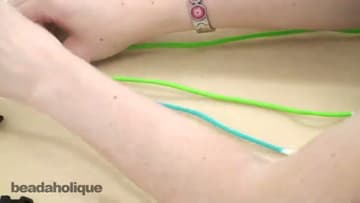
To get a two-color bracelet you need to join the second color onto the first so the core running down the middle has both colors hidden inside. Trim a tail on the first cord, pull back the outer sheath about three-quarters of an inch, and snip out the inner threads.
Tip: The fuse needs to land high up inside the bracelet so the knotting hides it completely. About an inch and a quarter from the buckle is the sweet spot.
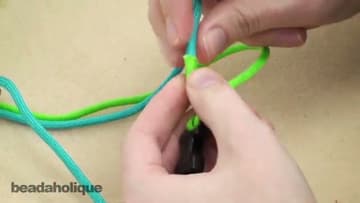
4. Tie the First Cobra Knot
Now you've got two long working cords on the outside and the fused core down the middle. Take the LEFT cord and lay it OVER the core, making a backward 4 shape.
Tip: Megan's mnemonic: over, over, under, through. Repeat that to yourself the first ten times you tie the knot and your hands will memorize the rhythm.
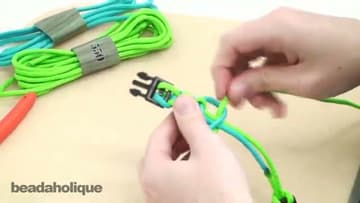
5. Reverse the Knot for the Alternating Pass
Now the same knot, mirrored. Take the LEFT cord and lay it UNDER the core.
Tip: Watch the side edges of your braid. If you're alternating correctly, the same color shows on each side every other knot.
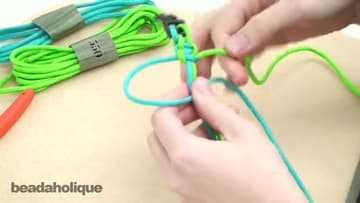
6. Knot to Length
Keep alternating - over-over-under-through, then under-under-over-through - all the way down. Snug each knot tight against the previous one before moving on.
Tip: Hold the work-in-progress against your wrist every few inches to check fit. Easier to stop short and undo a few knots than to discover at the end that the bracelet is too tight.
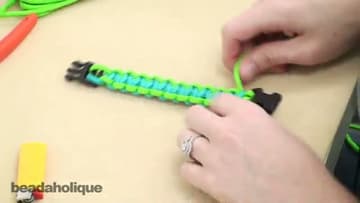
7. Trim and Seal the Ends
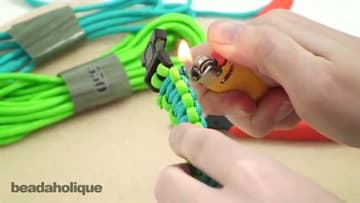
Cut the loose ends down to about an eighth of an inch above the final knot. Melt the tip with the lighter until it's molten, then quickly press the side of the lighter against it to flatten and widen the end.
Tip: The lighter ends up gunky from the melted paracord. Let it cool, then scratch the gunk off with a fingernail. Don't use Grandpa's nice Zippo for this.