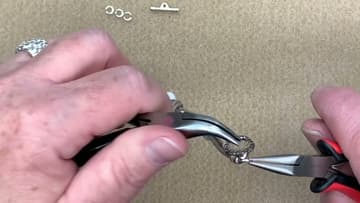
How to Make a Leather Bracelet With Barrel Knots
Source: Kellie's Bead Boutique • Full tutorial: www.craftingstepbystep.com/jewelry-making/how-to-make-a-leather-bracelet-with-barrel-knots
- Difficulty
- Easy
- Hands-on time
- About 45 minutes
- Wait time
- 15 minutes
- Cost
- About $6 to $15
- Makes
- 1 bracelet

Tools
- barrel knot tube
- ruler
- sharp scissors
- chain nose pliers (2 pairs)
Materials
- 2 mm round leather cord, about 30 inches
- two 8 mm large-hole beads
- charm
- two crimp end caps for 2 mm leather
- toggle clasp
- 4 small jump rings
- jewelry glue
Steps
1. Cut and Line Up the Two Leather Cords for the Bracelet
Cut about 10 inches from your 30 inch length of 2 mm leather and trim the ends clean. Lay the two pieces together with the short one on top and the long one underneath.
Tip: Leave yourself extra leather. It is easier to tie barrel knots with plenty to hold.
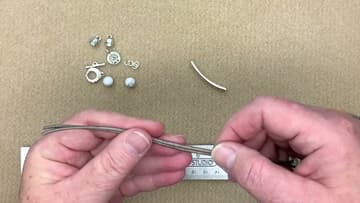
2. Wrap the Leather Three Times Around the Barrel Knot Tube
Measure about 3 inches in from the end and mark the spot with your fingers. Lay the barrel knot tube along the leather there.
Tip: Left-handed? Wrap toward your right hand instead. Stay consistent on every knot.
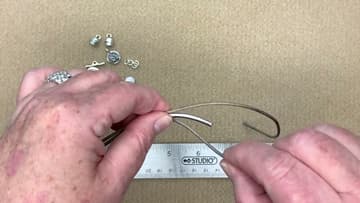
3. Tighten the First Barrel Knot on the Leather Bracelet
Hold the coils with your thumb and slide the tube out. Keep holding, or the wraps fall loose.
Tip: Do not yank. Small push-and-pull moves give a smoother, rounder knot.
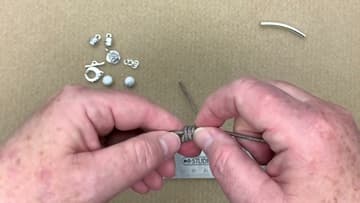
4. Cut the Leather Tip at an Angle to Thread the Bead
Slide your first 8 mm bead onto both strands and push it up against the knot. If the hole is tight, trim the leather end on a very sharp angle, almost a point.
Tip: Use sharp scissors. Dull blades crush the leather and fray the tip.
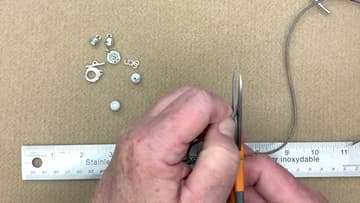
5. Slide On the Bead and Tie a Barrel Knot Beside It
With the bead snug against the first knot, lay the tube on the far side of the bead. Wrap the long strand three times, thread it back through the tube and pull it out.
Tip: Snug the knot right against the bead so nothing slides around later.
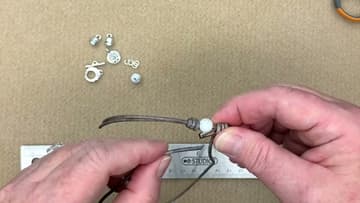
6. Add the Tree of Life Charm Between Barrel Knots
Slip the charm onto the leather so it hangs down below the bracelet. Check that it faces the right way before moving on.
Tip: Hold the knot as you pull the tube. You can remove the tube first or after, whichever is easier.
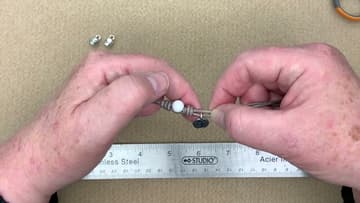
7. Add the Last Bead and Tie the Final Barrel Knot
Slide the second bead on and push it over against the last knot. Place the tube on the other side and tie one more barrel knot: three wraps, through the tube, tube out, push and pull tight.
Tip: Compare both sides of the charm. Even gaps make the bracelet look balanced.
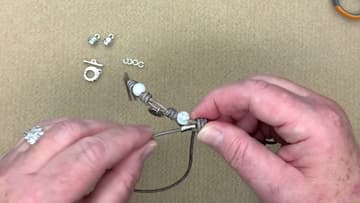
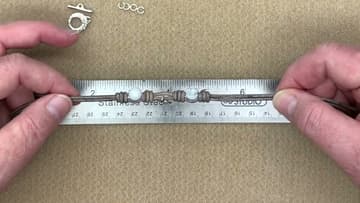
8. Measure and Trim the Leather Bracelet to Length
Kellie aims for a 7 inch bracelet. The end caps add about an inch, so the leather is cut to 6 inches.
Tip: Measure your wrist first and adjust. Wrist plus half an inch, minus an inch, is your leather length.
9. Glue and Crimp the End Caps on the Leather Bracelet
Put a small drop of glue inside one end cap. Too much will ooze out over the leather.
Tip: Use pliers without serrated jaws so you do not scratch the metal caps.
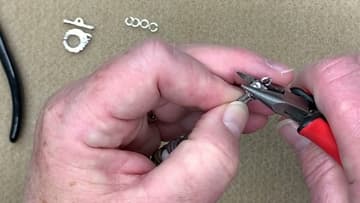
10. Attach the Toggle Clasp With Jump Rings
Open a jump ring with two pairs of pliers, twisting sideways instead of pulling apart. Link it to one end cap and the round part of the toggle, then close it until it clicks.
Tip: Wiggle each jump ring closed until the ends meet flush. Gaps snag on sweaters.