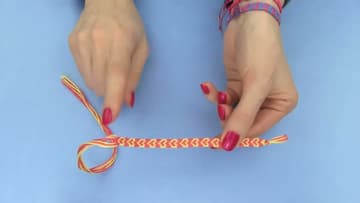
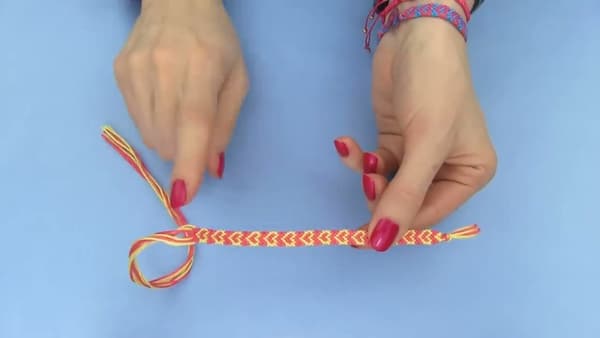
How to Make a Heart Friendship Bracelet
Source: SaraBeautyCorner - DIY, Comedy, Makeup, Nail Art • Full tutorial: www.craftingstepbystep.com/jewelry-making/how-to-make-a-heart-friendship-bracelet
- Difficulty
- Easy
- Hands-on time
- About 2 hours
- Cost
- About $3 to $6
- Makes
- 1 bracelet
Tools
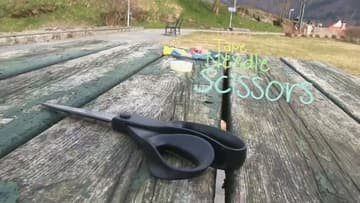
- Scissors
- Masking tape or clipboard
- Embroidery needle
Materials
- Embroidery floss in two colors (heart color and background color)
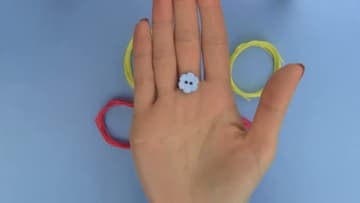
- Small button for the closure
Steps
1. Gather Your Supplies
You only need a handful of things to make a heart bracelet. Pick two colors of six-strand embroidery floss - one for the hearts and one for the background.
Tip: For your first heart bracelet, pick two colors with strong contrast (red and yellow, navy and white, black and pink). Subtle color pairs make the heart pattern hard to read.
2. Cut and Fold Your Floss
Cut two strands of each color at about 50 inches (1.2 meters) long. That gives you four strands total - two heart-color, two background-color.
Tip: 50 inches sounds long but knotting eats up a lot of length. Don't cut shorter or you'll run out before the bracelet wraps your wrist.
3. Tape It Down and Arrange the Threads
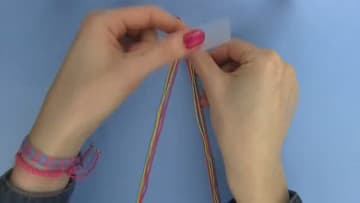
Stick the knot to a flat surface with the masking tape - a table, a clipboard, even a hardcover book. Anything that holds the top still so both your hands stay free.
Tip: If the colors aren't mirrored, the hearts will come out lopsided or won't form at all. Take an extra ten seconds to double-check before you start knotting.
4. Make Two Normal Chevron Rows
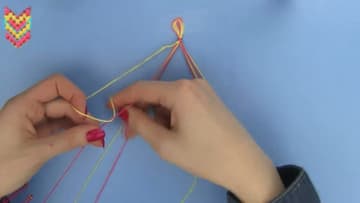
Start with the outermost strand on the LEFT. Lay it across the next strand to make a 4-shape, loop the end under and back through the opening, then pull tight.
Tip: Always knot twice. A single knot will slip loose and the chevron will pull out of shape after a few more rows.
5. Make Two Special Rows for the Heart Shape
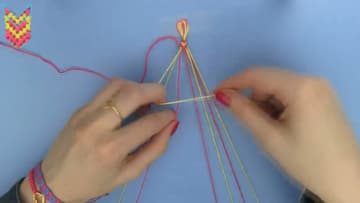
The special rows are what carve the heart shape into the pattern. On the LEFT, take the second-outermost strand (background color) and make a backward knot over the outermost strand (heart color).
Tip: Don't panic if the first heart looks wonky - the pattern locks in once you start the next set of normal rows. Keep going.
6. Repeat Until the Bracelet Fits Your Wrist
From here, the pattern is just a loop: two normal rows, then two special rows, then two normal, then two special. Every set of four rows produces one heart.
Tip: Measure your wrist before you start so you know the target length. Most adult wrists need 6 to 7 inches of bracelet plus the loop and button.
7. Finish With a Button Closure
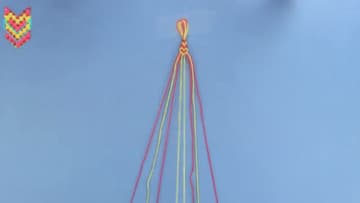
When the bracelet is the right length, tie a tight overhand knot with all eight strands to lock the work in place. That single knot keeps your hours of knotting from unraveling.
Tip: A dab of clear nail polish on the final knot stops the floss from fraying long-term. Let it dry before you wear it.