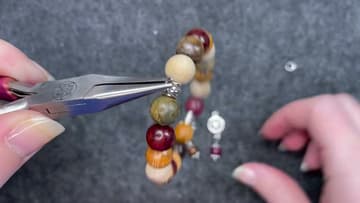
How to Make a Charm Bracelet With Stretch Cord
Source: Craft Time by Kasi • Full tutorial: www.craftingstepbystep.com/jewelry-making/how-to-make-a-charm-bracelet
- Difficulty
- Easy
- Hands-on time
- About 30 minutes
- Wait time
- 12 hours
- Cost
- About $3 to $8
- Makes
- 1 bracelet

Tools
- round nose pliers
- 2 chain nose pliers
- flush cutters
- bead stopper
- ruler
- bead awl
Materials
- clear stretch cord
- 8mm wooden beads
- 6mm beads
- 2 charm holder beads
- bead caps
- ball end head pins
- jump rings
- connector charms
- gel super glue
Steps
1. Pre-Stretch the Elastic Cord for the Charm Bracelet
Cut a little over 12 inches of clear stretch cord. Before any beads go on, work along it a few inches at a time and give each section a firm tug.
Tip: Pull firmly but not hard enough to thin the cord. You want it relaxed, not weakened.
2. String Wooden Beads Onto the Charm Bracelet Cord
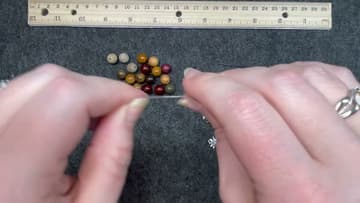
Clip a bead stopper onto one end so nothing slides off. String the beads in a random order, but try not to put two of the same color side by side.
Tip: Lay your beads out in order on a towel first so you can see the color pattern.
3. Add Silver Charm Holder Beads and Check the Bracelet Length
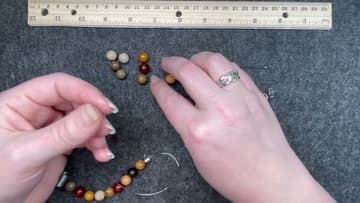
Slide on a silver charm holder like any other bead, then string the second half of your beads. The other charm holder goes on last.
Tip: Measure with the charm holders on. They add length too.
4. Tie the Charm Bracelet Elastic in a Surgeon's Knot
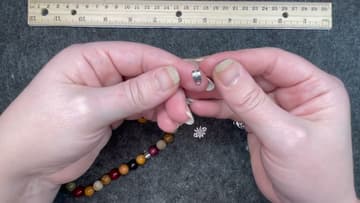
Take off the bead stopper and bring both ends together. Tie a plain knot, left over right.
Tip: Watch your nails near the knot. They can nick the elastic.
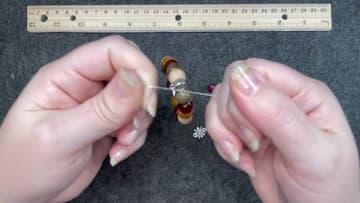
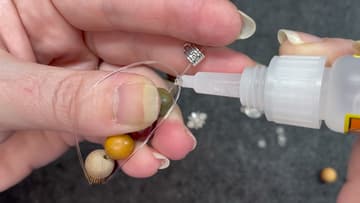
5. Glue the Charm Bracelet Knot With Gel Super Glue
Hold the two beads on either side of the knot apart with one hand. Keep the charm holder loose so it can move.
Tip: Use gel, not liquid glue. Liquid wicks along the cord and can stiffen it.
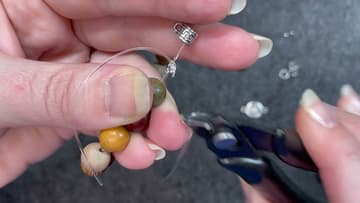
6. Trim the Elastic Tails and Hide the Knot in the Charm Holder
While the glue is still wet, snip both tails close to the knot with flush cutters. Then slide the loose charm holder over the knot so it disappears inside.
Tip: Flush cutters give a clean, close cut that scissors cannot match.
7. Stack a Bead and Bead Caps on a Head Pin for a Charm Dangle
Each charm starts as a small dangle. Thread a ball end head pin with a bead cap facing up, a 6mm wooden bead, then a second bead cap facing down.
Tip: Use a contrasting bead color for the dangles so the charms stand out.
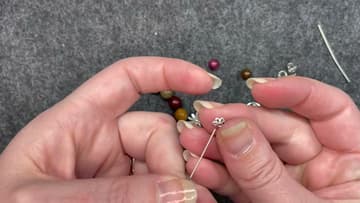
8. Bend a Wire Loop at the Top of the Charm Dangle
Grip the head pin with round nose pliers right above the top bead cap. Bend the wire over at an angle, then wrap it back around the pliers with your fingers to start a loop.
Tip: Cover the wire with a finger when you cut. The tail can fly off.
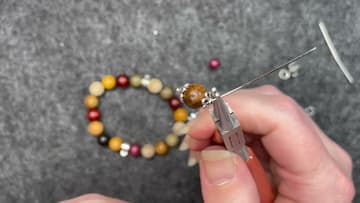
9. Join the Charm Dangle to a Connector With a Jump Ring
Hold a jump ring with two pairs of chain nose pliers, one on each side of the opening. Twist one hand toward you and the other away to open it sideways.
Tip: Never pull a jump ring apart. Twisting keeps its round shape.
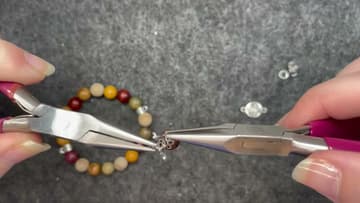
10. Attach the Charms to the Bracelet Charm Holders
Open another jump ring the same way. Slip it through the charm holder on the bracelet, then through the free end of a connector charm.
Tip: Roll a stretch bracelet on and off. Pulling it wide wears out the knot.